The Sinking City 2 walkthrough Part 1 - Reach the Miskatonic Library Annex

This Sinking City 2 walkthrough covers the opening area of the game that starts with the objective to Reach the Miskatonic Library Annex and ends with the task to Save the woman at the Devil's Reef Hotel - the entire open city first act.
This is a large open area that has you navigating between city locations via water to complete everything Once you've worked your way through this you'll need the Sinking City 2 hospital walkthrough, so let's get started.
Once the opening intro is over, you'll be able to walk through the apartment and collect some notes - Excerpt From The Dream Realm on one desk and About The Mask on the other. There's also a Final Warning! note in the kitchen and a Restricted Section Inventory note in the room with the painting.
There's a few other things to find here that fill out the story, but nothing essential, so take your time or carry on. It's up to you.
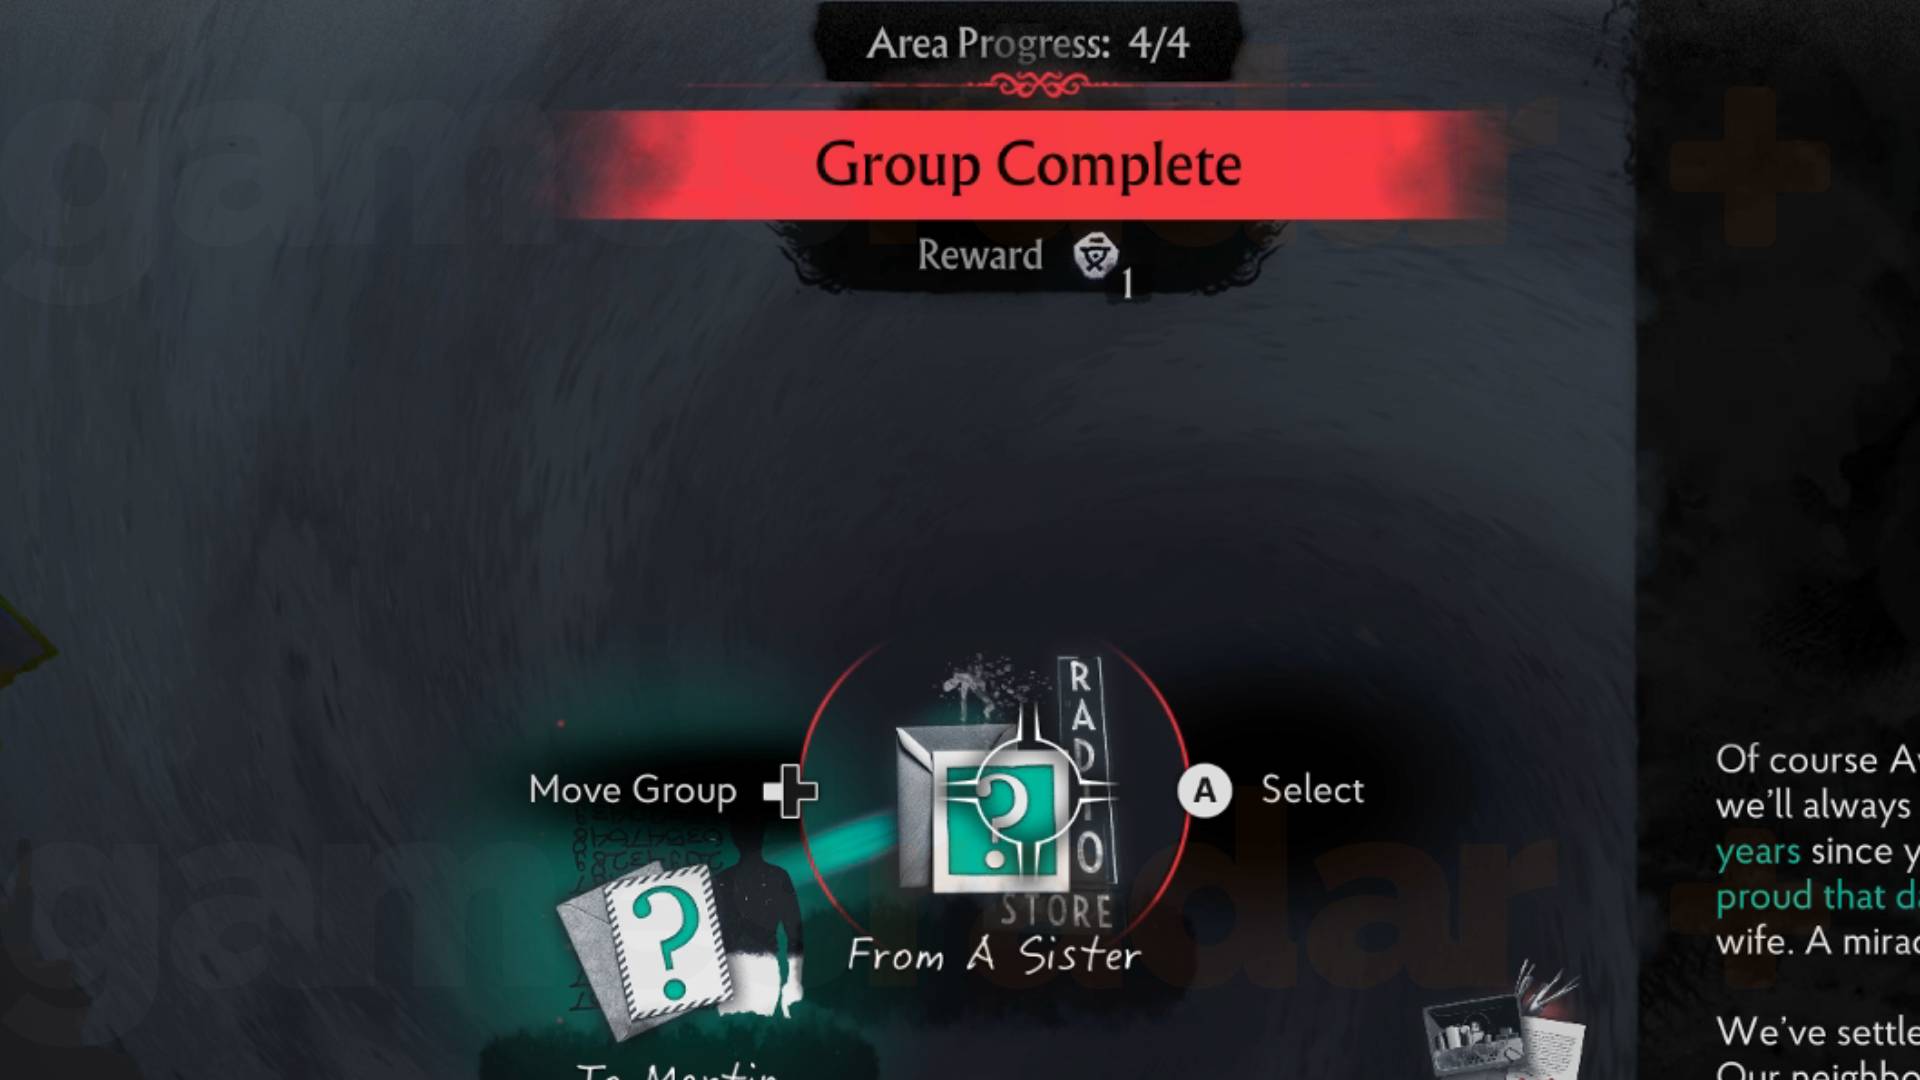
Some of the notes you collect will appear in the Investigations tab in your menus. When you join up related things with matching symbols and complete the group you'll earn upgrade points, so it is very worth doing.
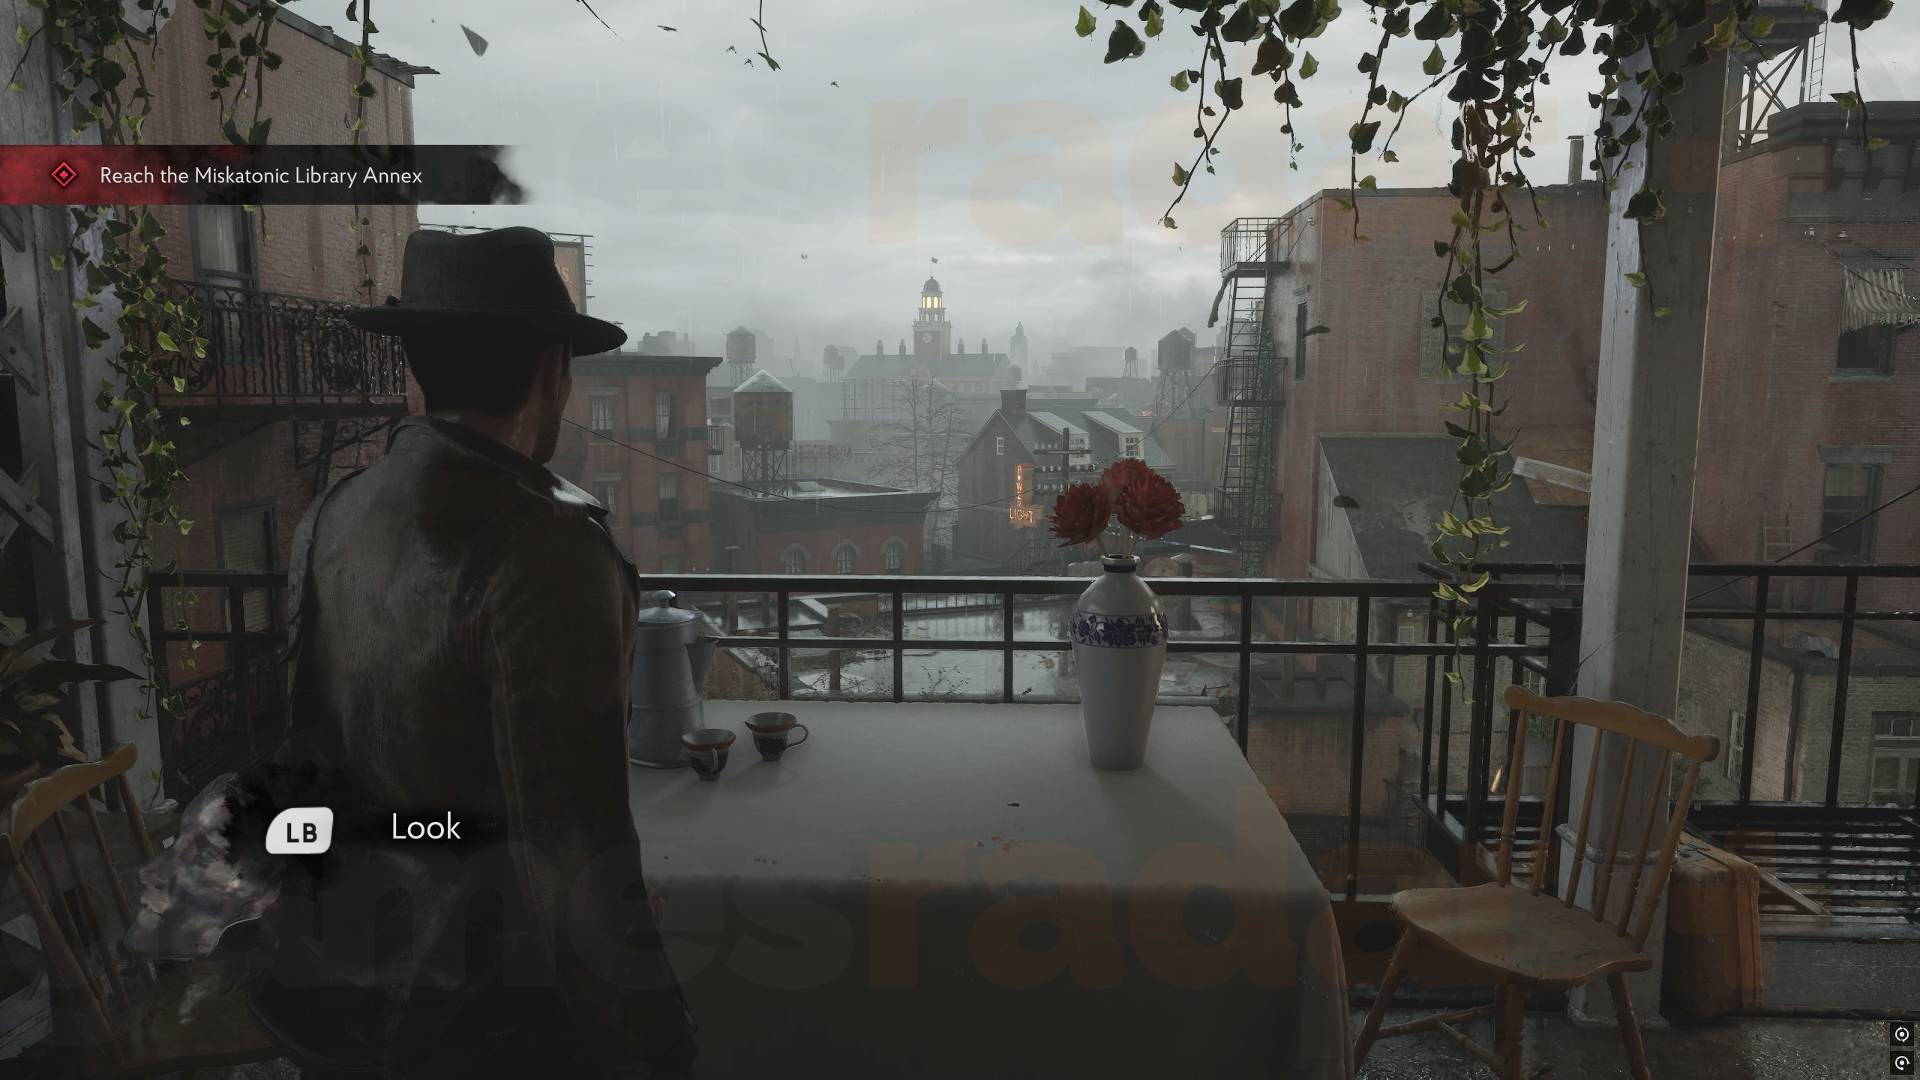
When you leave the flat you'll see the Miskatonic Library from the balcony. Now head down the fire escapes to a boat and travel until you reach a closed gate. Turn right to find a jetty you can dock at and a window with a white sheet you can climb in. Head through the building to find a bridge to the gate side.
If you try to open the gate now, it won't work and you'll see a Fuse Box to the left and the message that you don't have any items, so move on to your first Safe Room where you can save, store items and unlock abilities. Leave the safe room when you're done via the other door and go down the stairs into a shop with a Gate Switchboard note on the counter saying you need to head across the street to find Fuses in another shop. Place this in your Investigation space when the prompt tells you.
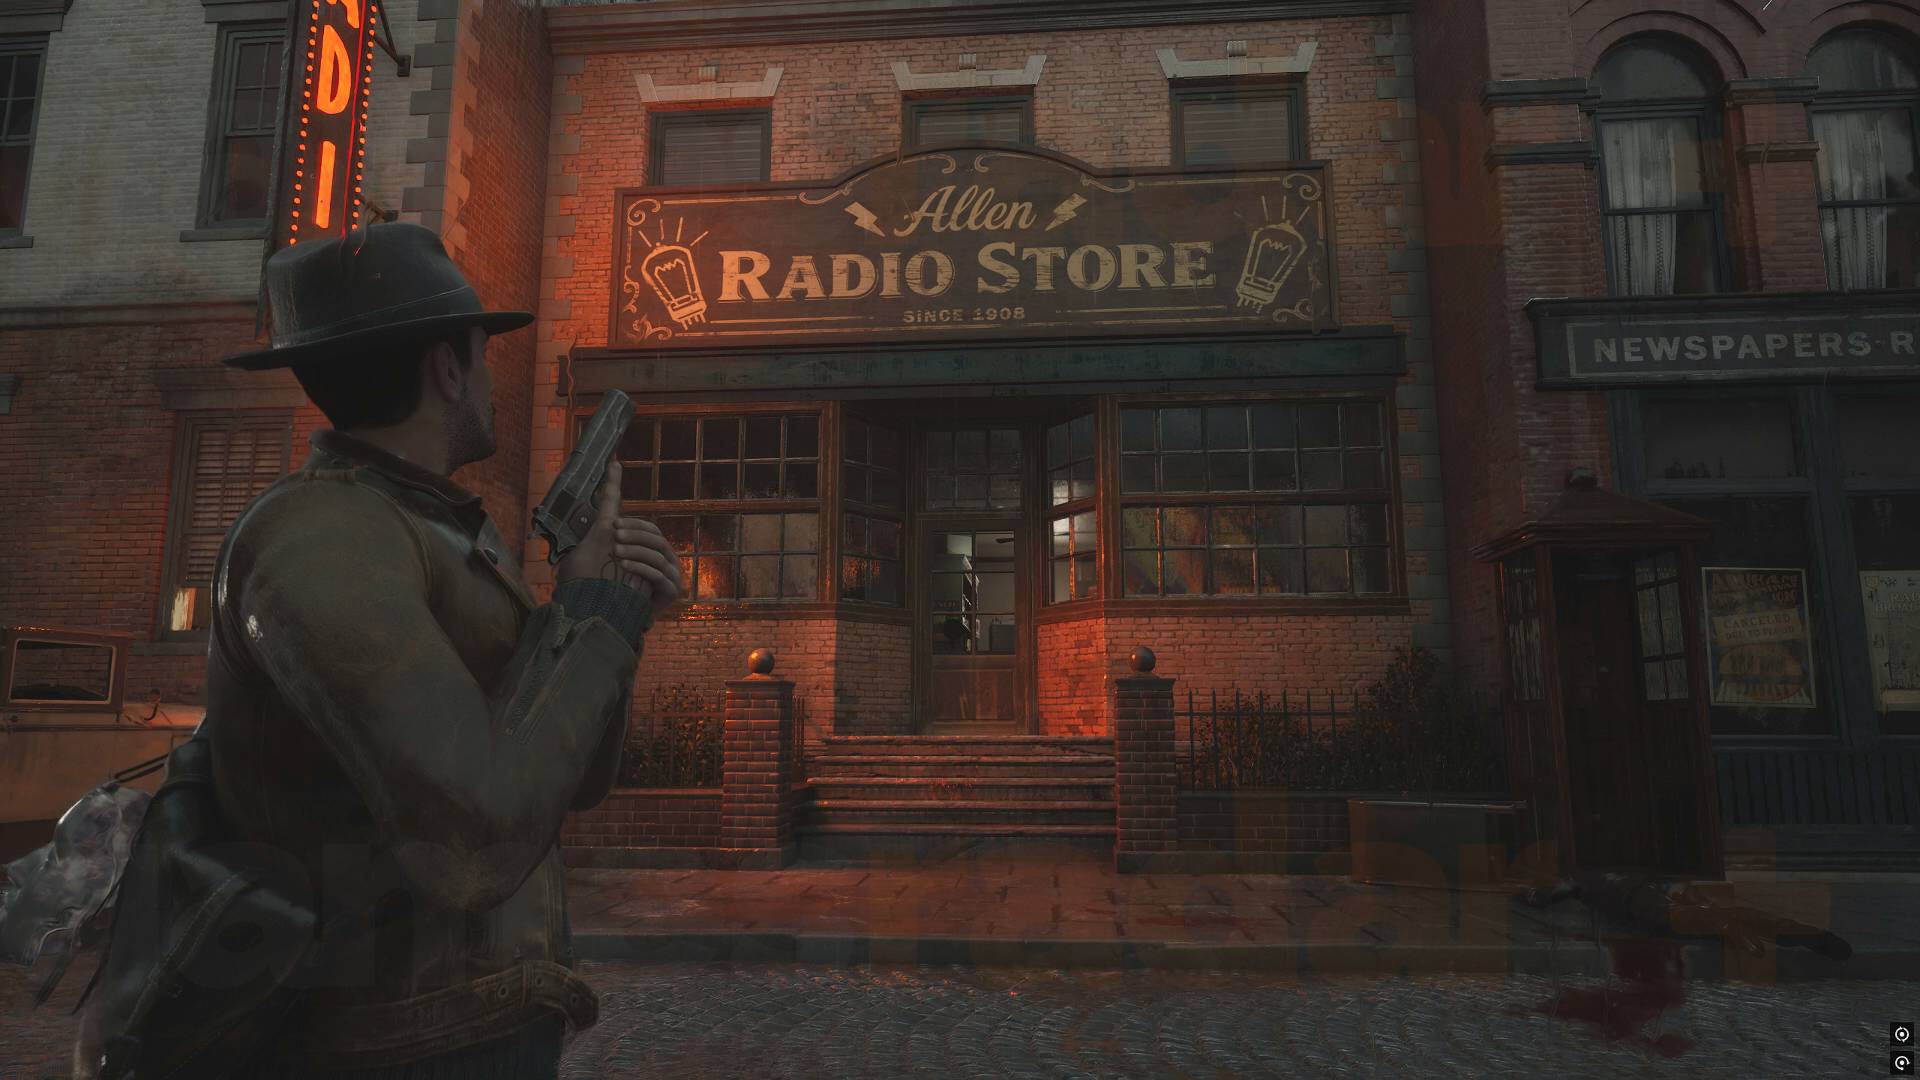
Head outside and you'll see the Allen Radio Store. Make a note of the 'Est 1908' bit, for later. You can't get in but trying will show you the Fuses you need. Leave them for now and instead head around the large hole in the road to reach an open white door.
Finding ammo, health and items in Sinking City 2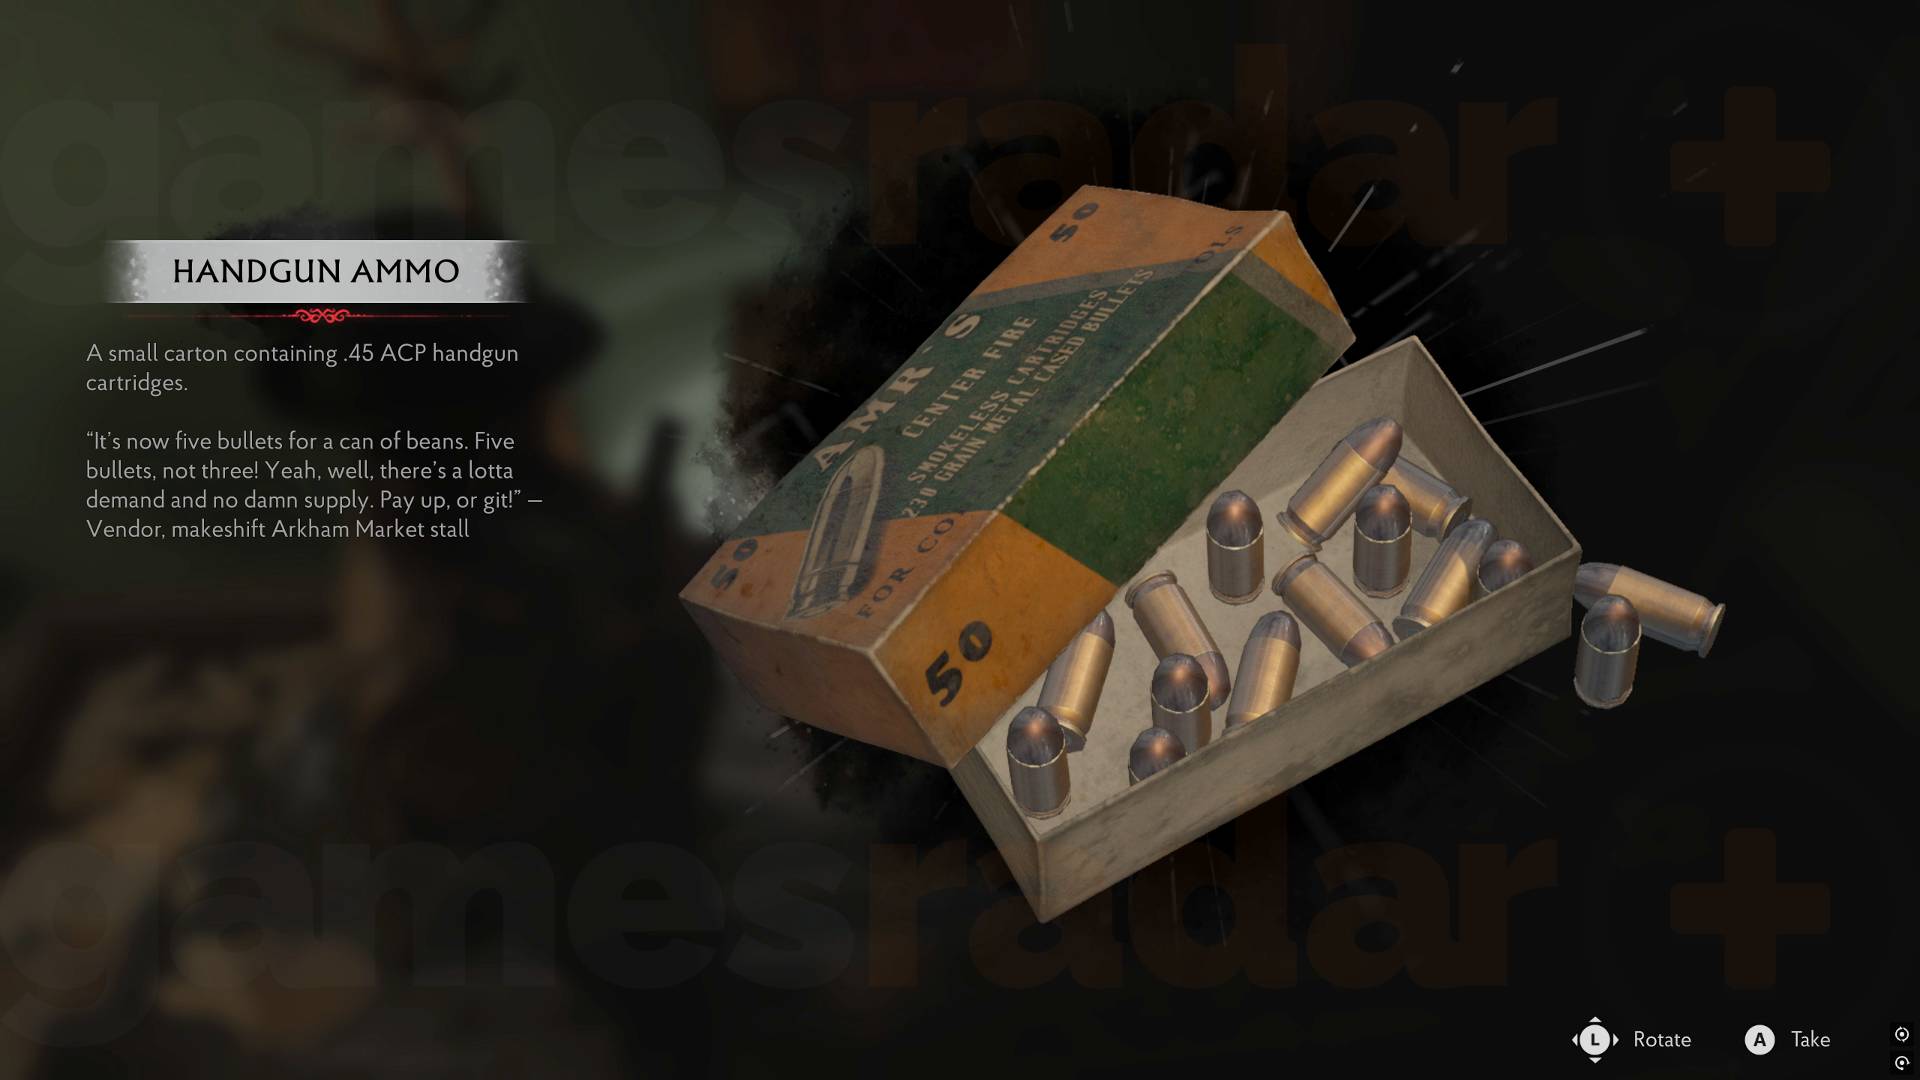
You'll find a range of items like ammo and health scattered around, as well as inside things like yellow boxes, drawers, cupboards and lockers. Generally the game gives you things you need, meaning they aren't set and different each playthrough.
Immediately inside you'll see an office on the right with a Map on the wall so grab that. There will be an item in the draw behind you.
Then head up the stairs and into Apartment 5 where you'll find a Safe with a To Martin note saying the combination is 'my proudest, most miraculous moment'. Technically the clue for this comes later but you can also just solve it now.
How to open the Safe in Apartment 5
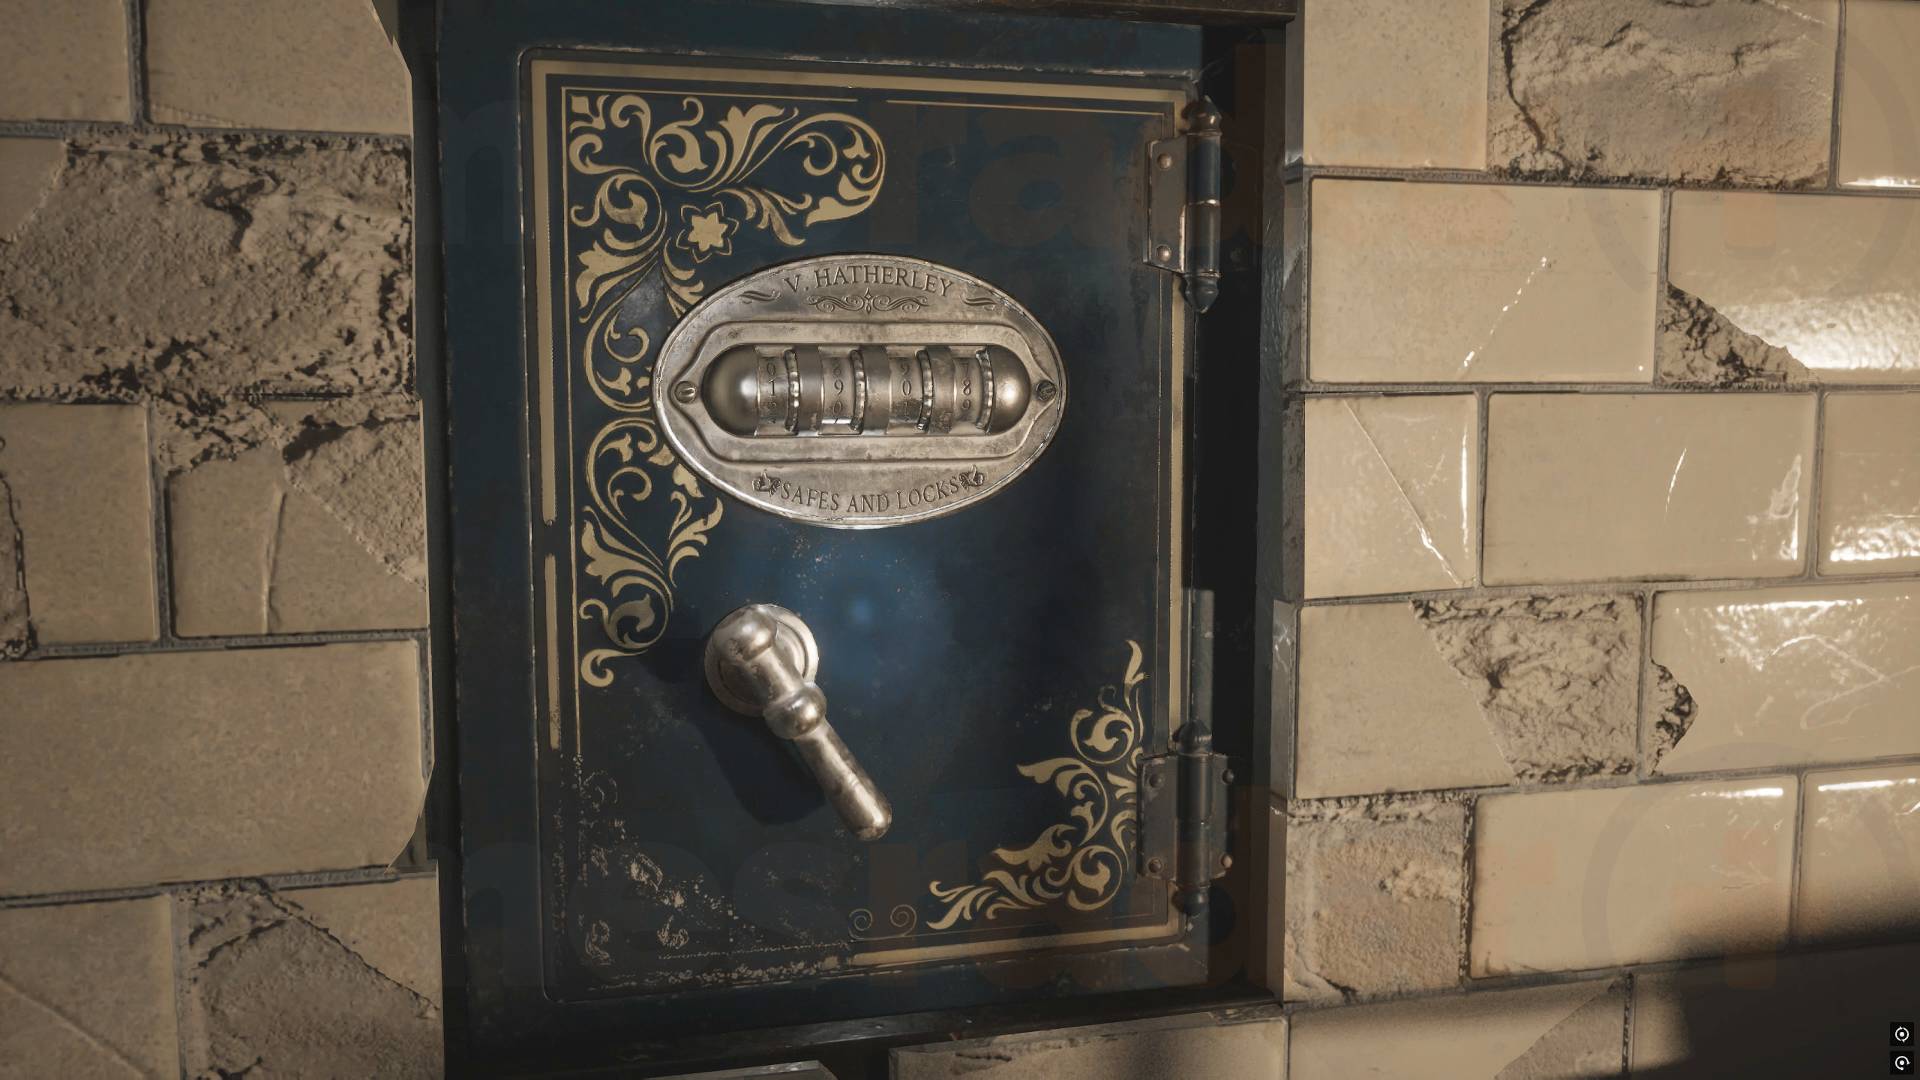
The safe combination for Apartment 5 is 1908, the year the radio shop was established. You'll find in a note in the Radio Shop later but you can also just use it now to get some items. At this point some enemies appear but you can run away.
Now head into Apartment 6 where you'll find a hole into the room below. There's an item in the cupboard and a Gate Fuses and Wire note on a desk - connect that to the Gate Switchboard note in your Investigation space earn your first upgrade point and then pull the bolt on the white door to open a shortcut to the entrance you used to get in. Now head through the hole in the wall to reach the shop.
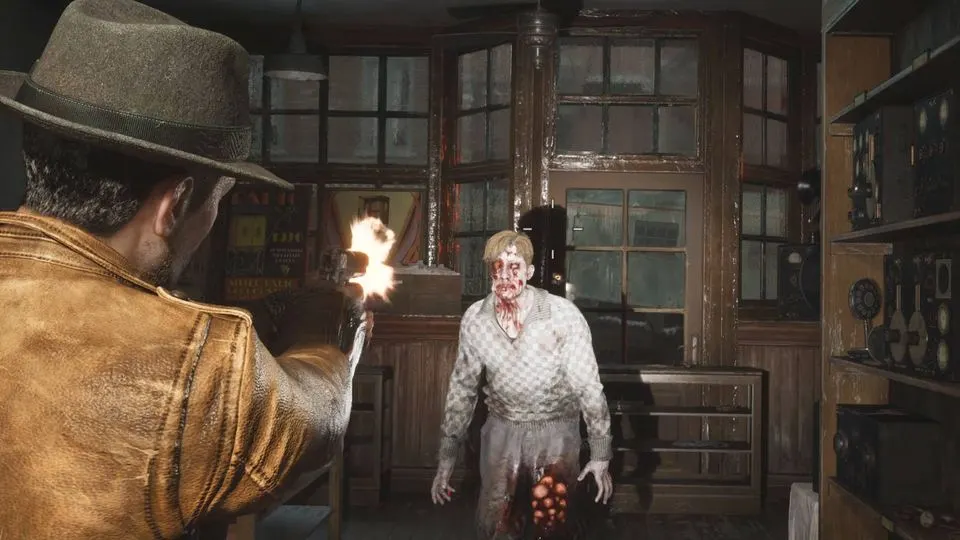
Once inside, grab the item in the yellow box, then head to the till and grab the "From a Sister" note and connect it to Martin in the Investigation space to complete it and get an upgrade point. When you grab the Fuses an enemy will appear near you and you'll have your first fight. Shoot the glowing parts for extra damage.
Once the enemy is dead, push the shelves blocking the door away to get out and deal with more enemies or, better, run away. Generally you get nothing for defeating monsters, so only do it you need to. If you haven't opened the Safe at this point go back to Apartment 5 where the safe is and use the 'proudest moment' as the combination - the date the store was established - 1908.
How to solve the Gate Fuse Box puzzle
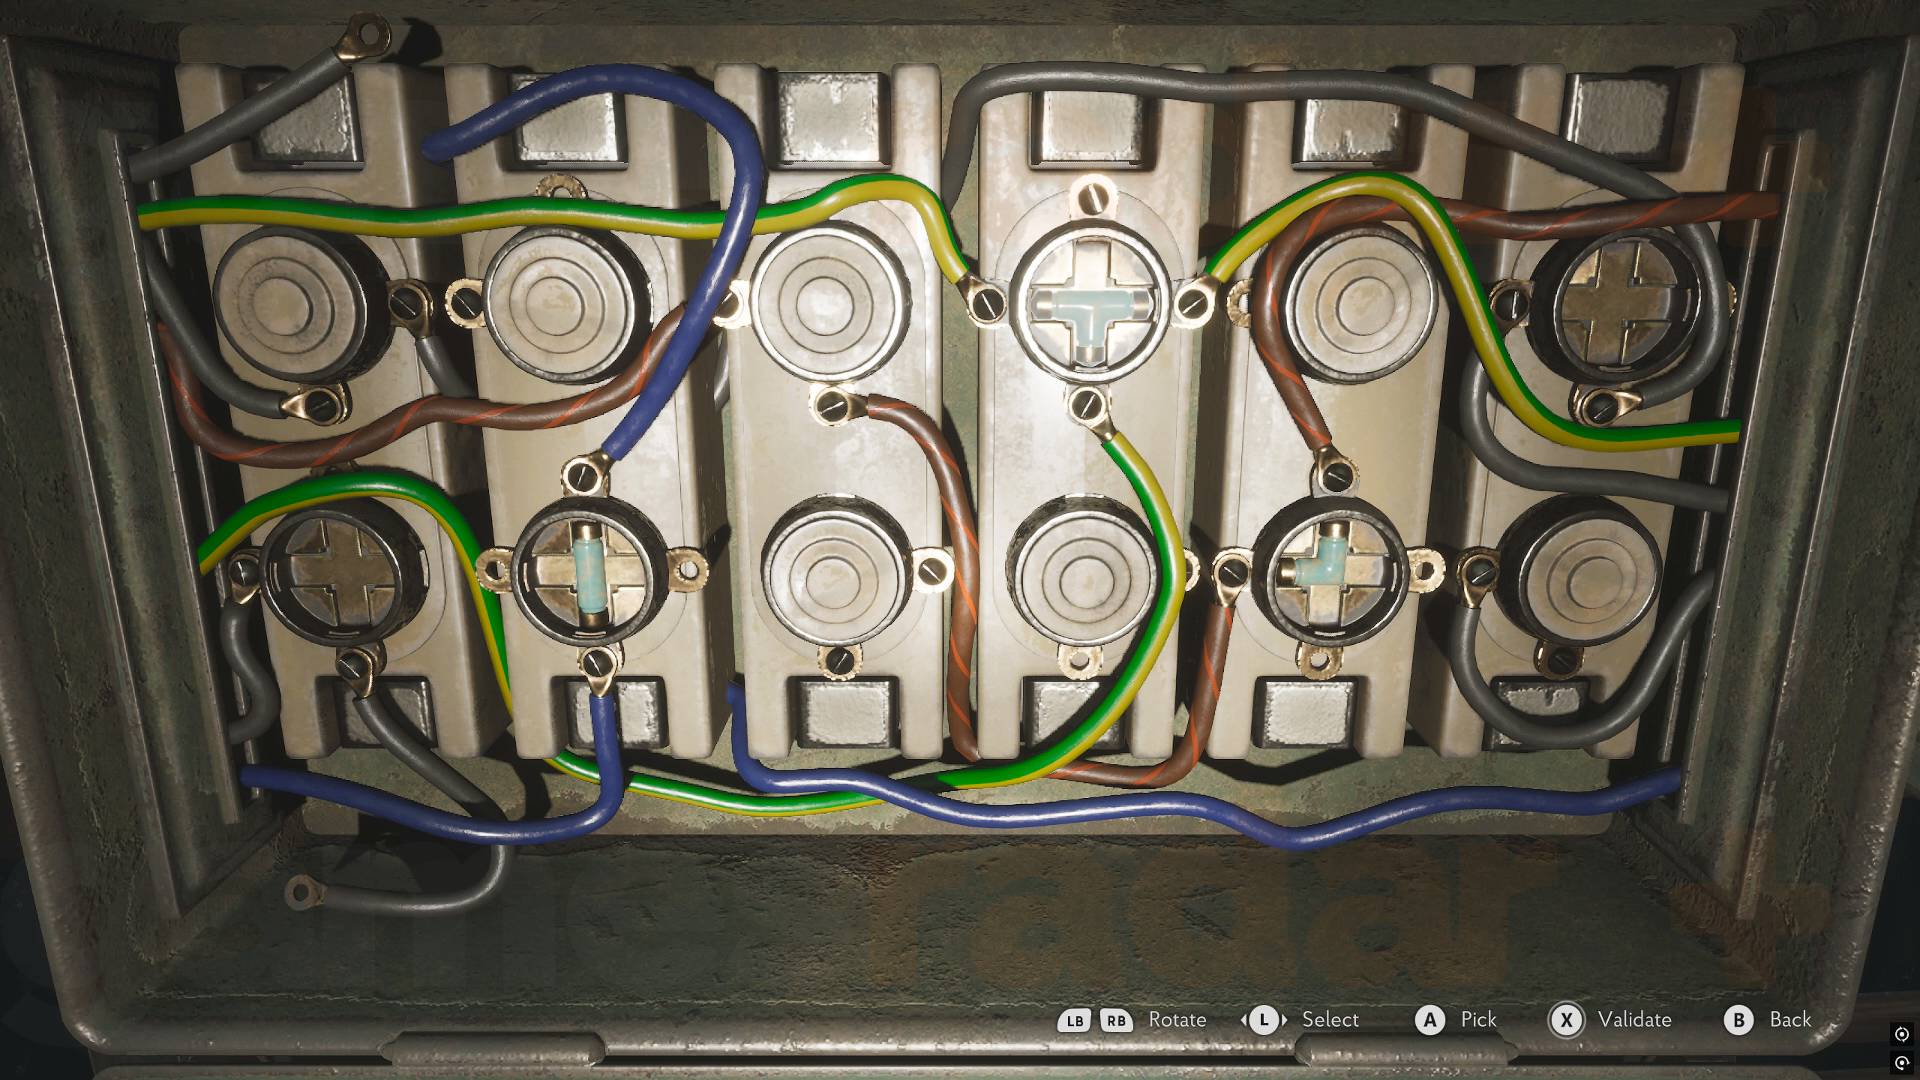
Head back to the Gate Fuse Box and use the Fuses to connect the wires. Because there are different configurations you'll need to rotate some of the Fuses. This is the the Gate Fuse Box puzzle solution:
- Straight fuse: Join the two blue wires
- T-shaped Fuse: Join the three yellow and green wires
- Right-angle fuse: Join the two red and orange wires
Remember to 'validate' it once you're done or it won't work. Now pull the lever to open the gate.
Head back to the boat, dodging past the enemy that appears, and carry on until there's an explosion behind another gate. Dock on the jetty to the left and grab an item and the "Lost Letters - Death Awaits" note just to the right of the stairs , before heading into the building with a hole in it.
As you head up the stairs inside you'll trigger a chase, so run through the building until you jump and you'll be able to open the gate and carry on through it.
Travel a short distance until you reach another jetty, dock the boat and head towards the building, where you'll trigger a cutscene that ends this section.
PAGE BREAK HERE
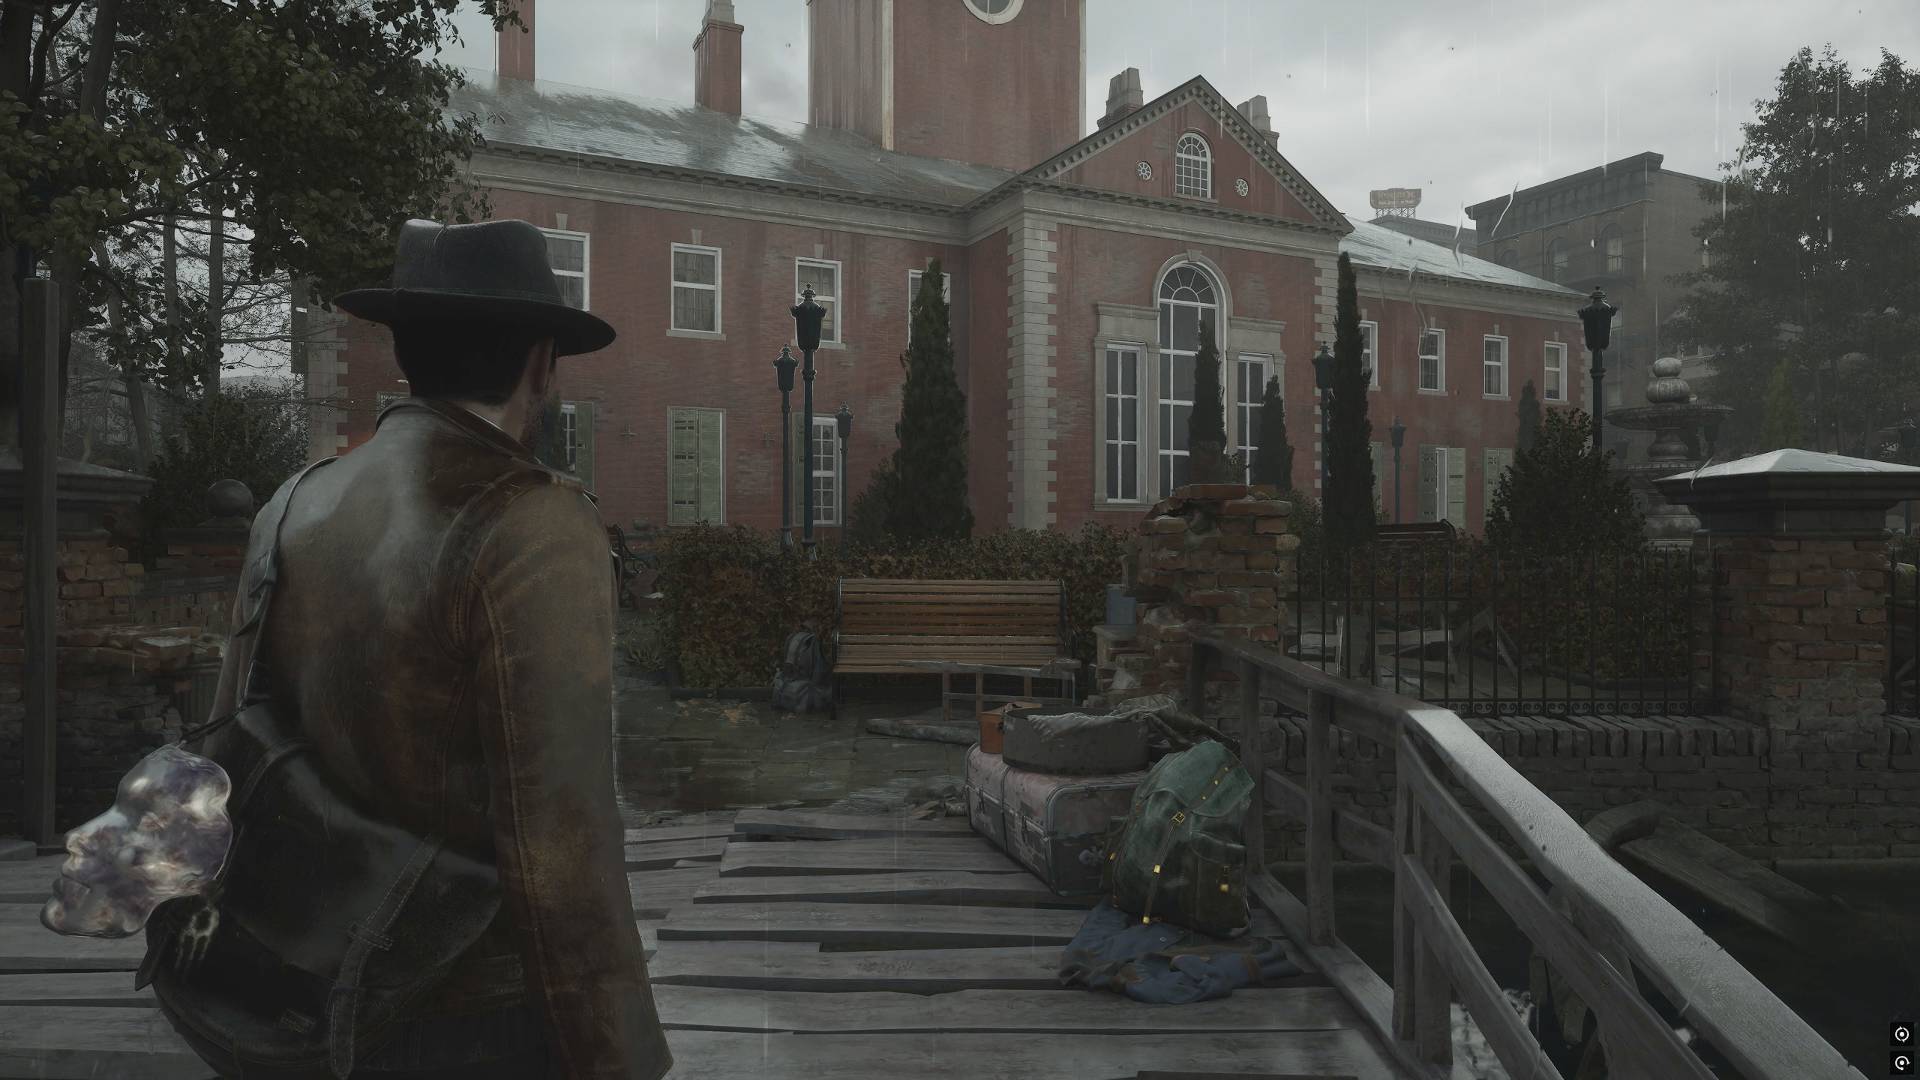
Once docked, head towards the building and wait for the cutscene to play out. Then move on, getting an item from some drawers on the right by the 'Silence' noticeboard before heading through the door, and then through another door by the windows where you'll see the map in front of you. Behind you'll find an Emergency Relief Crate, or ERC, that you won't have a key for yet.
Leave the room via the partially-opened door into a corridor with a body hanging ahead of you. Head towards the body and, when you can, turn left to find a Lost Letters - Dominion note on a bench next to another body.
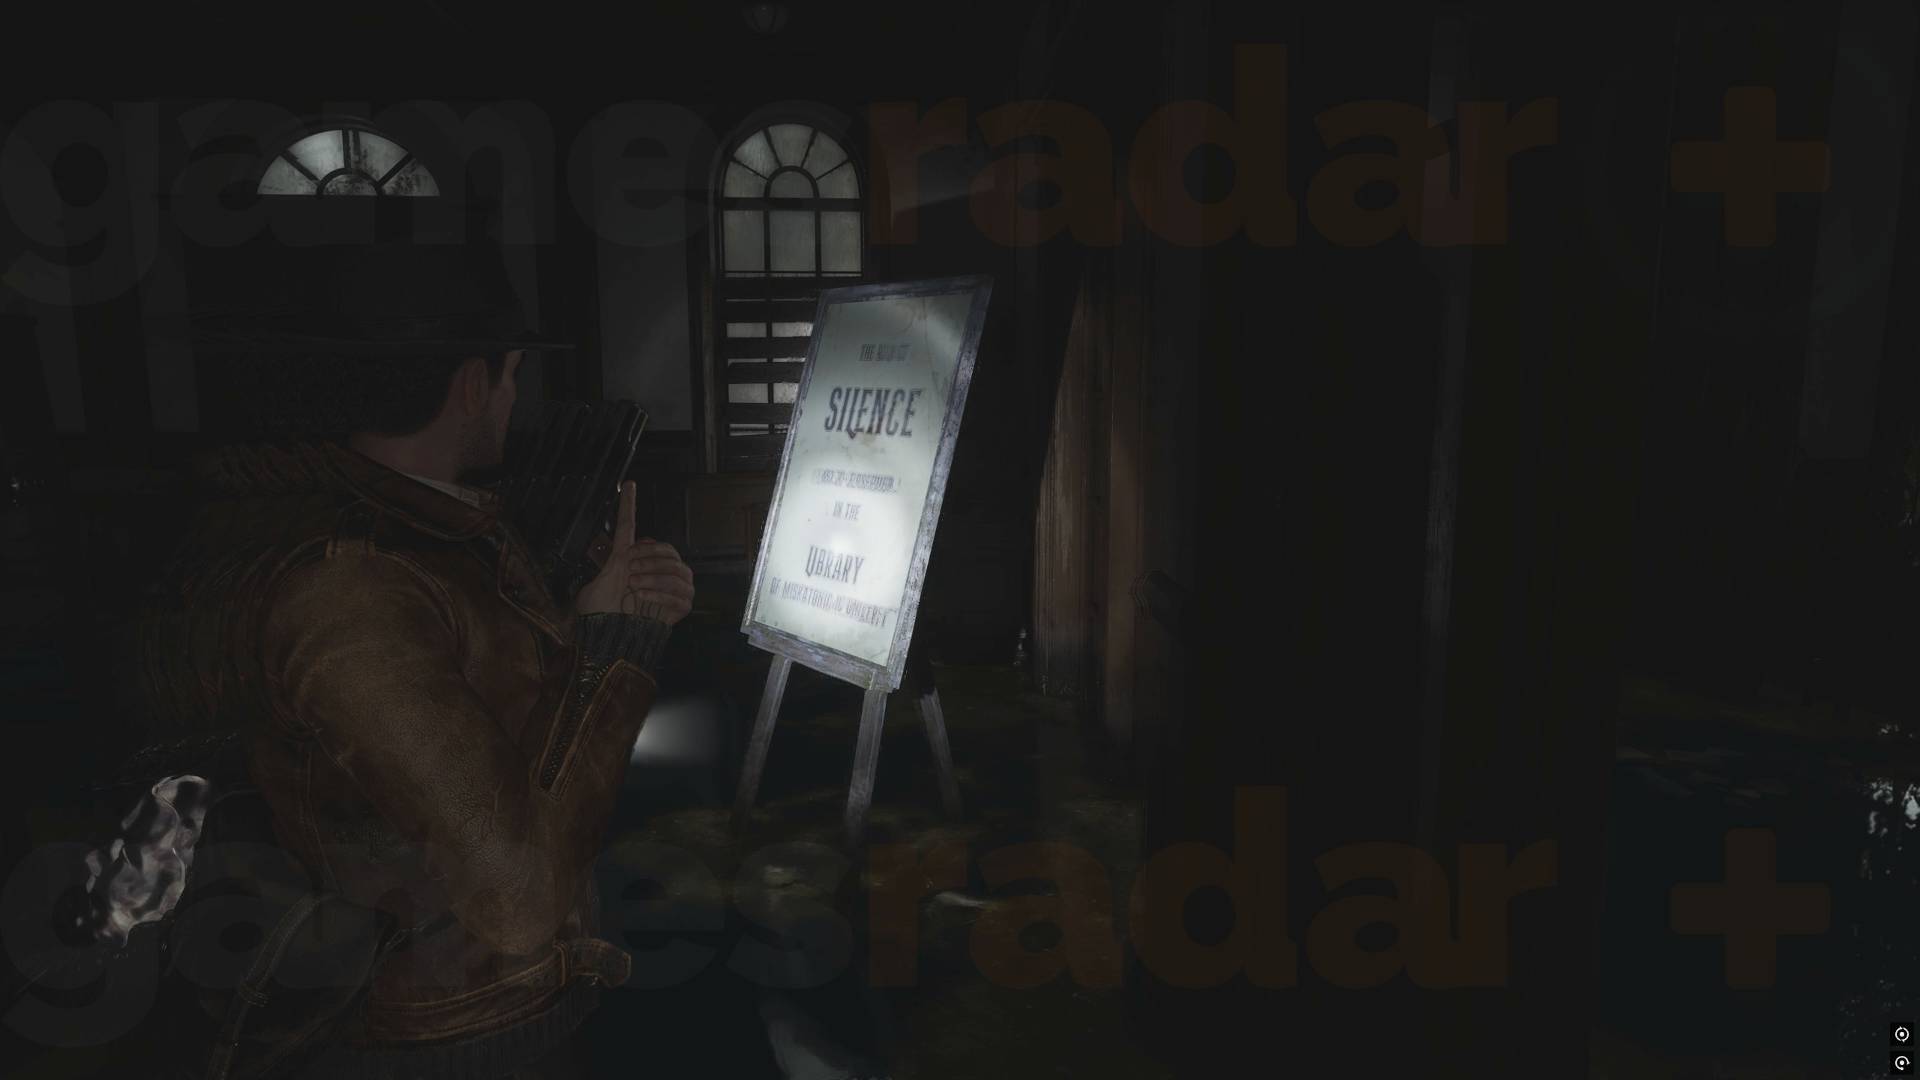
Turn right from the bench, look for another large Silence notice and go through the door next to it. You'll see a creature run away, which is a problem for another time . Read the blackboard for the "Manifesto" Note and open the cupboard for an item.
Go back out and follow the room left to reach the Restroom, go in and then through the red lit hole in the wall. You'll be attacked by an enemy, so kill them and then grab an item from the drawer at the back of the room, before you head out the other door into the main library annex.
There's an item in a drawer by the Gas Can. In the far right corner near the ramp up you'll find a door you can unbolt for shortcut back to the way in, while on a desk to the right just before the ramp you'll find the "Internal Memorandum" note and an item in a nearby cupboard.
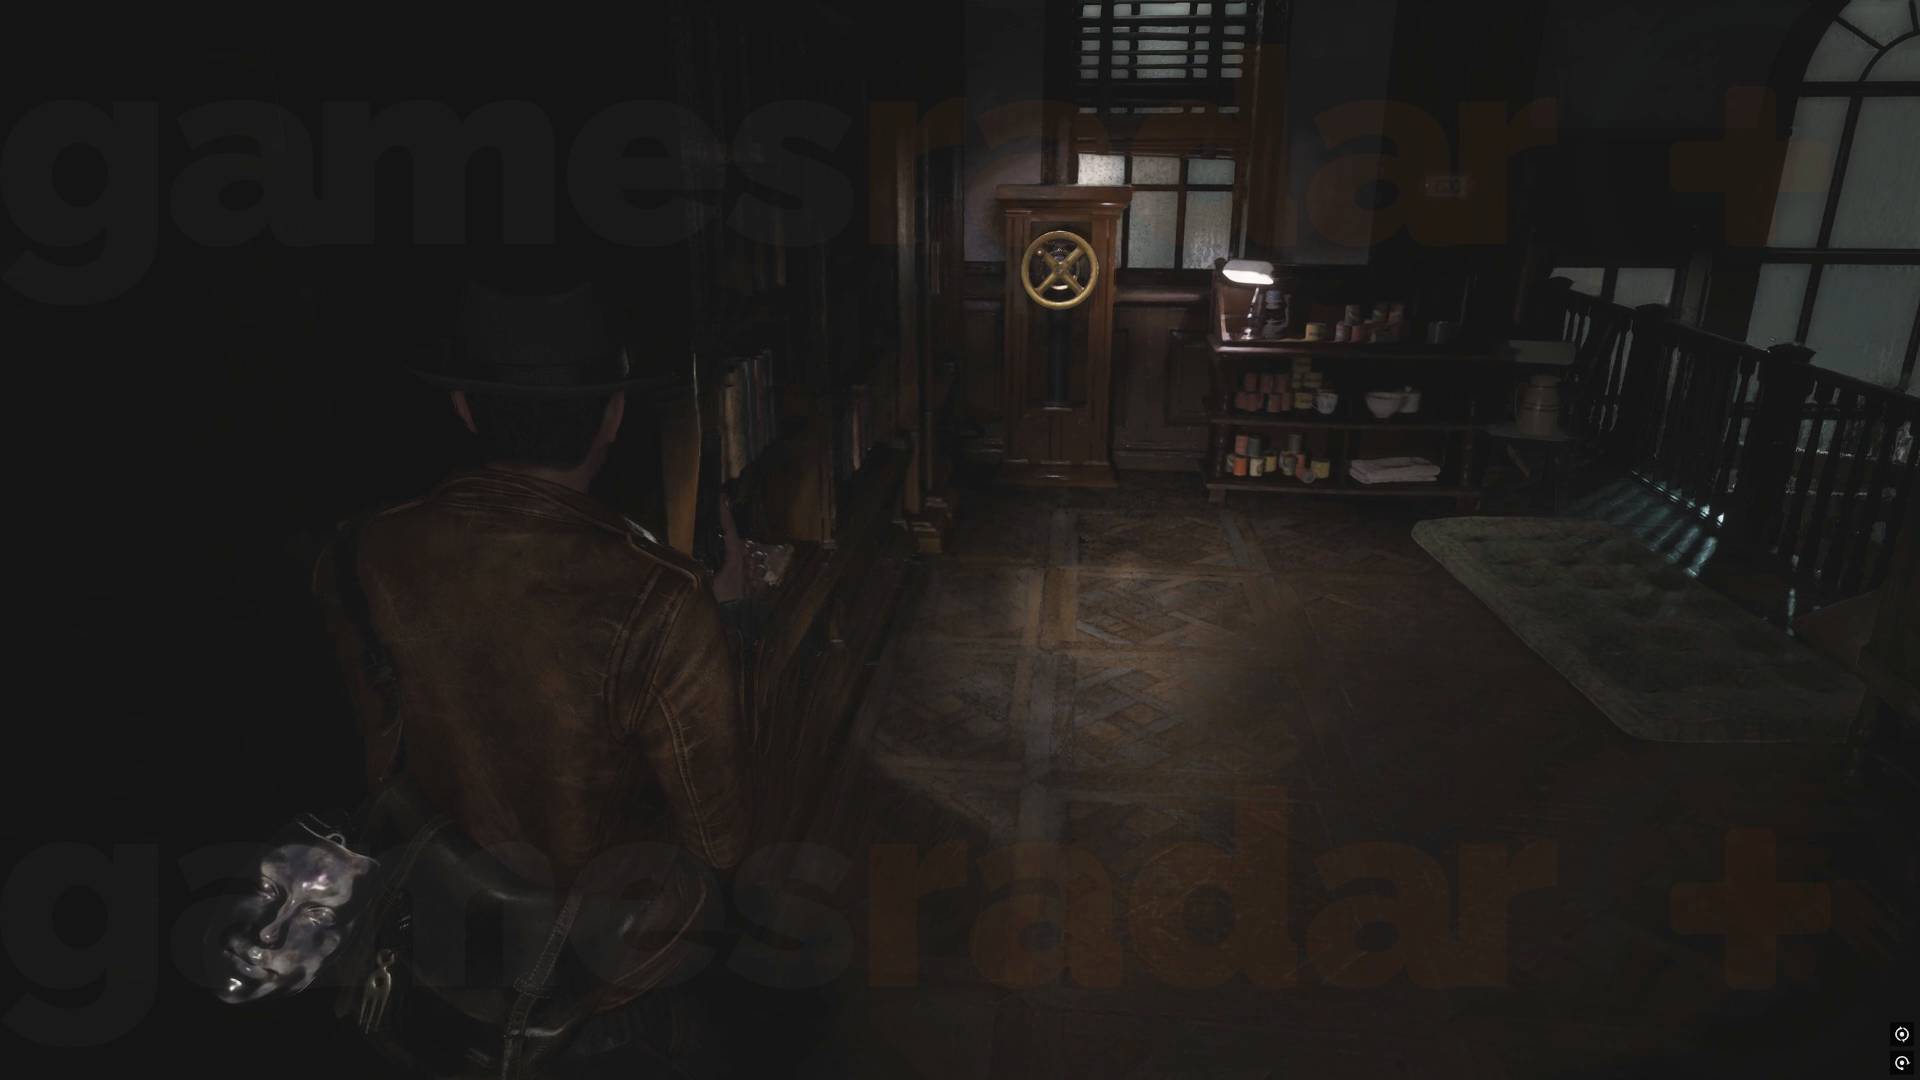
Head up the ramp and follow the path to the back of the room where you'll find a handle you can turn. You'll be jumped by the creature you saw earlier and dropped back down to the floor below and attacked by more enemies. Now's a good time to use that Gas Can to take out multiple enemies at one.
Once the area is cleared go up the ramp again where you might be attacked by any leftovers. When everything is dead head to the back to find an item in some drawers. Now turn the second handle in the new area you've uncovered, and then turn the first wheel again to access the path you've just cleared to the Restricted Section.
Go inside the Restricted Section and take the impossible to miss glowing red evil book to trigger a cutscene. Once that's done you'll hear some screaming and get a new objective.
Find the Source of the Noise
Push the drawers aside to open a new door and keep going past some red painted doors until you reach a lit, partially open door. Go through to trigger a cutscene and meet Corentin.
Save the Woman at the Devil's Reef Hotel
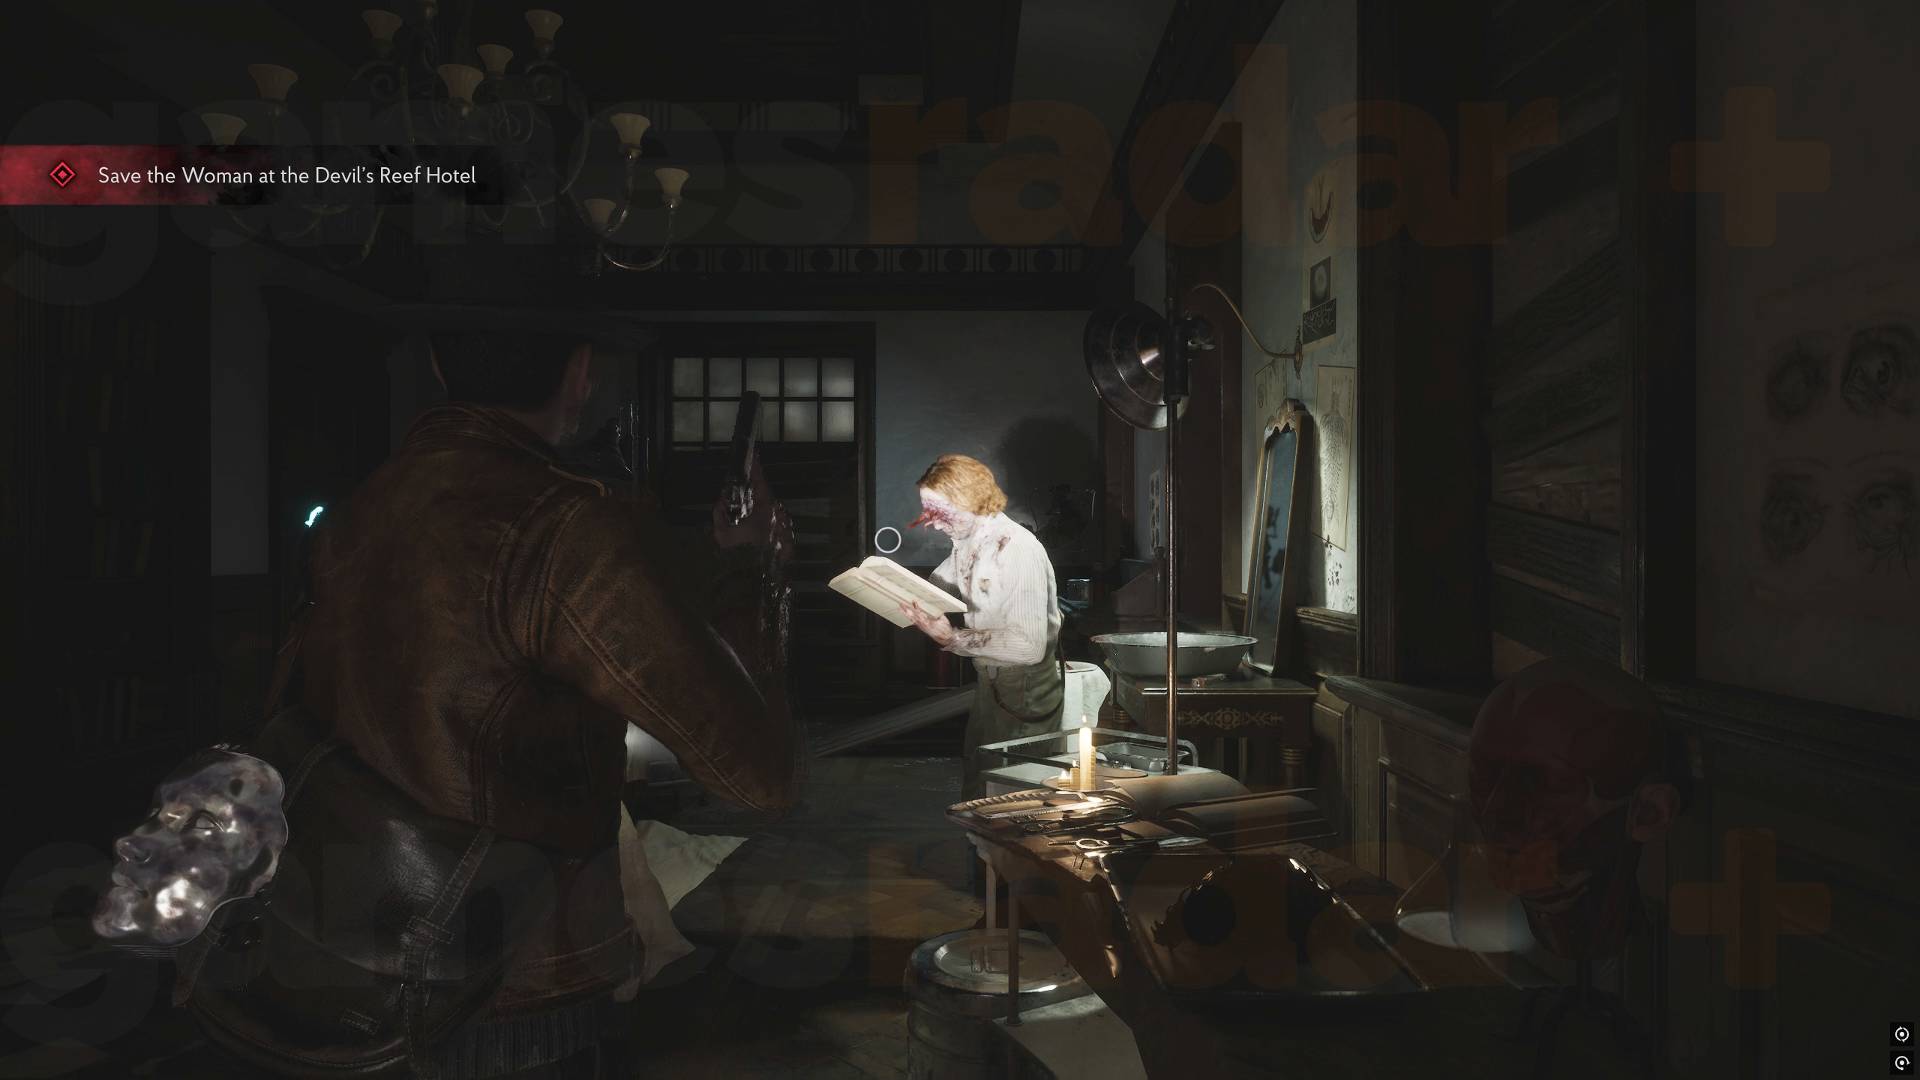
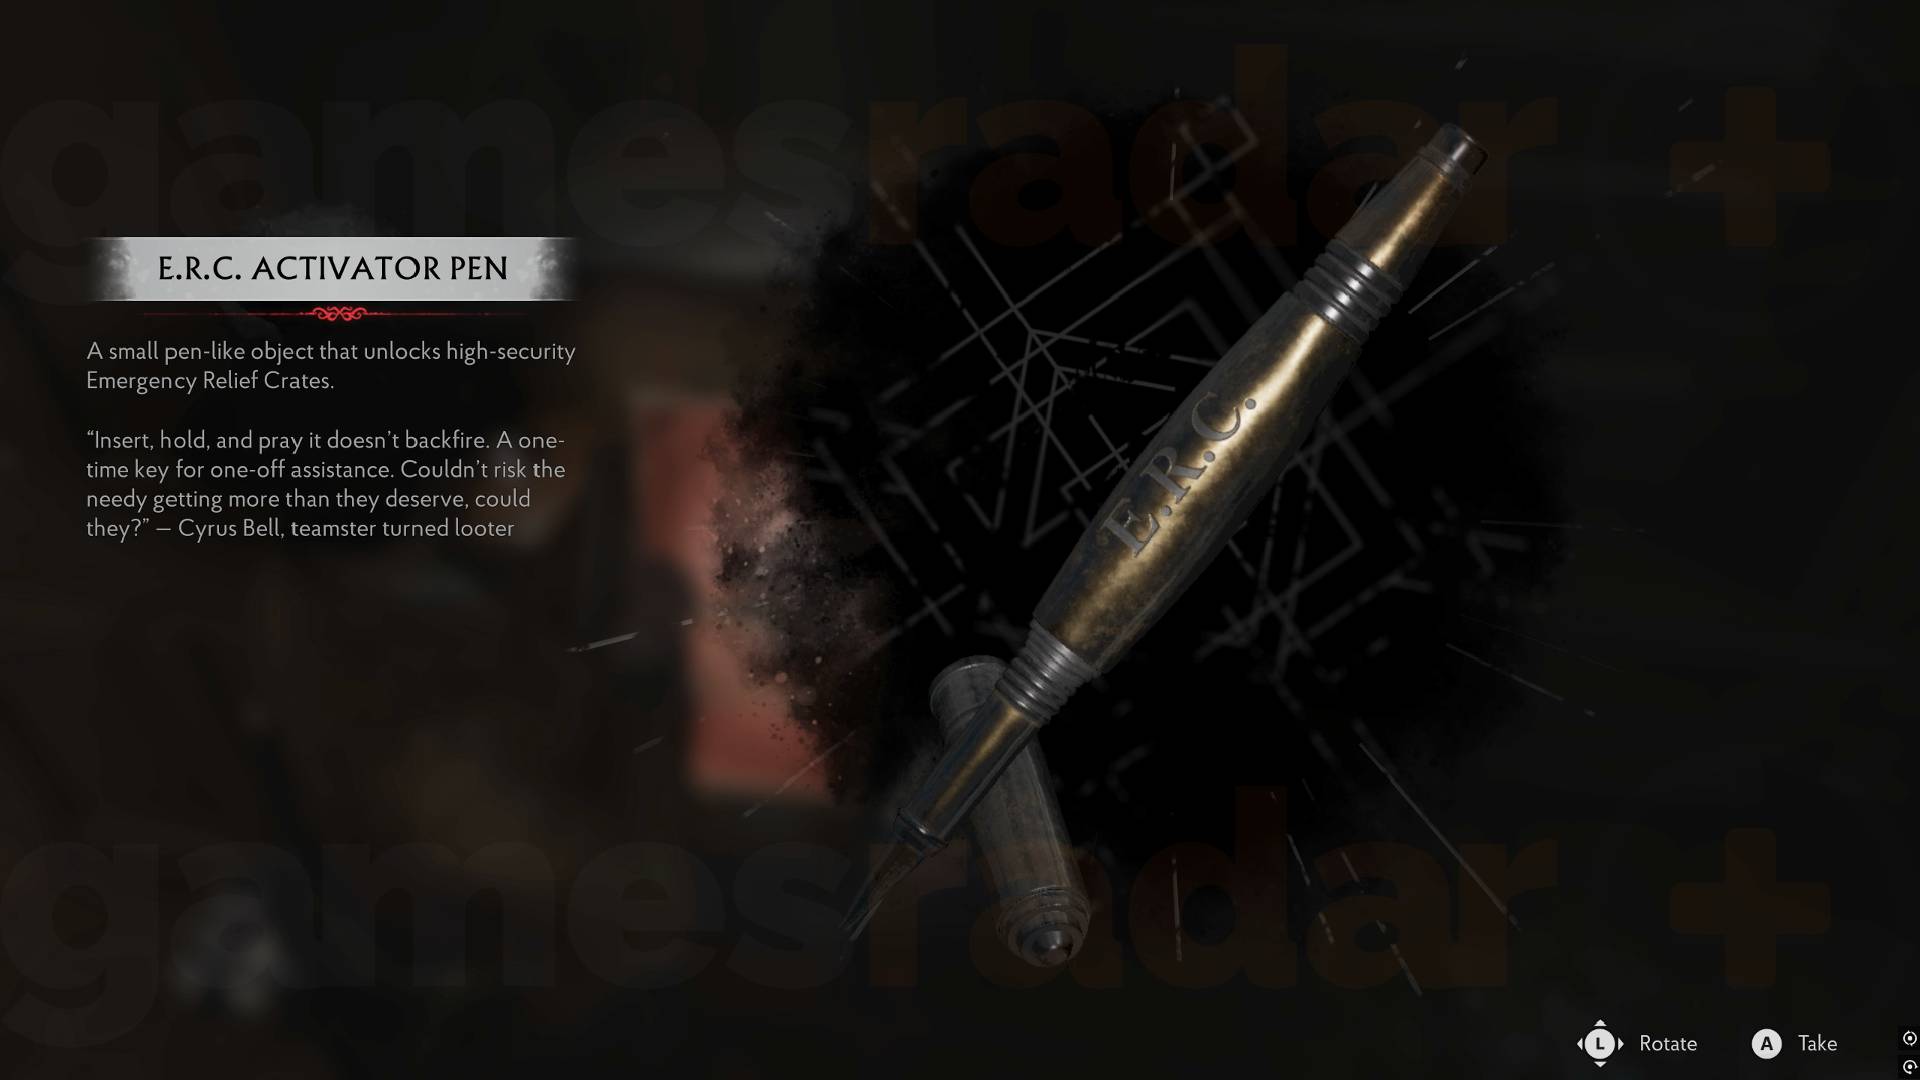
ERC crates nearly always have useful items like weapon or inventory upgrades so you should always try and open on once you have the ERC Pen to do so. You'll nearly always find the crate early on in an area, and then it's just a matter of time to find the key.
Head past Corentin to find a Safe Room and an "ERC User Manual" note nearby with an ERC Activator Pen, which acts as a key. Unlock the other door and head back to the ERC Crates with the pen (now you have it) to get the Voss Compensator, which will make fully-focused shots slow enemies. It's probably best to deal with some of enemies you'll encounter now or they can easily bunch up on you.
Once you have the part, head back to the safe room and out the other exit to Corentin's boat, grabbing the item in a yellow box by the stairs.
The path on the boat looks like it diverges, but it's just a square, so either direction will eventually take you to a Church and the sub-objective to Open the Floodgate just beyond it.
Open the Floodgate
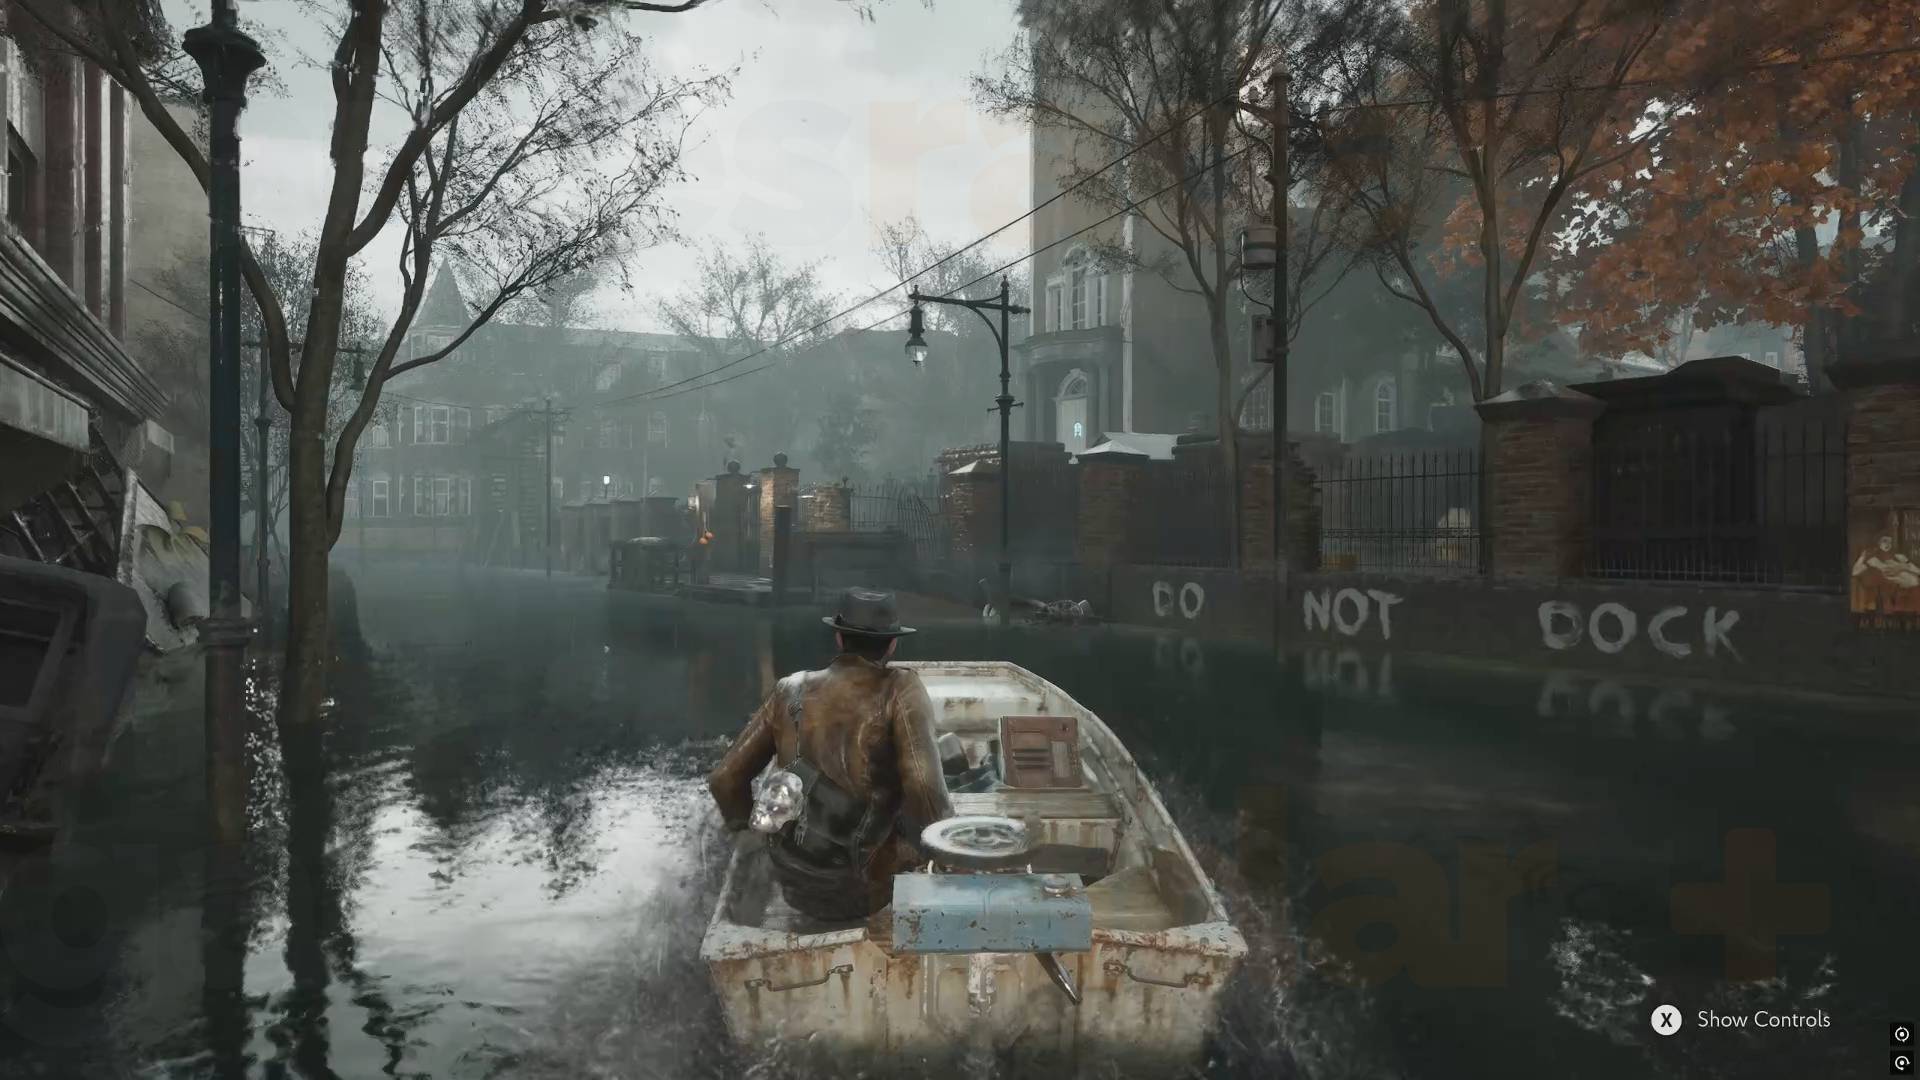
Dock at the church and grab the item in the yellow box immediately on your left and the Night Ore near the body right in front of you. When the time comes this is how you recharge the Nightshade Mask you took at the start, which can revive you when you die. There's also "A Balm for Flash and Relic" note that explains the ore.
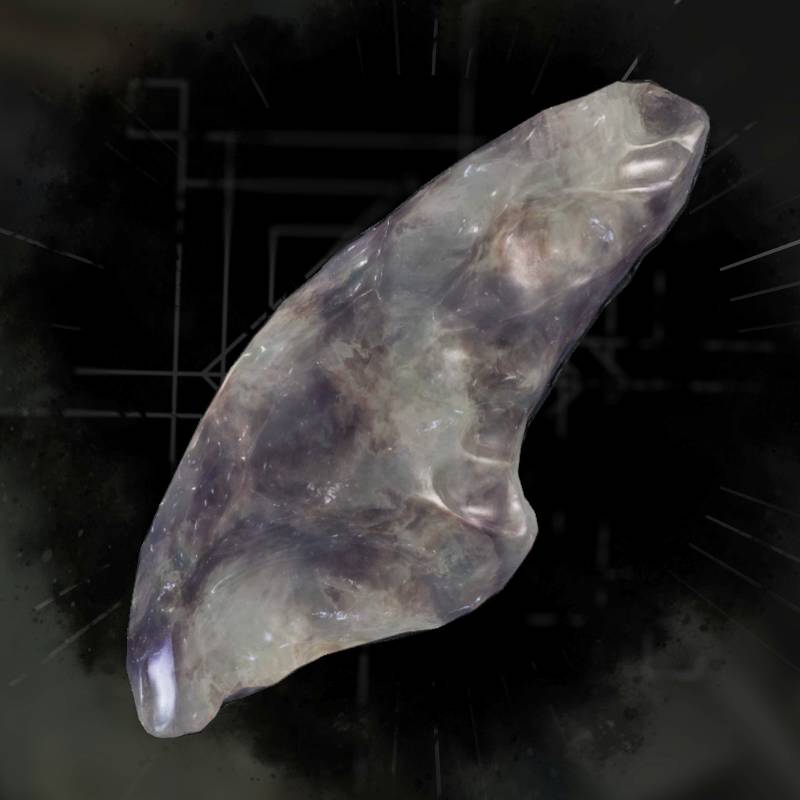
Night Ore charges the Nightshade mask, giving you one revive if you die. You can craft it with the right resources but generally it won't take long to find some in the world if you need it. Use it in the inventory to charge the mask.
Head to the Church, avoiding the traps so that A) they don't hurt you and B) you can use them on enemies later.
Go past the white door when you reach it, as it's locked. If you take the left turn you'll find an Obelisk to note for later. Head right instead where you'll find a flooded area.
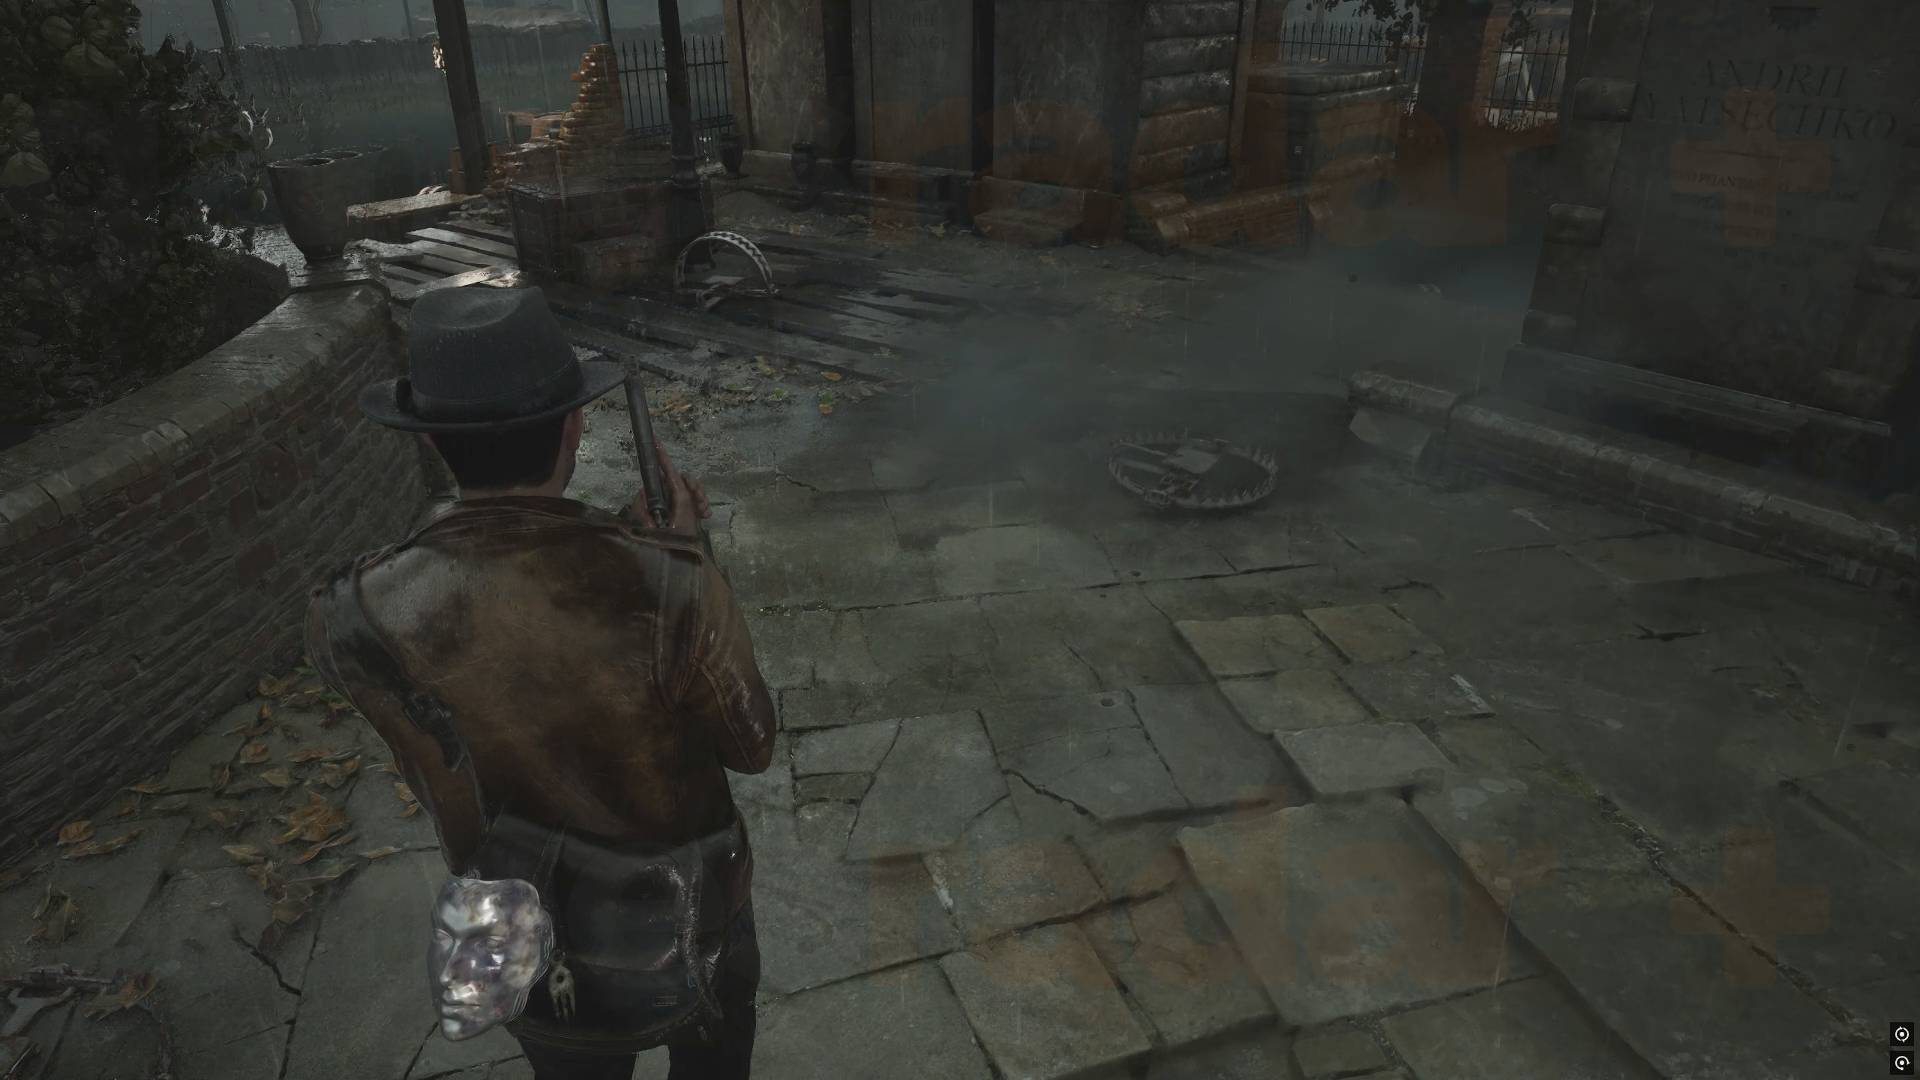
Take the left turn in the water and you'll find a "Stained Note" that mentions a Trident and a Dagger, plus an item in a yellow box.
Take the turn to the right and you'll go past a locked Graveyard Gate and find your way to a statue covered in red vines, where you'll find the Church Key near a body. There are a lot of enemies here, so use the traps and the Gas Can to help take them out. There are also two yellow item boxes near the Statue with items in, and a Star Locked Door you can't do anything with yet.
Take the Church Key to the white door. Inside you'll find the a "Call Upon Believers" note on the altar, and "Origins of the Redemption Church" note at the back near a ladder. There's also an item in the cupboard in the corner and, up the ladder, you'll find a Radio you can listen to and another Star Door.
Dream Essence explained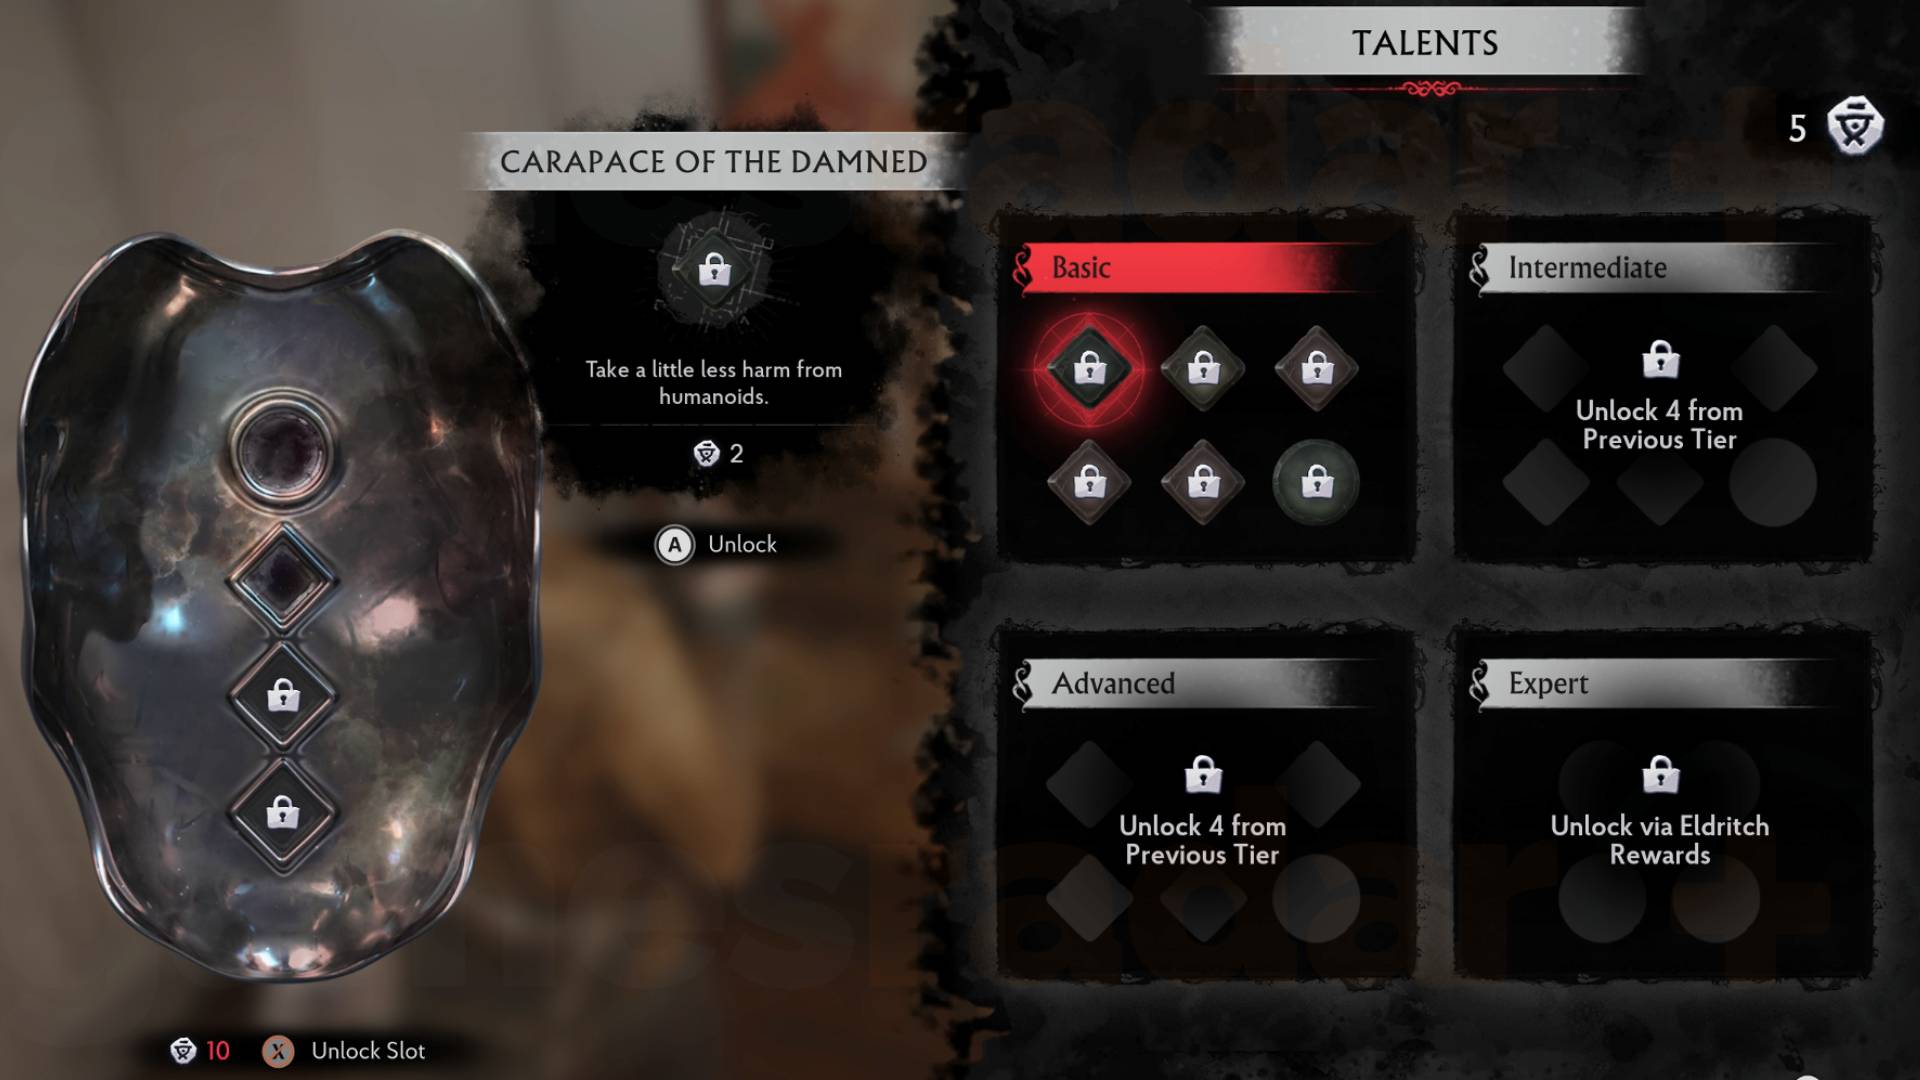
Dream Essence is essentially XP, giving you upgrade points you can use to unlock talents. The main way you'll get it is from joining up investigations, which is why it's important to hoover up every note you can find. You'll also get it as rewards here and there for puzzles.
Now head into the Safe Room, where you'll find the "Look for Dream Essence!" note and some Dream Essence you can now use to upgrade Talents at the Talent Table. You can only equip one for now, so I'd recommend either Carapace of the Damned to reduce damage, or Profane Reload to reload quicker.
Head out the other door into a new area. Get the item in a yellow box on the coffins, then head past the big statue to the Gate Lever. However, the Gate Lever has a combination lock on it and there's a "Floodgate Lock" note by a body explaining the combination is the year of the bell.
The Floodgate Lock combination
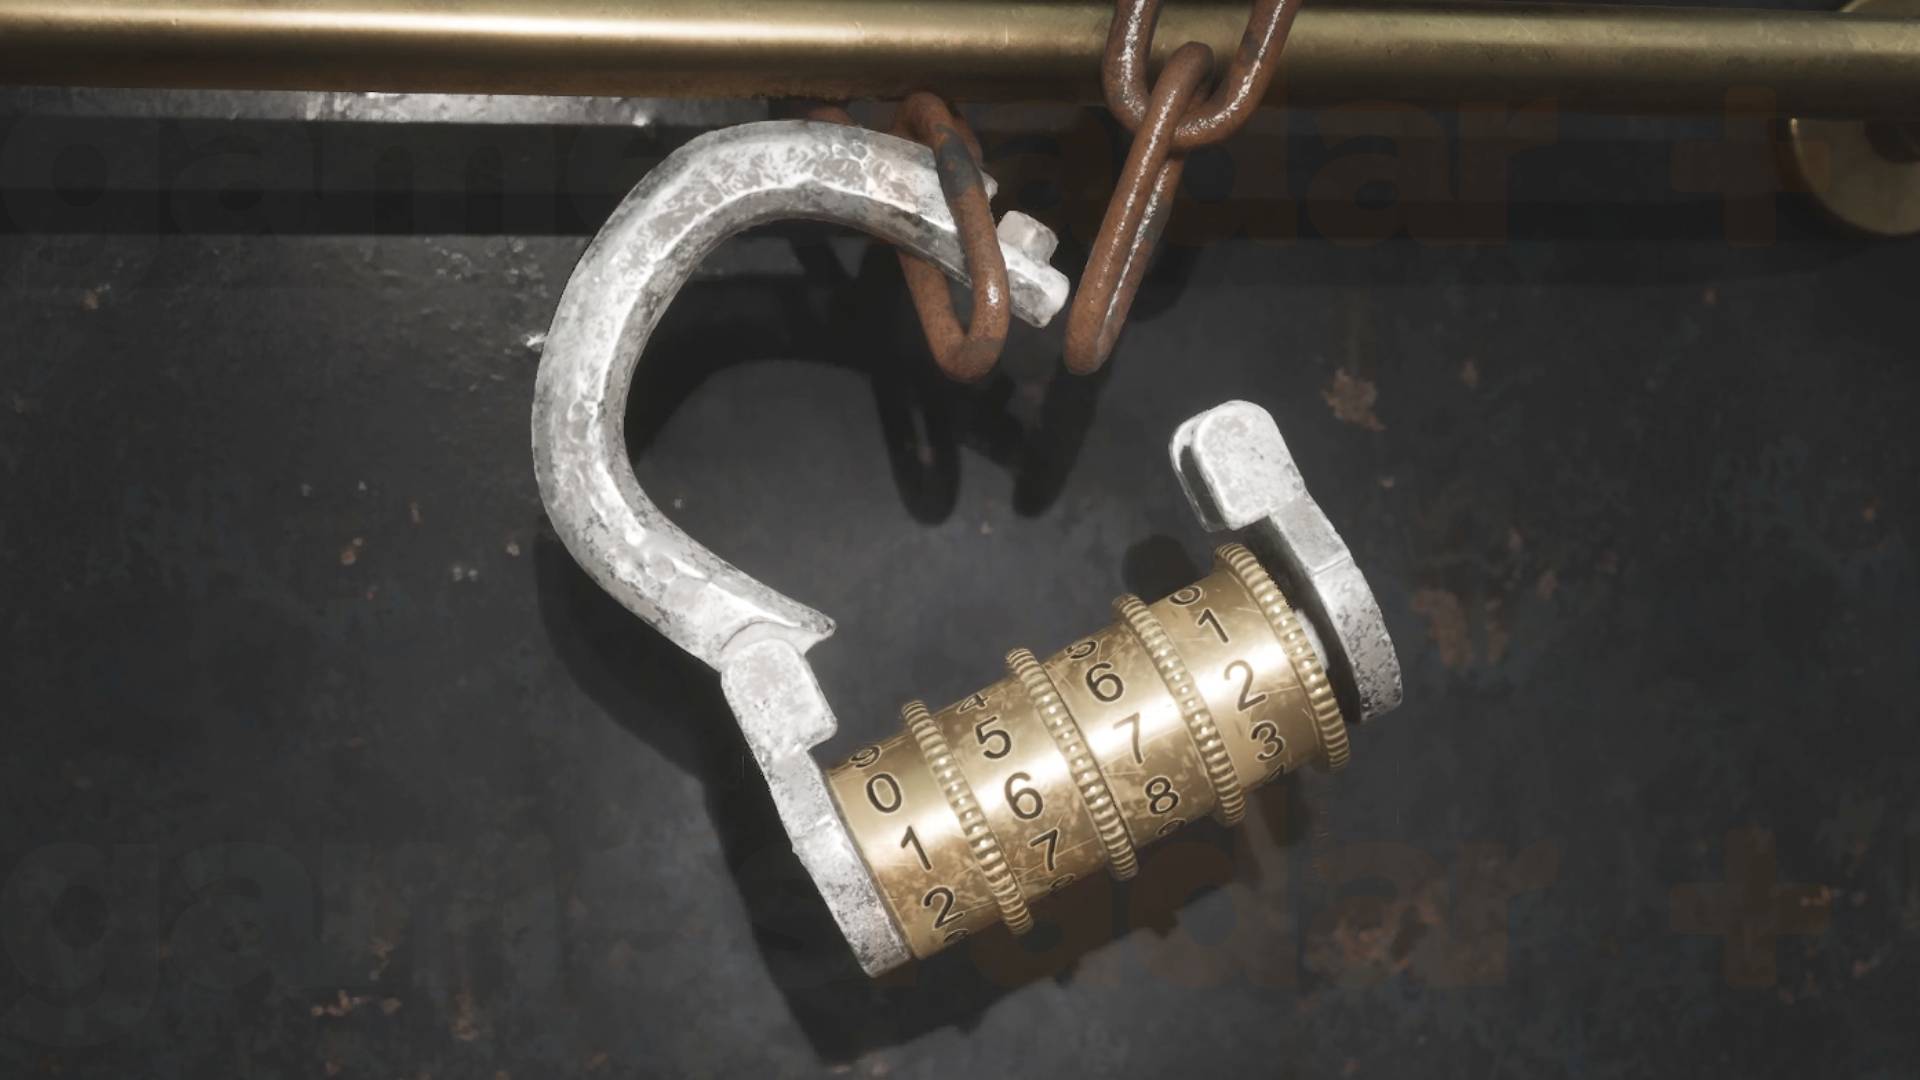
The Floodgate lock can be opened with the code 1672.
The "Floodgate" Lock note explains the combination is the year of the bell, and while the "Origins of the Redemption Church" note you found earlier says the church was founded in 1667, the "Report on the Bell" note you'll find later says 'it took another half decade to craft and install the bell'. This gives you the combination 1672.
You can open the gate now, but there's a lot more to do at the Church before you go, DON'T LEAVE YET.
Grab the Star Key on the body and the item in the yellow box. Leave and you'll be attacked by a couple of enemies.
Use the Star Key to open the Star Door above the ladder in the church, where you'll find and take the Trident and a "Report on the Bell" note that says 'it took another half decade to craft and install the bell. This finally gives you the Floodgate Lock combination: 1672, as I mentioned earlier.
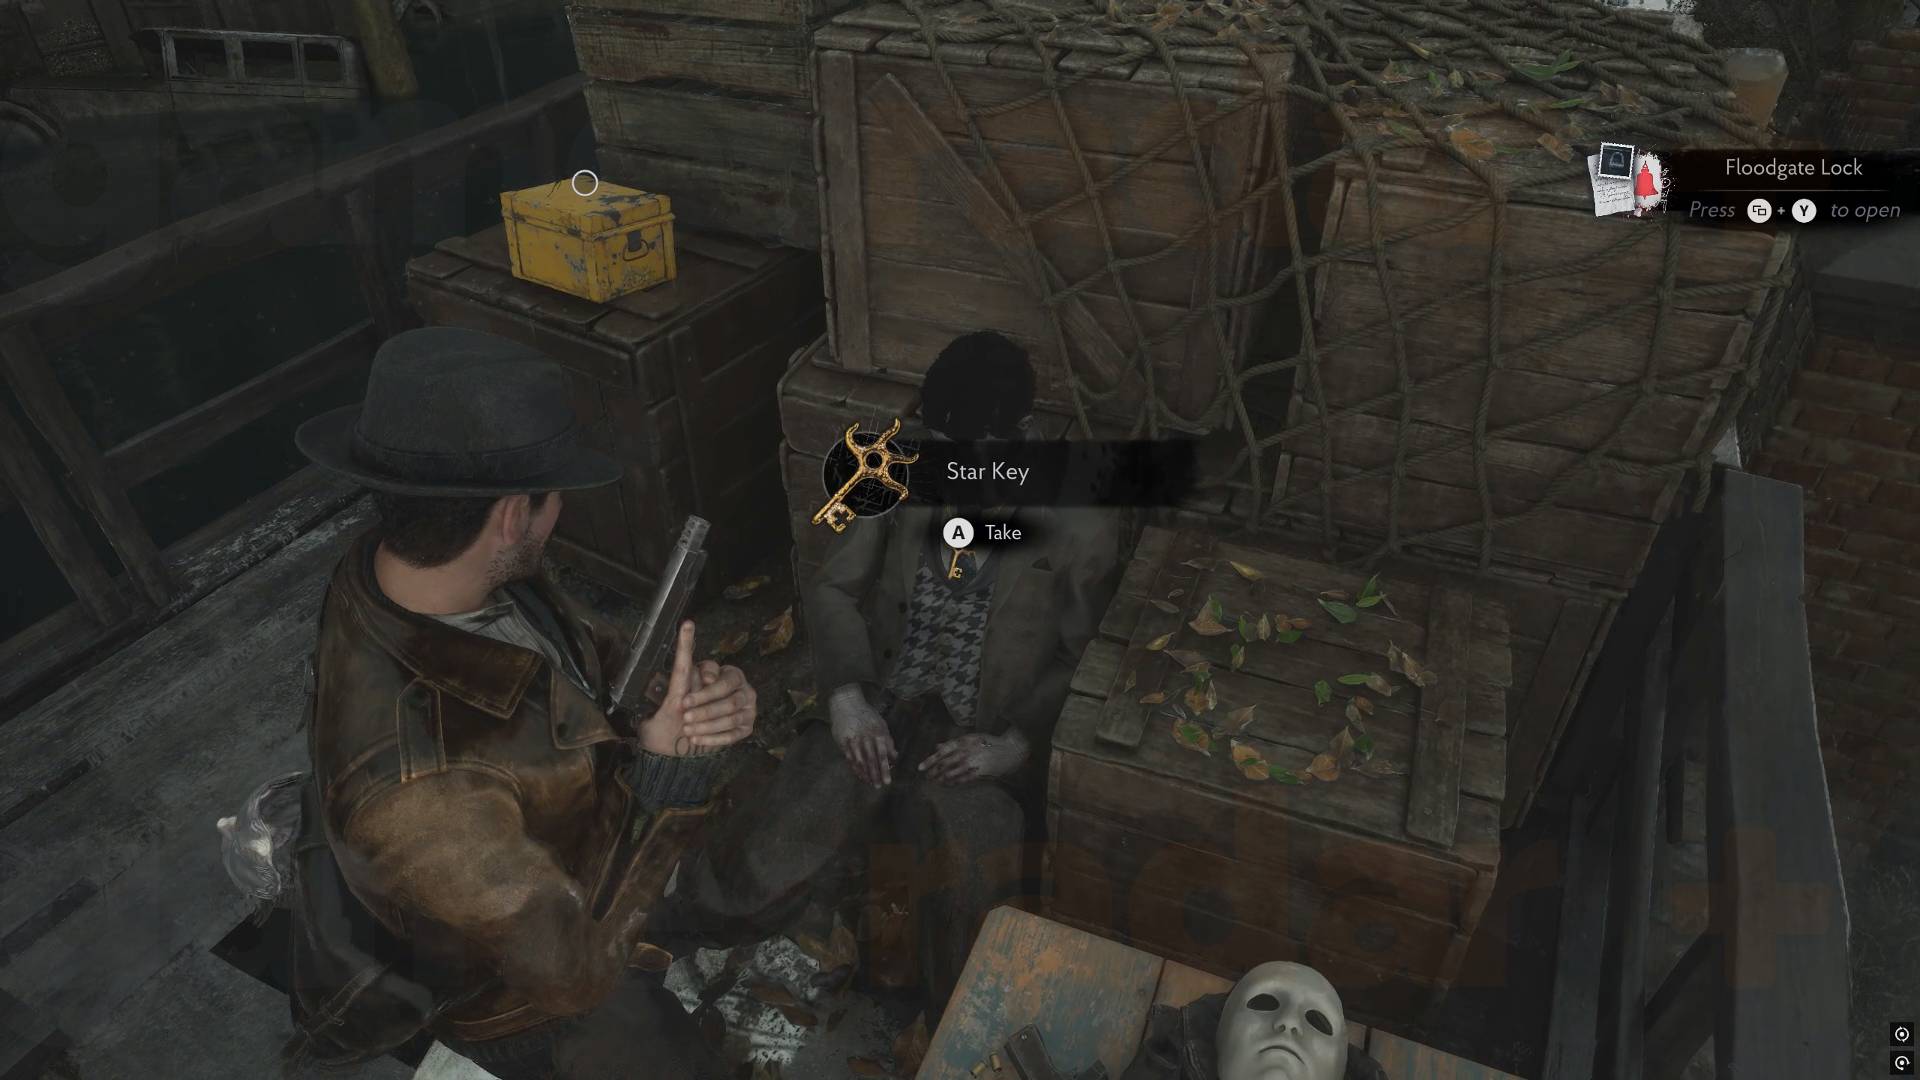
Link the "Origins of the Redemption Church" note to the "Floodgate Lock" note and the "Report on the Bell" note in Investigations to complete it and get an upgrade point.
Go into the Safe Room, out the other side and around the corner where you'll find a "Lost Letters - The Conduit" note and an item near a red vine-covered wall. Follow the building around past an open window, where you'll be jumped by two enemies. Deal with them and you'll have opened up a shortcut back to the Obelisk. There's also an item in a yellow box. Now go back to the window you can climb in where you'll find a "Notes on the Path" note, an ERC pen and you can also unlock the door for a shortcut back to the Church.
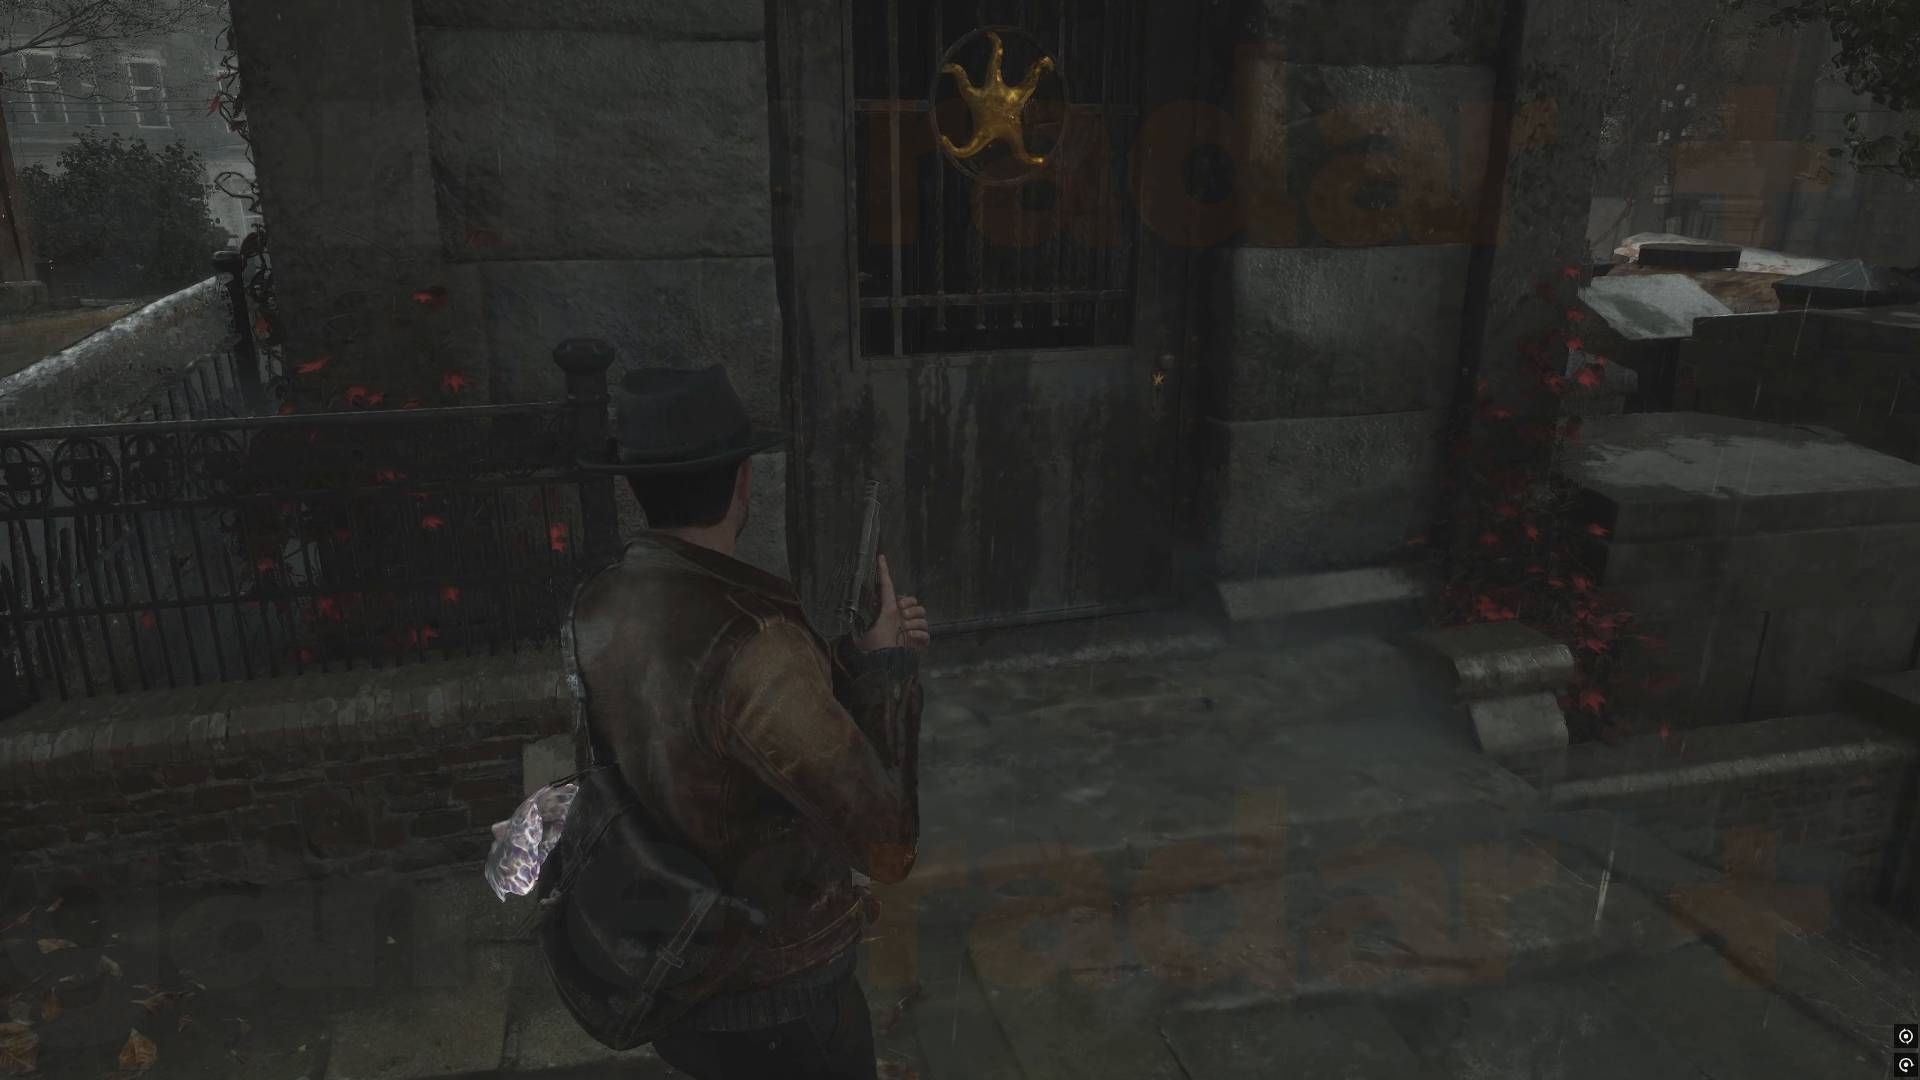
Now go back to the Star lock in the Graveyard and open it to get the ERC crate for an inventory upgrade, grab the Printing Plate C for later, and a First Vision Note and a "Letter to Boss" note.
Go to Investigations to link the "The First Vision" note with the "A Call Upon Believers" note and the "Notes on the Path" note for an upgrade point. An enemy will appear when you leave but you can run past and get back to the church and the Obelisk.
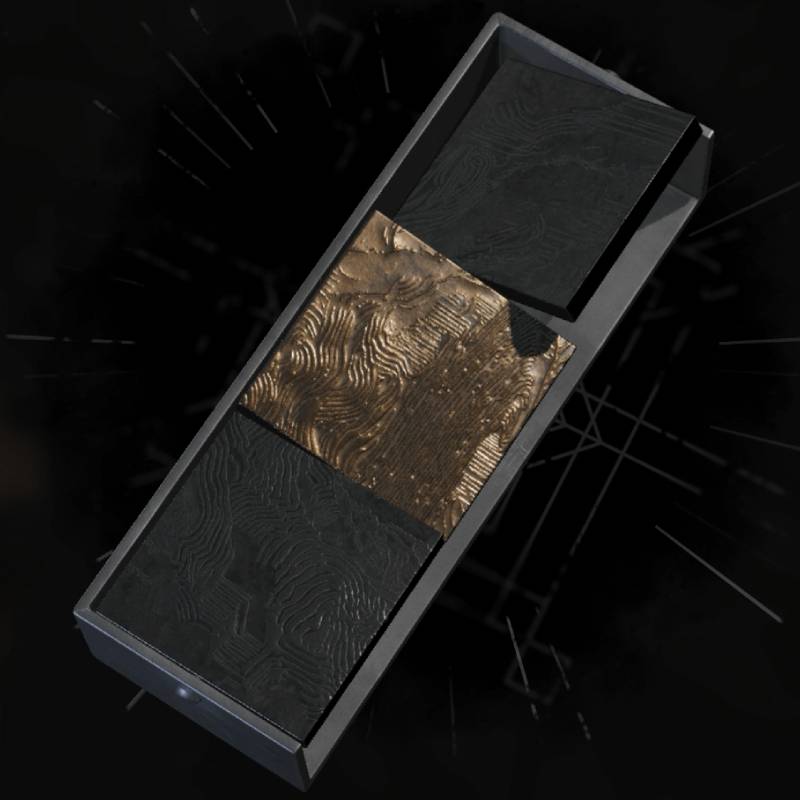
Printing Plate C is the first of three plates you'll find in the next few areas. When you have them all, you can take them to a printing press to get one of two upgrades - either a melee stock for the shotgun or some Dream Essence. This is a completely optional side quest.
How to solve the Obelisk puzzle at the church
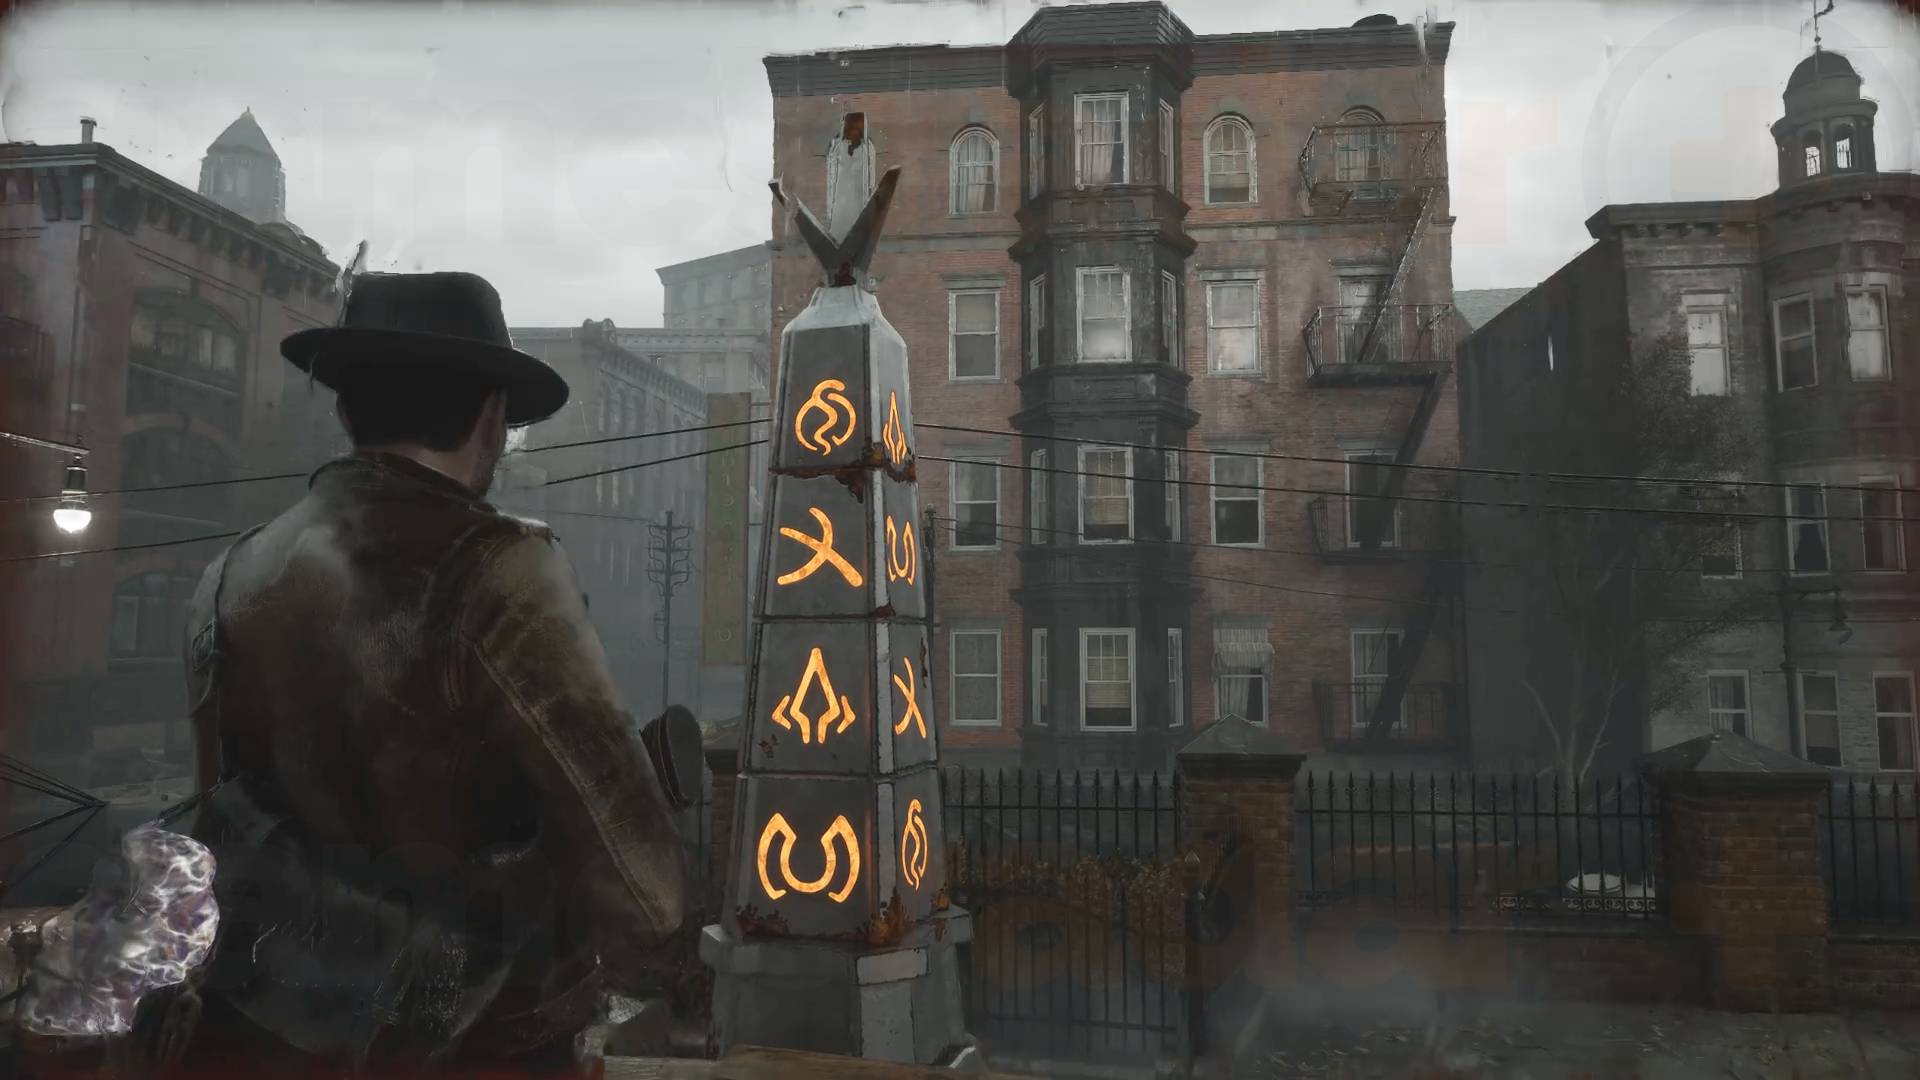
This is the Obelisk puzzle solution, showing all the correct symbols. This comes from using the "Call Upon Believers" note which lists gods 'from the depth to the heights', while the First Vision note lists their symbols, giving you this:
- Cthylla: Splayed Womb
- Gyrh: Spearhead
- Tsog-Nar: Crooked Cross
- Yig: Serpent Form
With that info you need to rotate the Obelisk symbols to display these symbols in order starting from the bottom (the depths) and moving to the top (the heights).
When you get it right the Obelisk will start crackling and lightening will keep striking every few seconds, so get out the way. Each time the lightning hits, one of the Trident tips will light up, so wait for that while dodging or dealing with the enemies as you do. When all three tips are lit, grab the Trident between blasts to end the process.
Take this charged Trident back to the room you found it in and place it back on the stand. This will transport you to another dimension where you'll find the church full of statues worshipping a star-shaped god. Head to the altar, picking up the Dagger on the way, and place it in the altar slot. This will take you down to a basement where you'll have a small boss fight. When that's over there will be two pieces of Dream Essence on the alter when you go back up.
Now you can use the Floodgate combination 1672 to open the gate if you haven't already. You'll be attacked but you can just dodge past everyone and get back to the boat. Follow the water until you reach a whale and the new objective 'Move the Whale'.
PAGE BREAK HERE
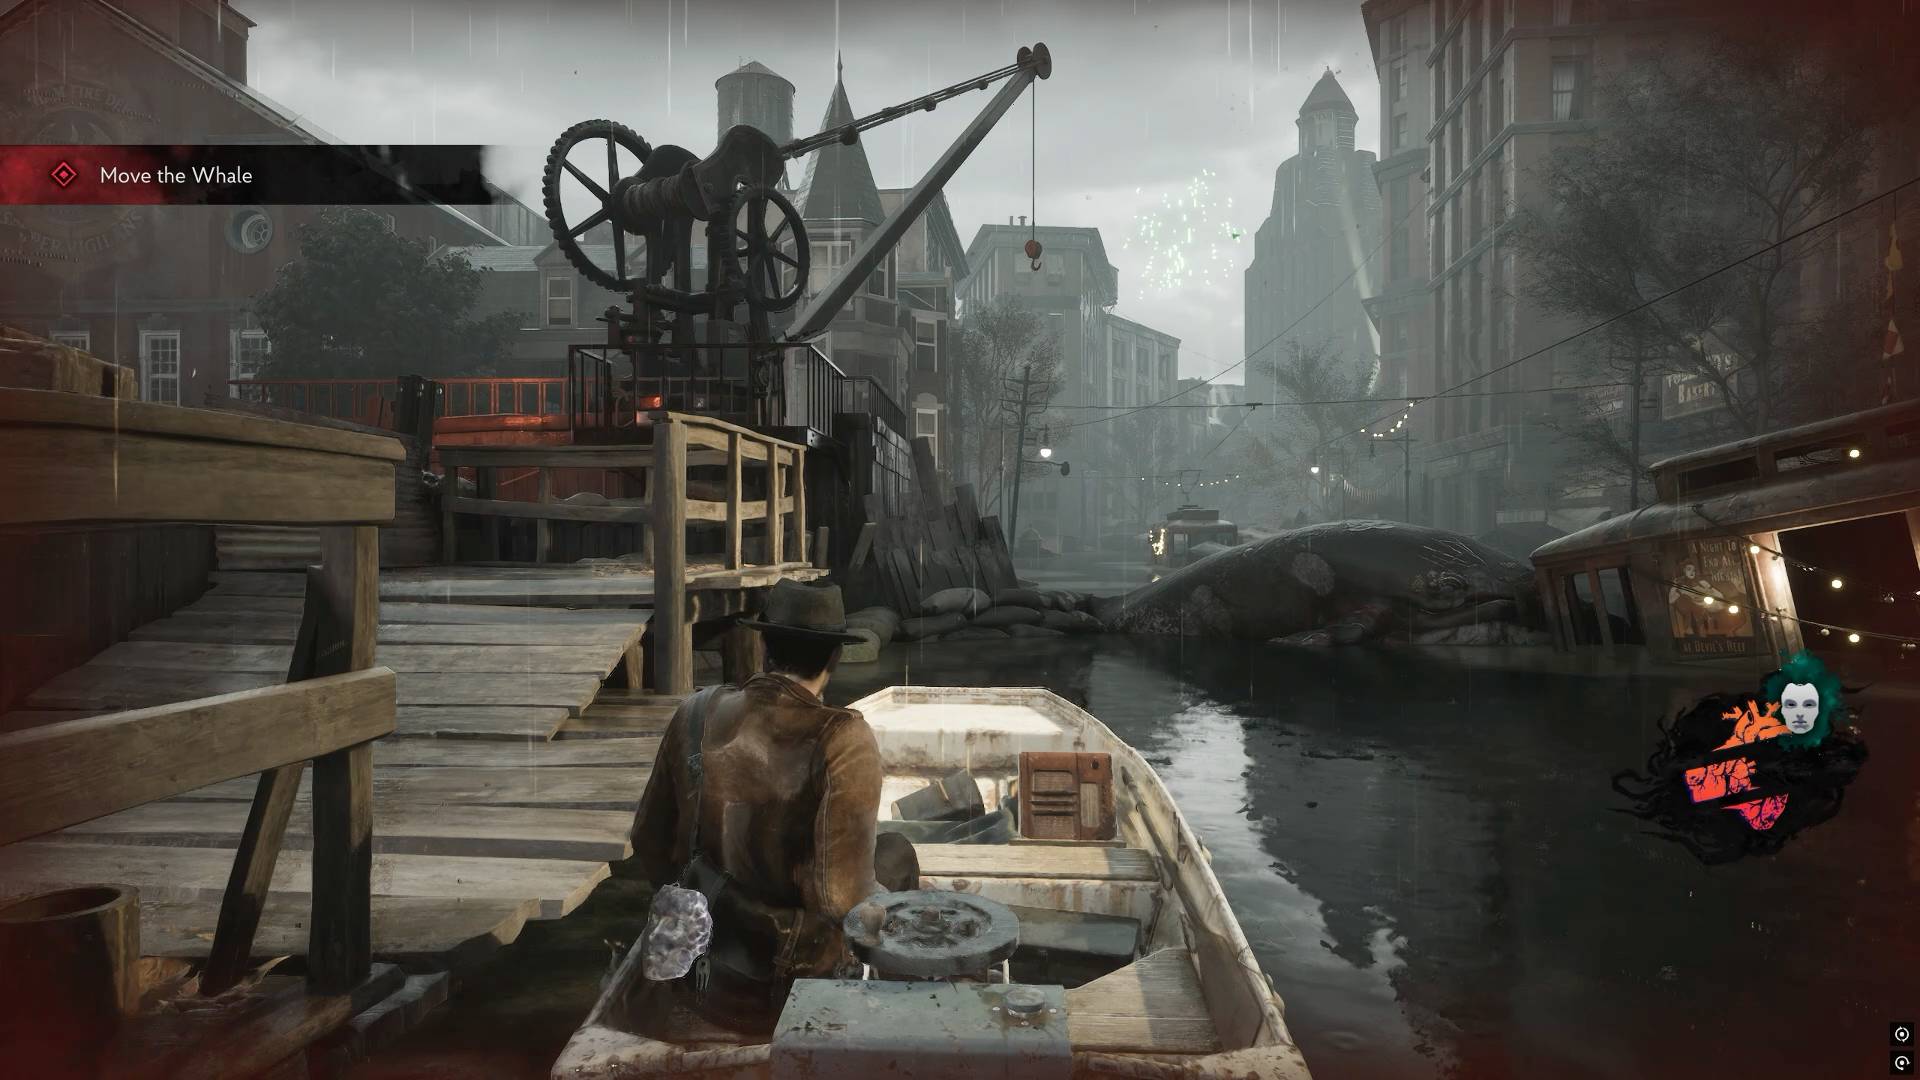
Dock by the whale and move on to find a ladder up to some crane controls that aren't working yet. Follow the platform around where you'll see an engine that's missing gasoline and a gear. Interact with it to get the sub-objectives to fix the crane, and to find gasoline and a gear.
A creature will appear and smash a hole in the Saloon door you just passed, but before you go in keep going around the corner to get an item from a yellow box.
Head into the Saloon and pick up the "Soggy Note" and the Graveyard Key. There's also a Shotgun you can't reach yet and an item box on the far right as you go in. Go into Investigations and join the "Soggy Note" and the "Broken Crane" note for an upgrade point.
Head inside the Safe Room where's there's an item in a yellow box then head out the other door to get the Shotgun, listen to the Radio and then go back the way you came.
At this point you have choice: the Gear is at a Printing House, reached via the Church using the Graveyard Key, while the gasoline is ahead in the Fire Station. You can do them in any order. However, you'll get a Printing Plate from each location, which you can use back at the Printing House, when you have all three, for an upgrade.
I'm going to do the Printing House first and then the Fire Station, because at that point you can continue the story with no more backtracking. However, it's worth doubling back to the Printing House then to collect a useful upgrade.
How to get the gear in Sinking City 2
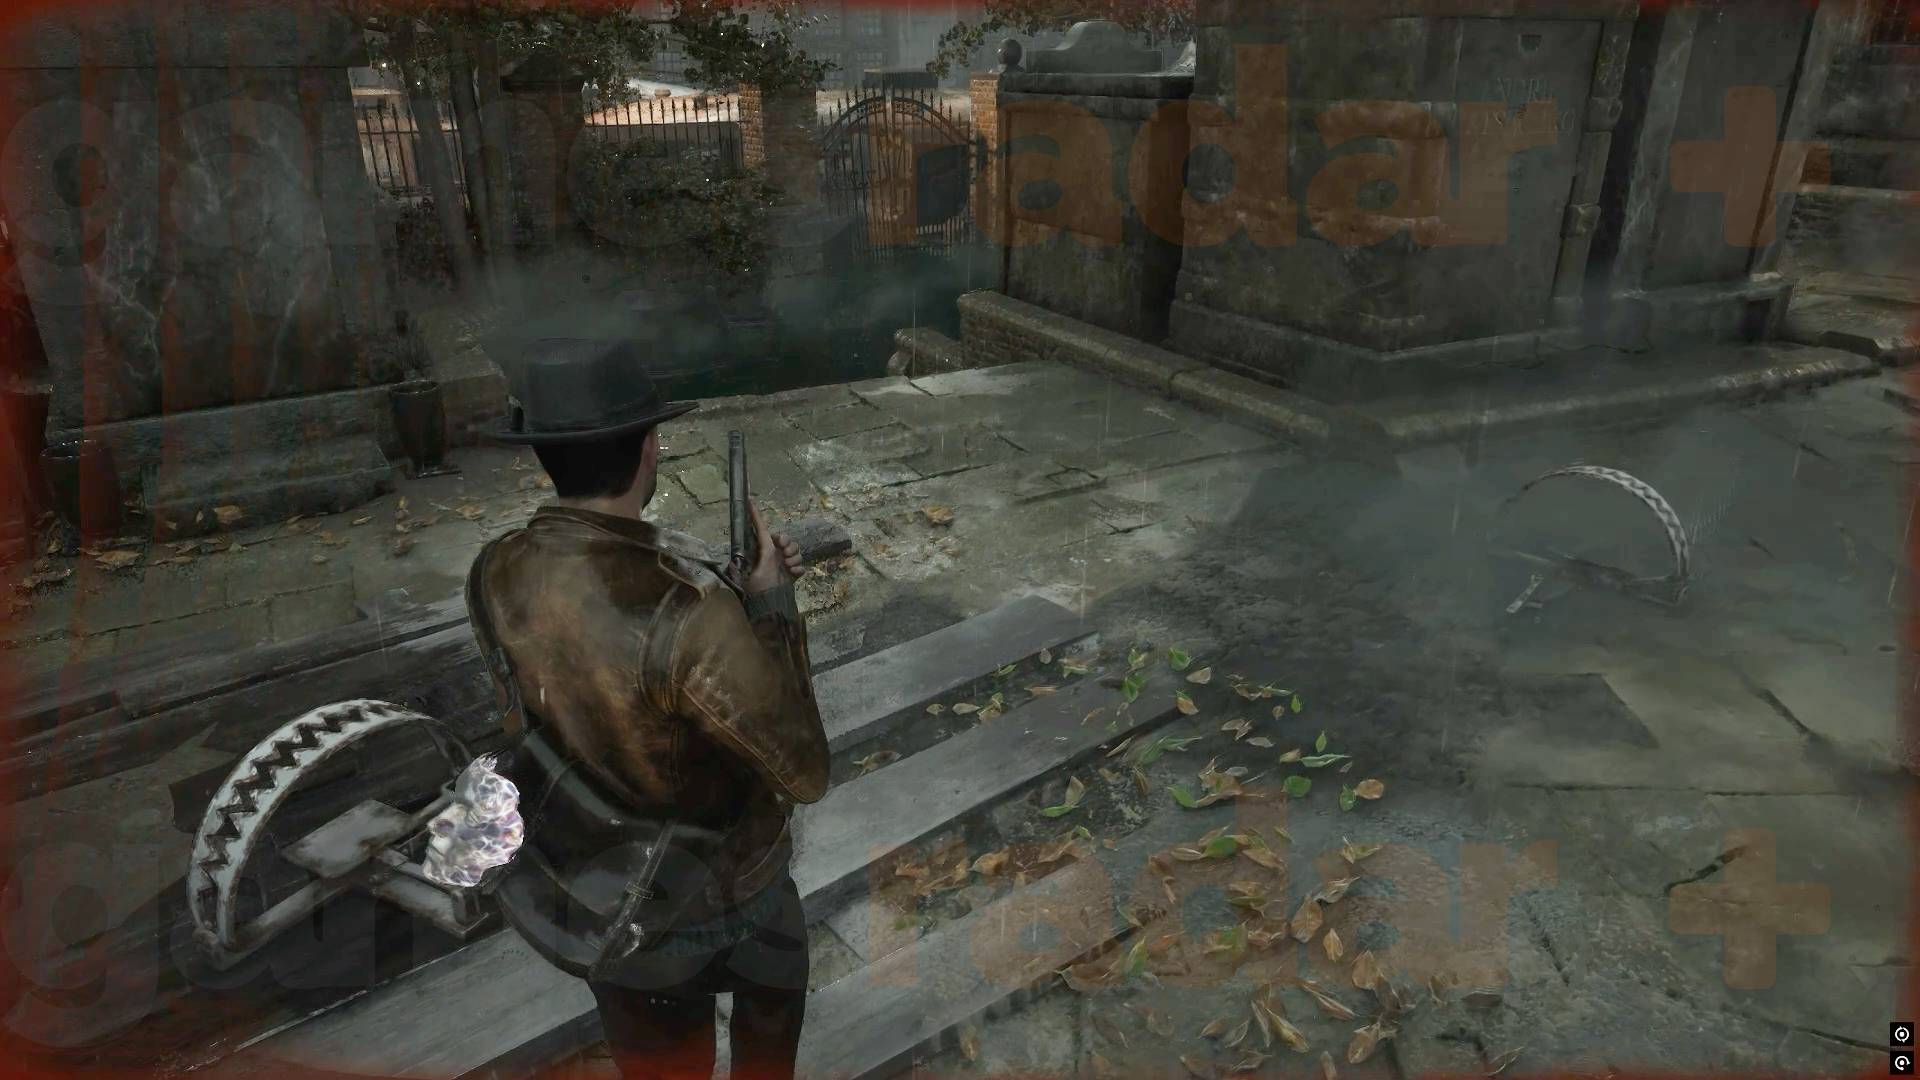
Head back to the Church and use the key at the locked gate in the Graveyard. Follow the path through a bus where you'll be attacked as you pass through. Take a left out of the bus to find two yellow item boxes on the back of a truck, then go back the other way and up the ramp.
Ignore the first turn up to find a yellow item box head, and then go back and up. Keep going until you duck under a hole and follow a fire escape to get inside a building. You'll fall through the floor as soon as you do.
Inside that room you fall into, you'll find a yellow item box and an ECR crate. Follow the room round, grabbing some items from a blue drawer near a white door, where you can see a Gear if you look through.
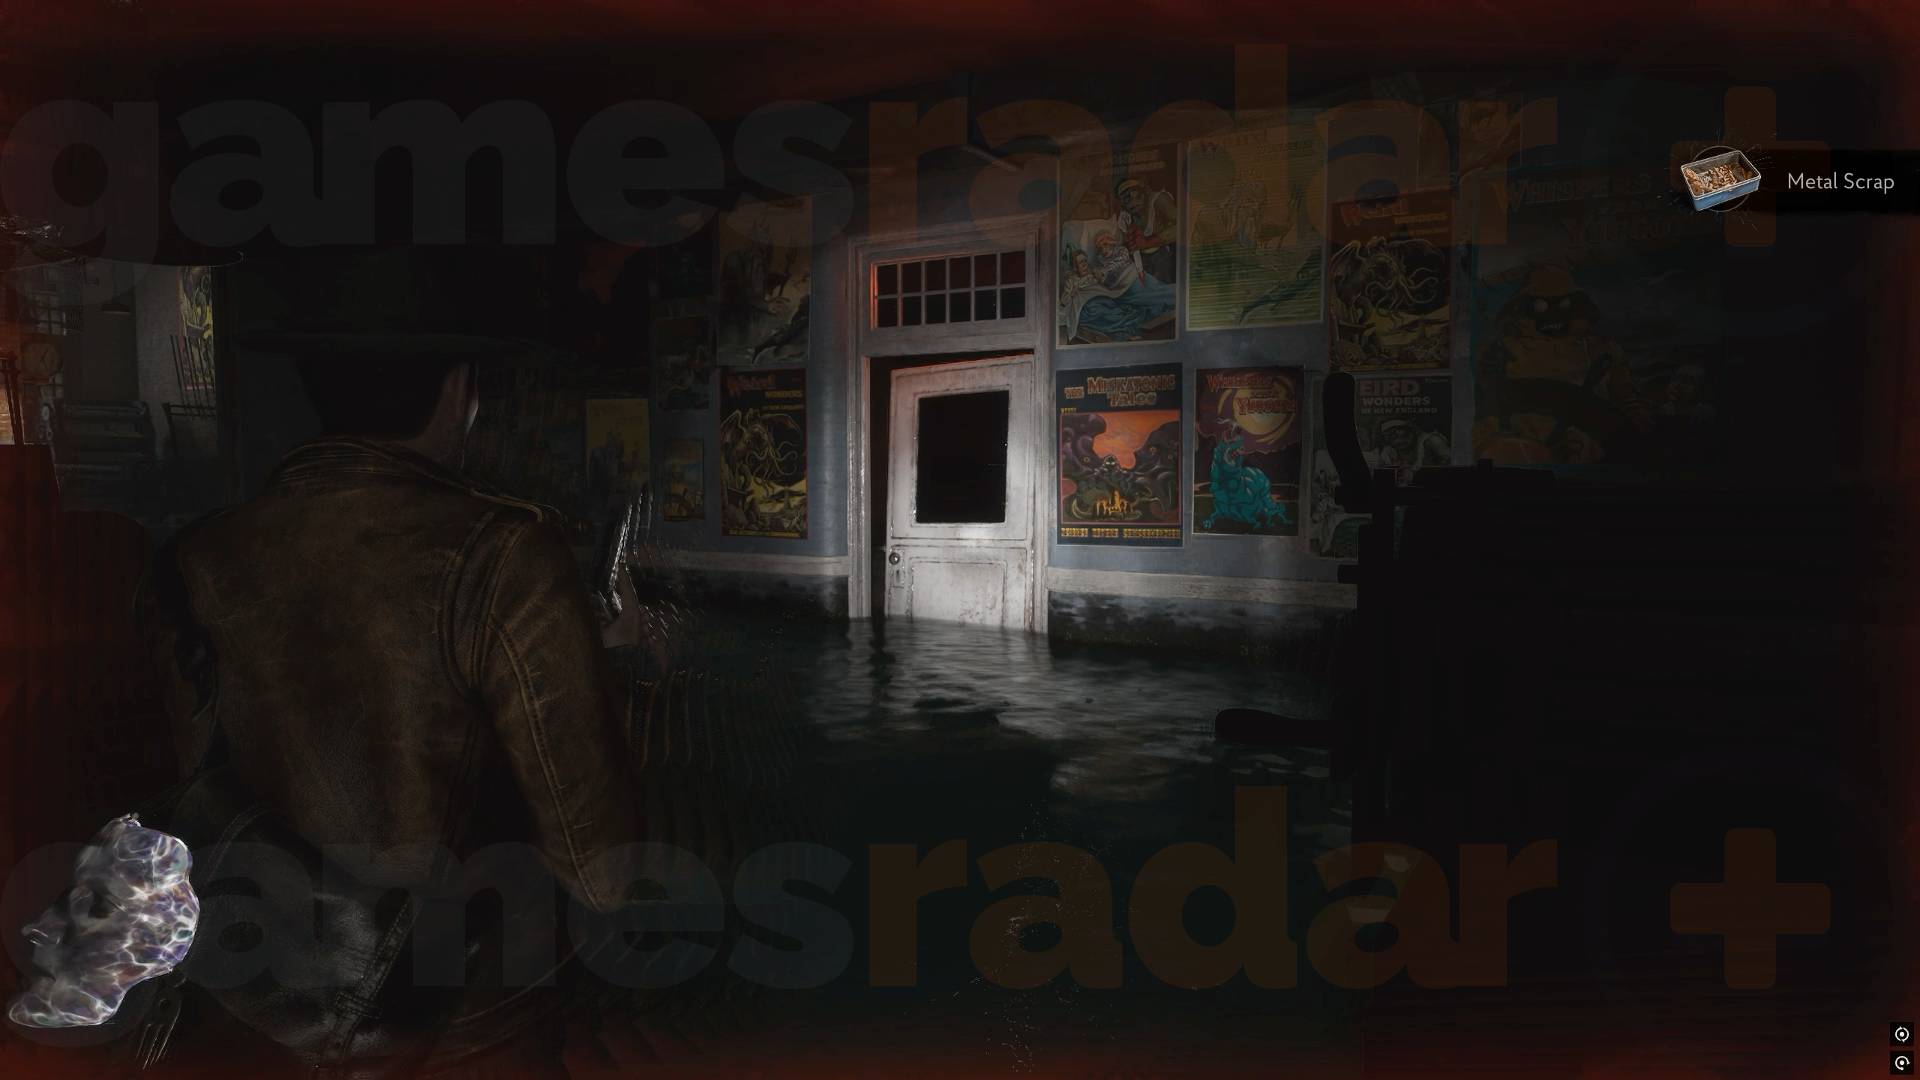
Keep going until you enter a large flooded room and see something move in the distance. There's a item in some blue drawers in the far right corner and a door on the right to the room where you saw the Gear with a knob marked APH that you can't open yet. To the left are some stairs that lead up to a locked door and a hole in the wall.
Head through the hole where you'll see something moving again. You'll be attacked by two enemies as soon as you start heading forward so take them out. There's another enemy around the corner before some stairs but before you take the stairs check the other side for an item in a yellow box.
As you head up the stairs you'll find a room on your right. Inside is the "Adventure Awaits for Arkham's Academics" note and a yellow box with an item inside. There's also a locked gate marked APH again.
Leave that for now and head up until you reach a window you can climb in. Inside there's a "Lost Letters - Staying With You" note and an item in a drawer in the next room, with an enemy. You'll also find a Printing Plate A on a desk and an "Incident During Study" note that explains the last plate is in a head librarian's apartment near the Fire Dept.
Once you have everything, head out the other window and down a blue pipe. At the end of the blue pipe you can head up to find an item and then back down and across to reach the next room.
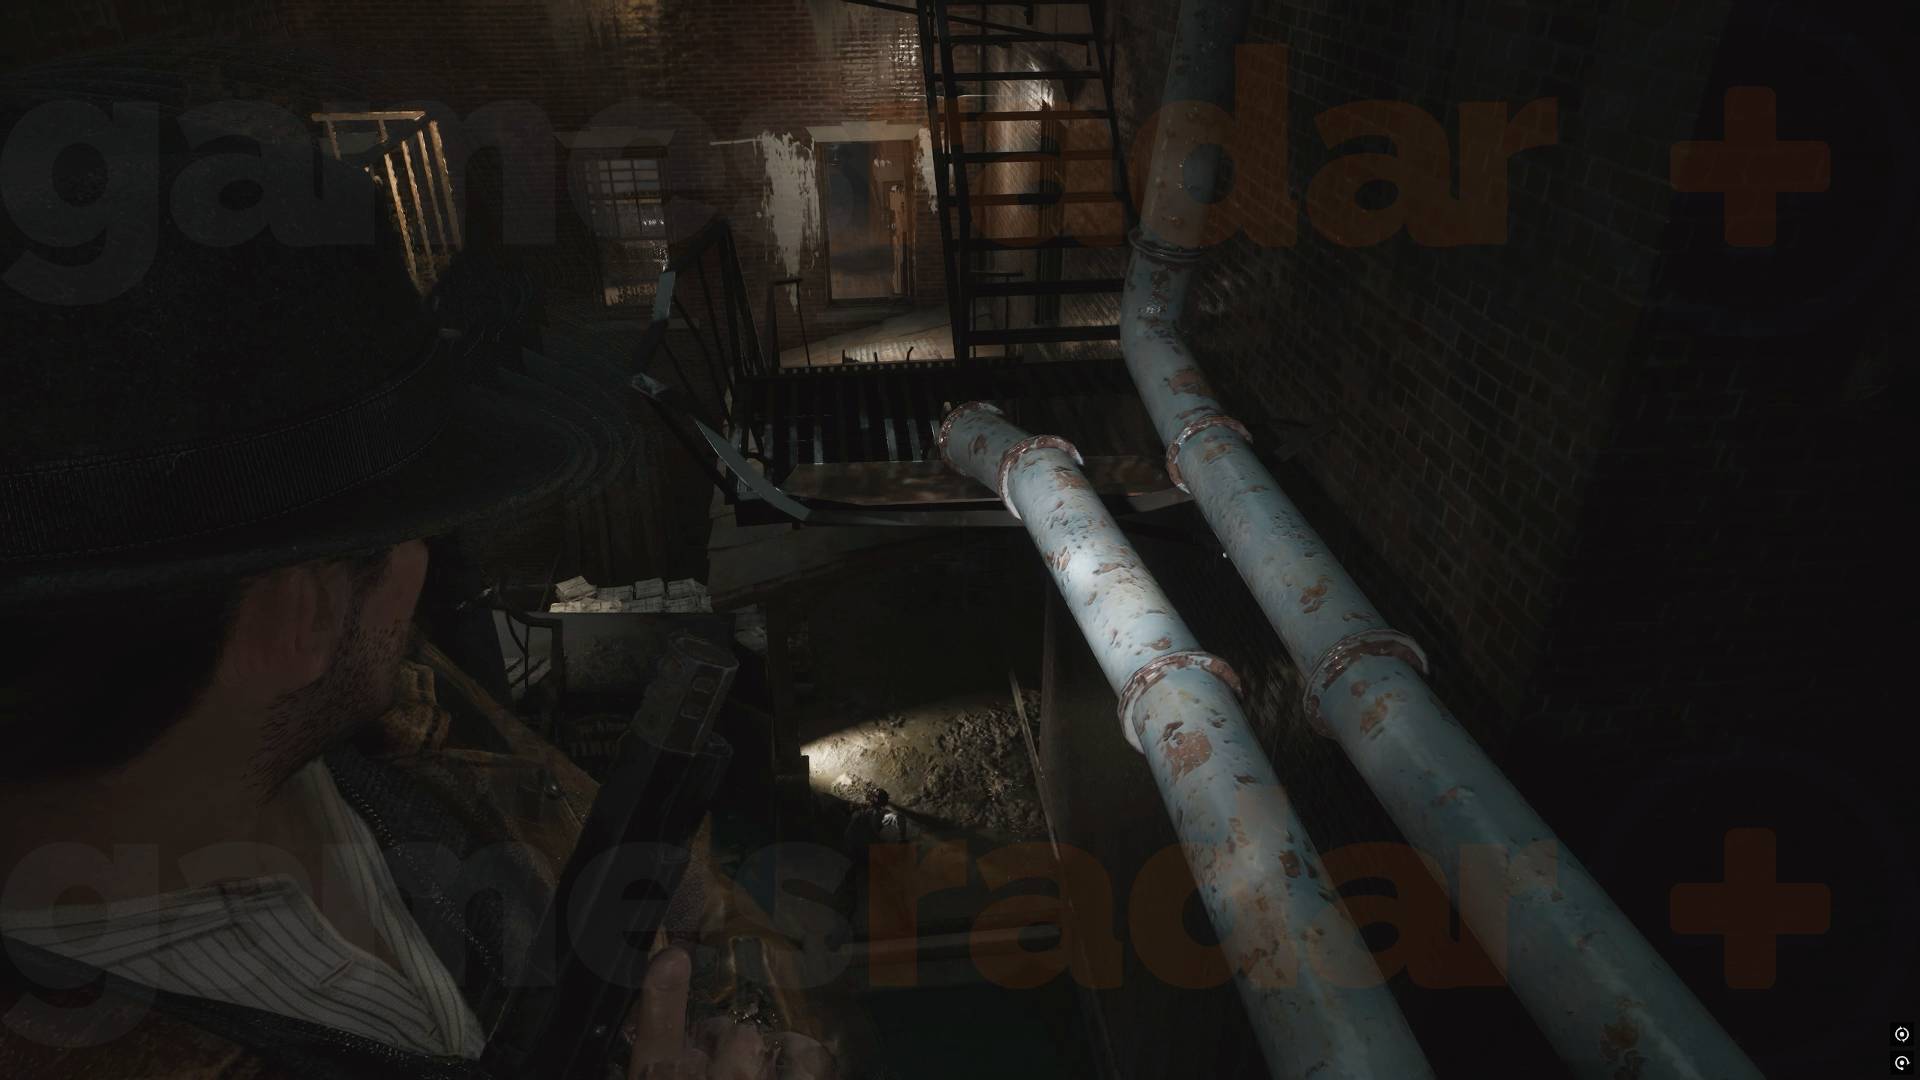
The new room is actually where you first came in, before you fell through the floor, only with the hole now covered up. Inside you'll find the "Floodwaters Rise!" note on the desk and an item directly behind you after that. In front of the desk you'll find some items in some more drawers and a door you can unlock for a shortcut back to the large flooded room from before.
Through the white door you'll find an item in a cupboard, something in some drawers, a save room and the APH key on the wall. Taking that will cause a secret room to open. Inside you'll find a printing table where you can place the two printing tablets you currently have.
The window will take you back out to the bus and the way you came out but ignore that for now and go through the door you unlocked to get back to the large flooded room from before. When you go back down there are new enemies that shoot at you from glowing holes in their face. Shoot the glowing holes at the brightest for the most damage.
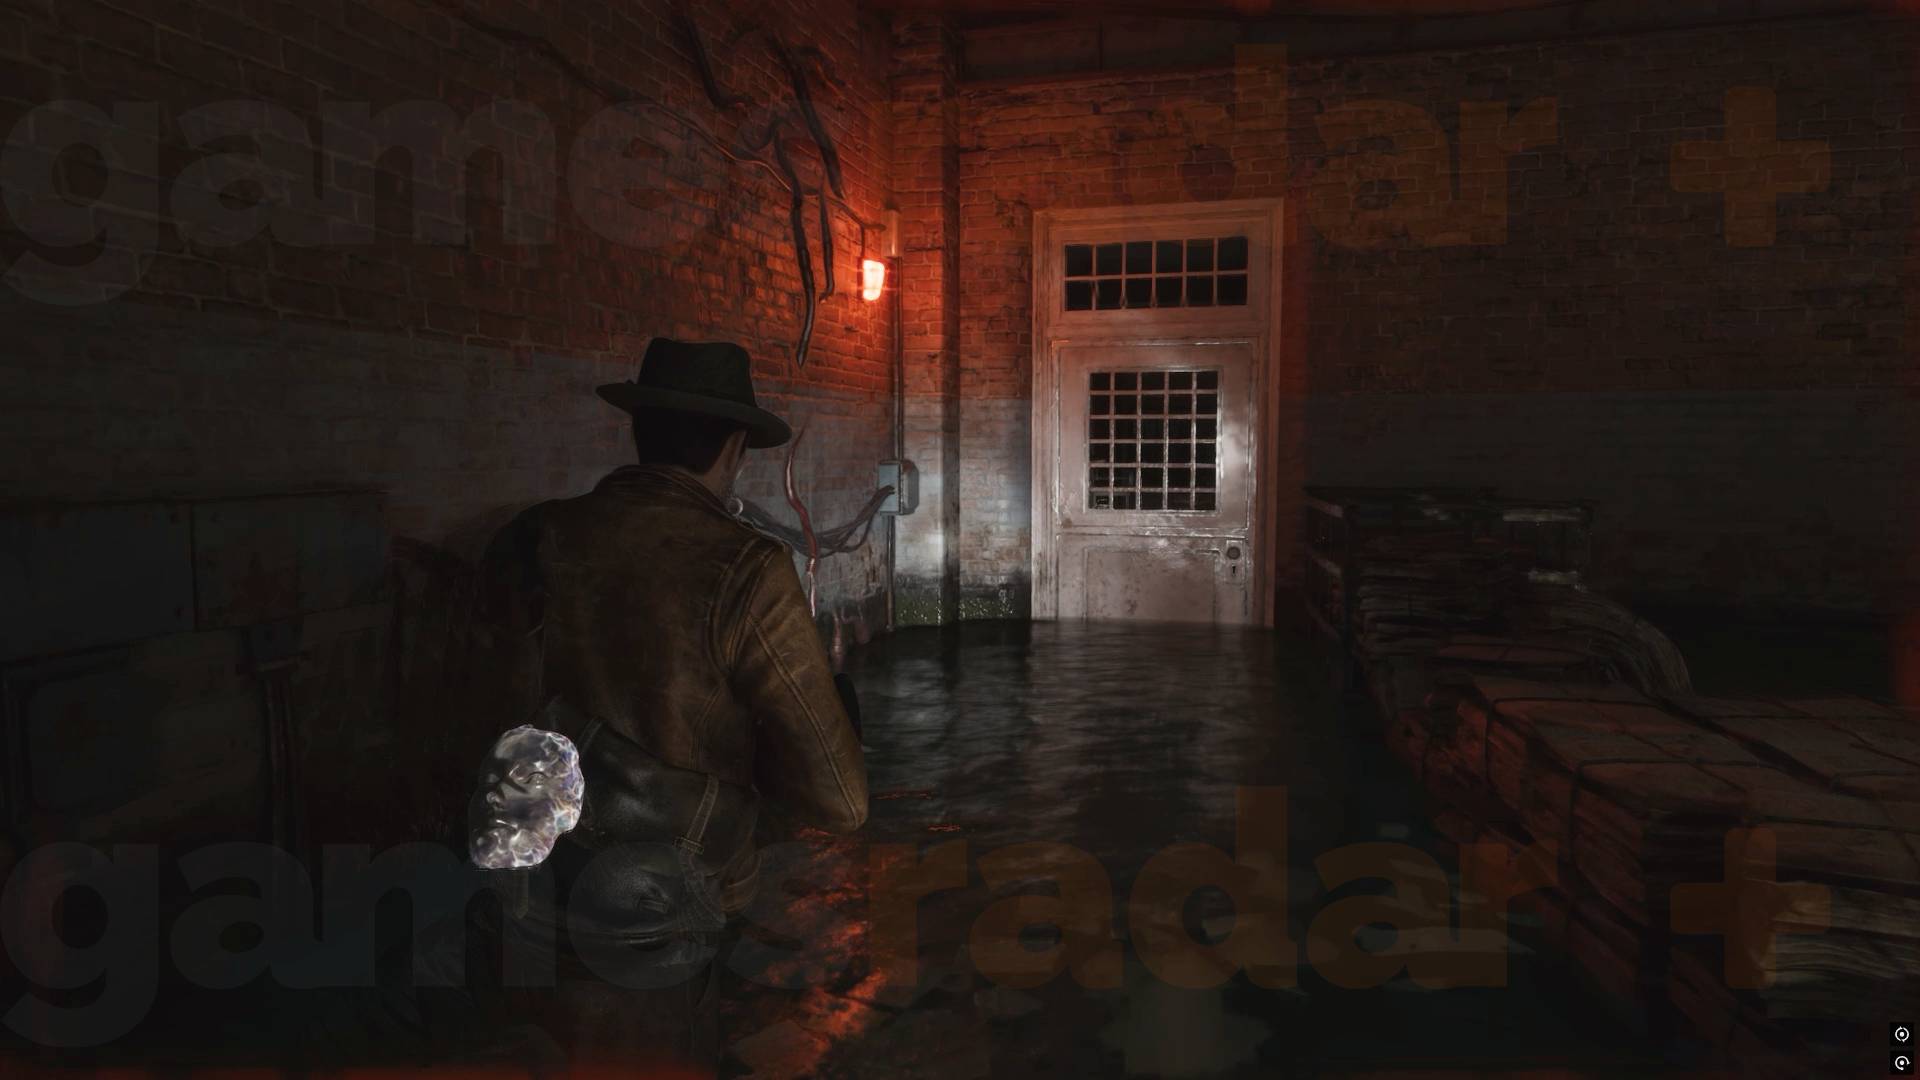
Deal with them, then head back to the Gear room and open it with the APH key to take it. When you leave a lot of enemies will appear, so run back up the stairs to the room you were just in.
If you take the window out the way you originally reached this room you can drop a ladder back down to the gate that was also marked APH and use the key to open it. Inside you'll find an item in a yellow box and an ERC pen key.
At this point you can head back to the big flooded room to try and get the ERC crate for an Inventory Increase. I'd dodge and run as best you can to avoid a fight or you'll likely use up all your ammo and health. Whether you do that or not you can leave via the window in this room to get to a fire escape that will lead you back to the Church.
How to get gasoline in Sinking City 2
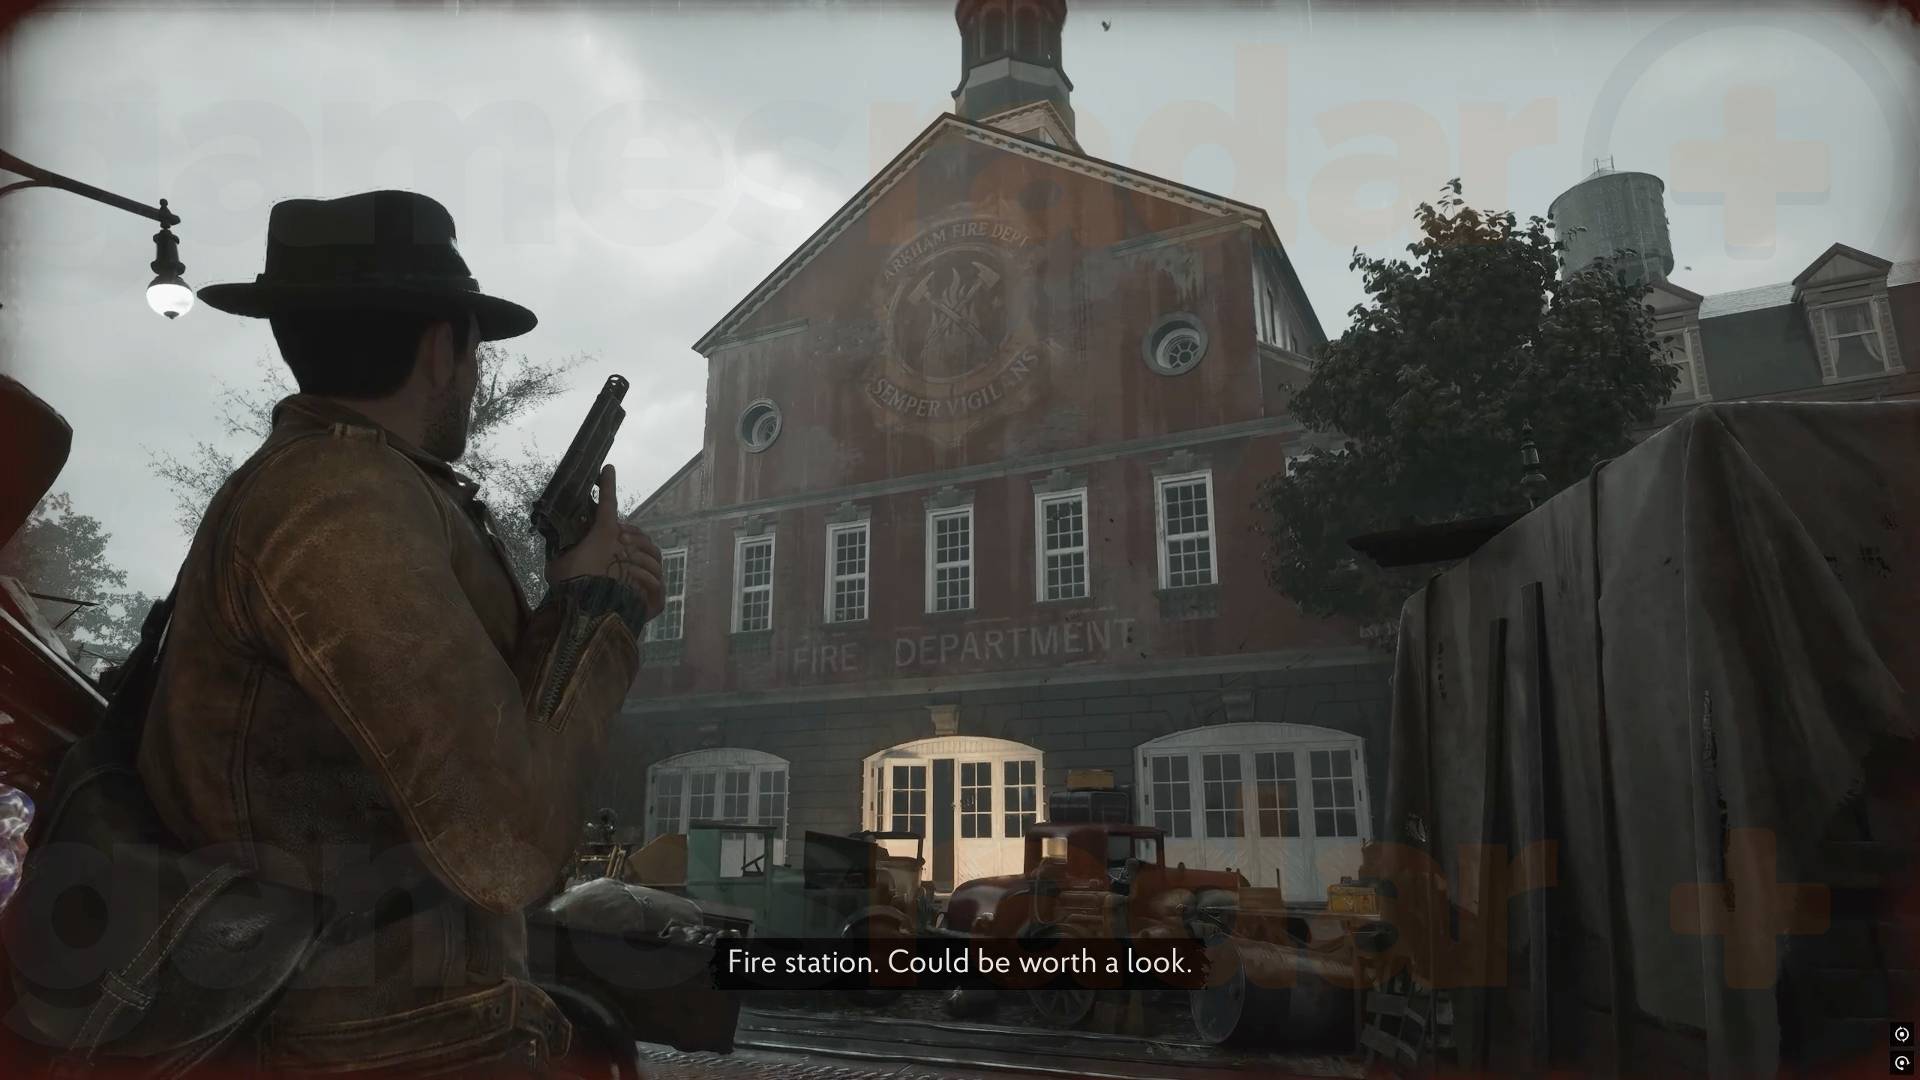
Head out of the saloon towards the Fire Department and follow the path left. You'll be attacked by a Stygian once past the bus, and once that's dealt with then head up the stairs in the corner to find a 'Rescue Zone' and an item in a yellow box. You'll be attacked again by a Stygian on the way out.
Follow the path to the Fire Station entrance. There's an item in a yellow box by the red car (you'll be attacked by a Stygian) and a ladder you can't reach in the corner. Grab everything you can and and head through the white doors.
Inside there's an item in some blue drawers and another item in a yellow box hidden hidden around the side of the fire truck on the left and an item in the locker by the electrified floor. The gasoline is inside the room the electricity is blocking. Head up the stairs and grab two items from the lockers at the top. In the corner to the right of the lockers you'll find a switch you can pull to stop the alarm bell and electricity but don't do it yet, as it triggers a large attack.
There is also an ERC crate in this area and an item in a drawer on the other side of the room between some beds. When you're ready, pull the lever and then run into the middle of the room to use the fire pole to get down before the enemies overwhelm you. Run into the now non-Electrified room and grab the Fuel. An enemy will burst through the closed white door in the corner (there's an item in a drawer in the small space this opens up).
Get out of the fire station, as not only will more enemies attack you outside, but the ones inside will smash their way out as well. Run around the fire and back to the Safe Room in the Saloon. Save and get organised then run out and out the hole in the door.
Refuel the crane, fit the gear and use it - turn left first to find the big red claw (and open up a new path you'll use in a moment) then take the crane with the claw attached to the Whale to move it.
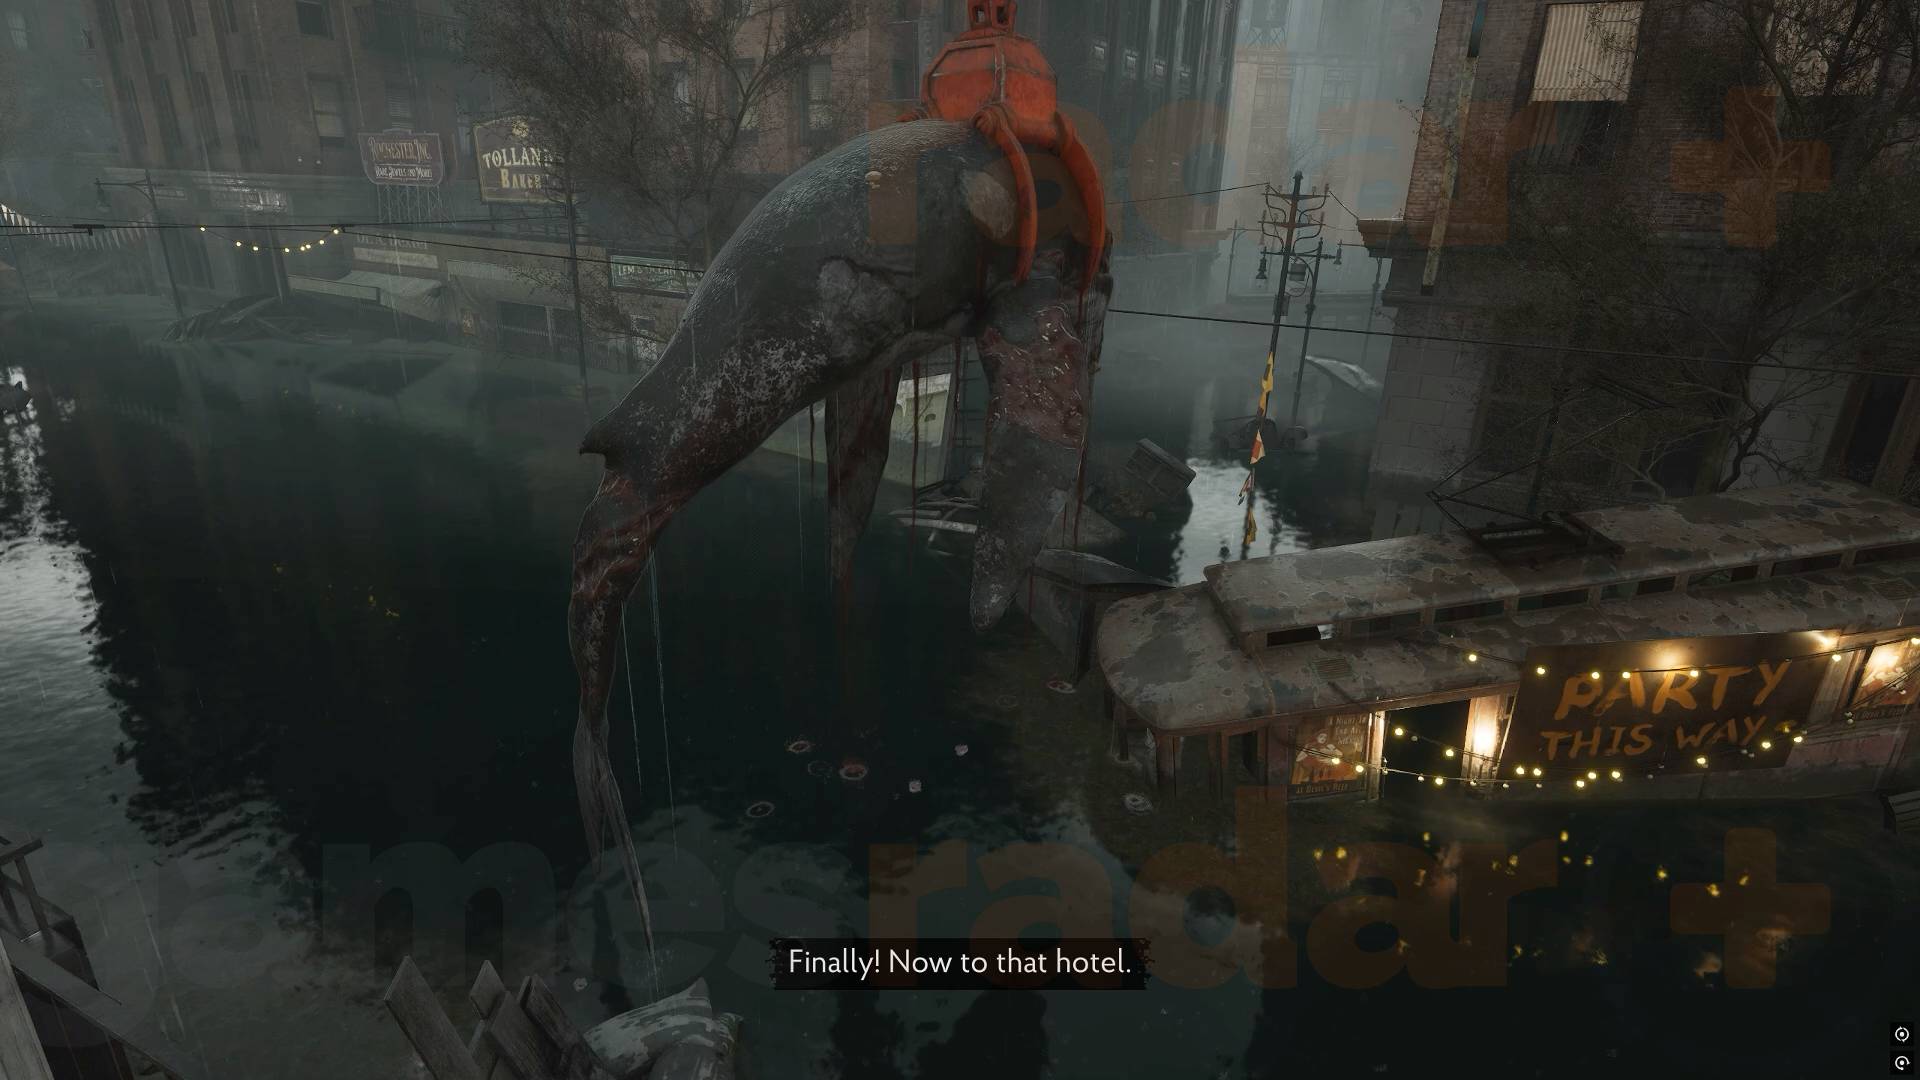
If you want the final Printing Plate, you're now going to want to head back into the Fire Station area to access the ladder you can now reach after moving the claw. If you don't the upgrade that gives you you can just carry on to the hotel.
If you want the Printing Plate, run and dodge your way to the ladder by the Fire Dept and grab the item in a yellow box before you head up. Deal with the enemy inside and on a desk you'll find Printing Plate B and the "About the Custom Red Franklin" note that explains the red printing press you placed the other plates in. We'll get to that later.
Go into your Investigations to link the "Red Franklin" note with the "Incident During Study" and the "Letter to Boss" note to complete it and get a upgrade point. Another zombie will attack you. In the other room you'll find an item and an ERC pen for the crate in the Fire Dept. If you go back into the fire station at this point you'll an item and some Dream Essence upgrade points from it.
Now you have to final Printing Plate it's time to head back to the Printing House and the red press. This is entirely optional, but the upgrade is useful.
The Sinking City 2 Printing Press puzzle solution
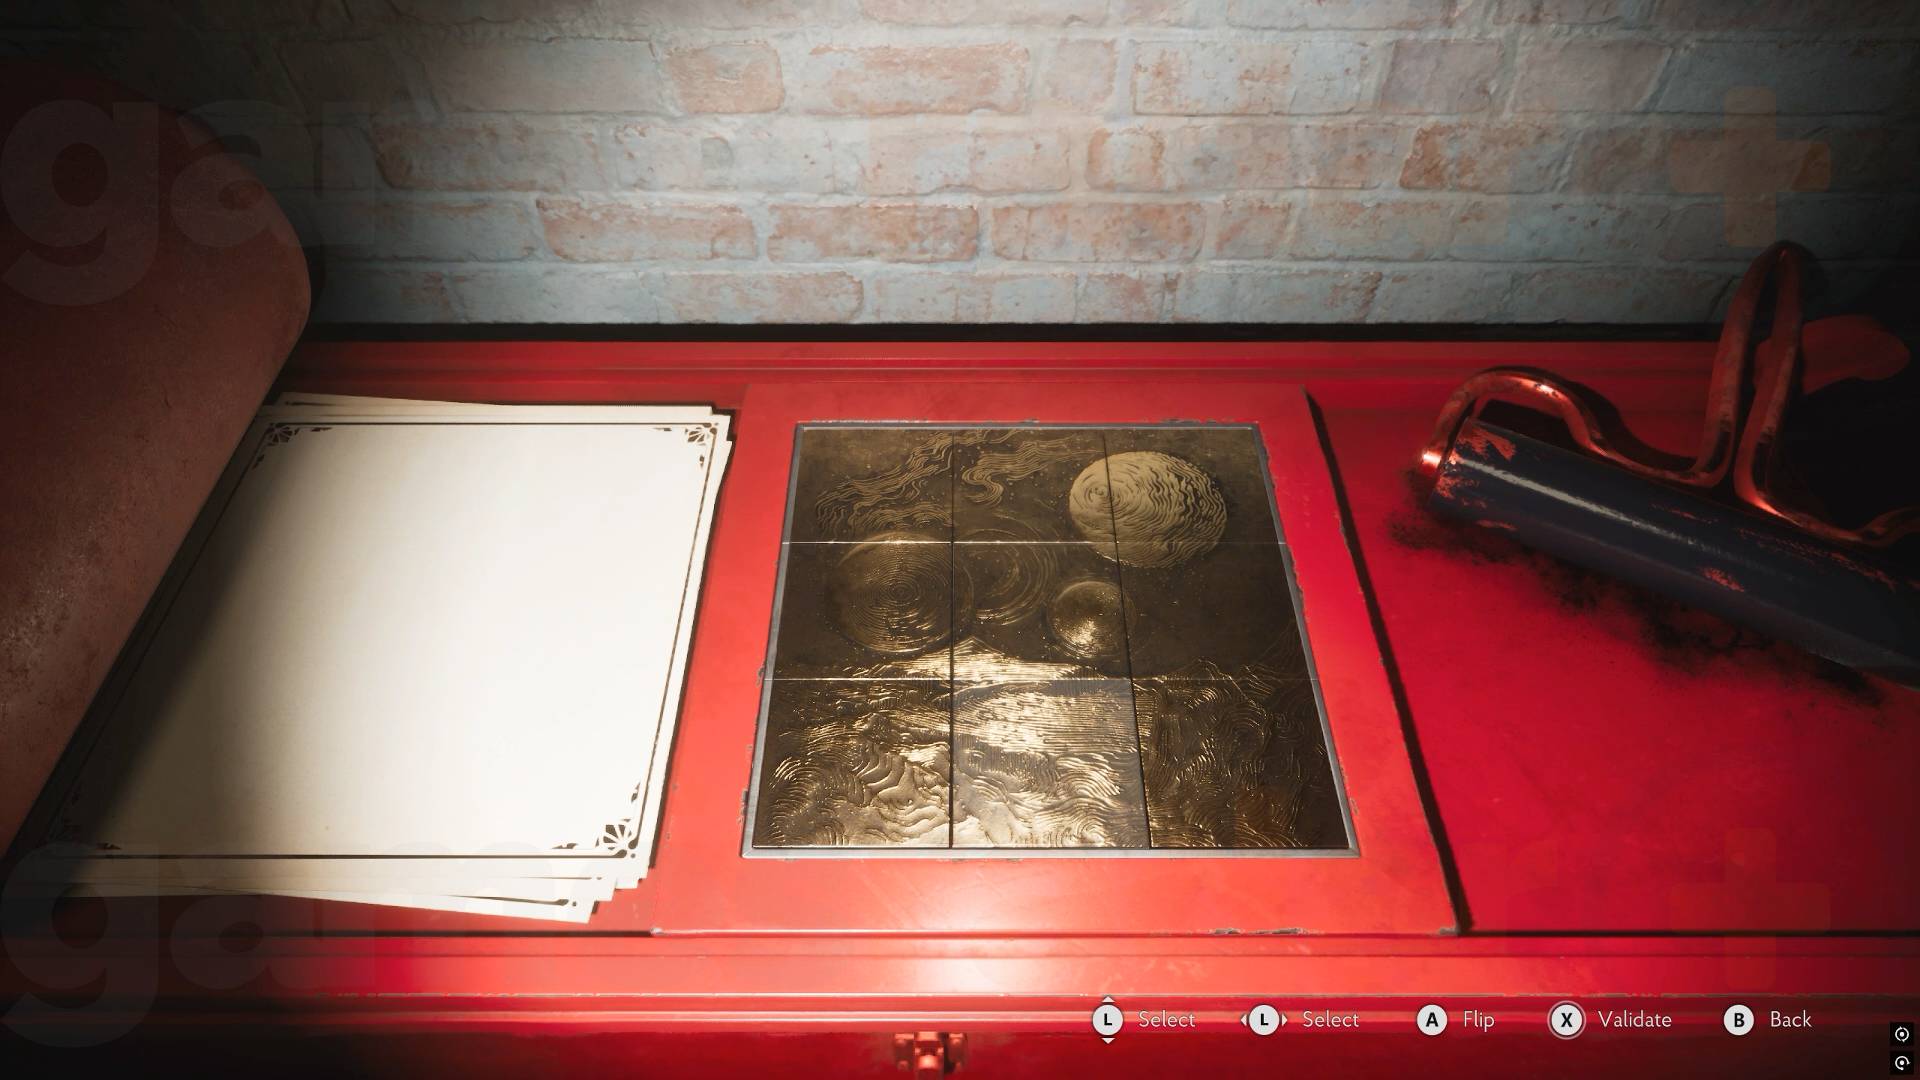
When you get to the red Printing Press in the Print House, place the final Printing Plate and you're ready to solve the puzzle.
You need to flip the plates until they're all silver or all gold, with each side unlocking a different reward when you use the press:
- Silver side - Two Dream essence
- Gold side - Cutter's Study Stock, which lets you shoot enemies in the back for more damage
You can only pick one, as the press breaks after you use it.
Rotating any tile flips all the tiles above, below, left and right of it. You'll want to get them in a position where flipping the last one makes everything the color you want.
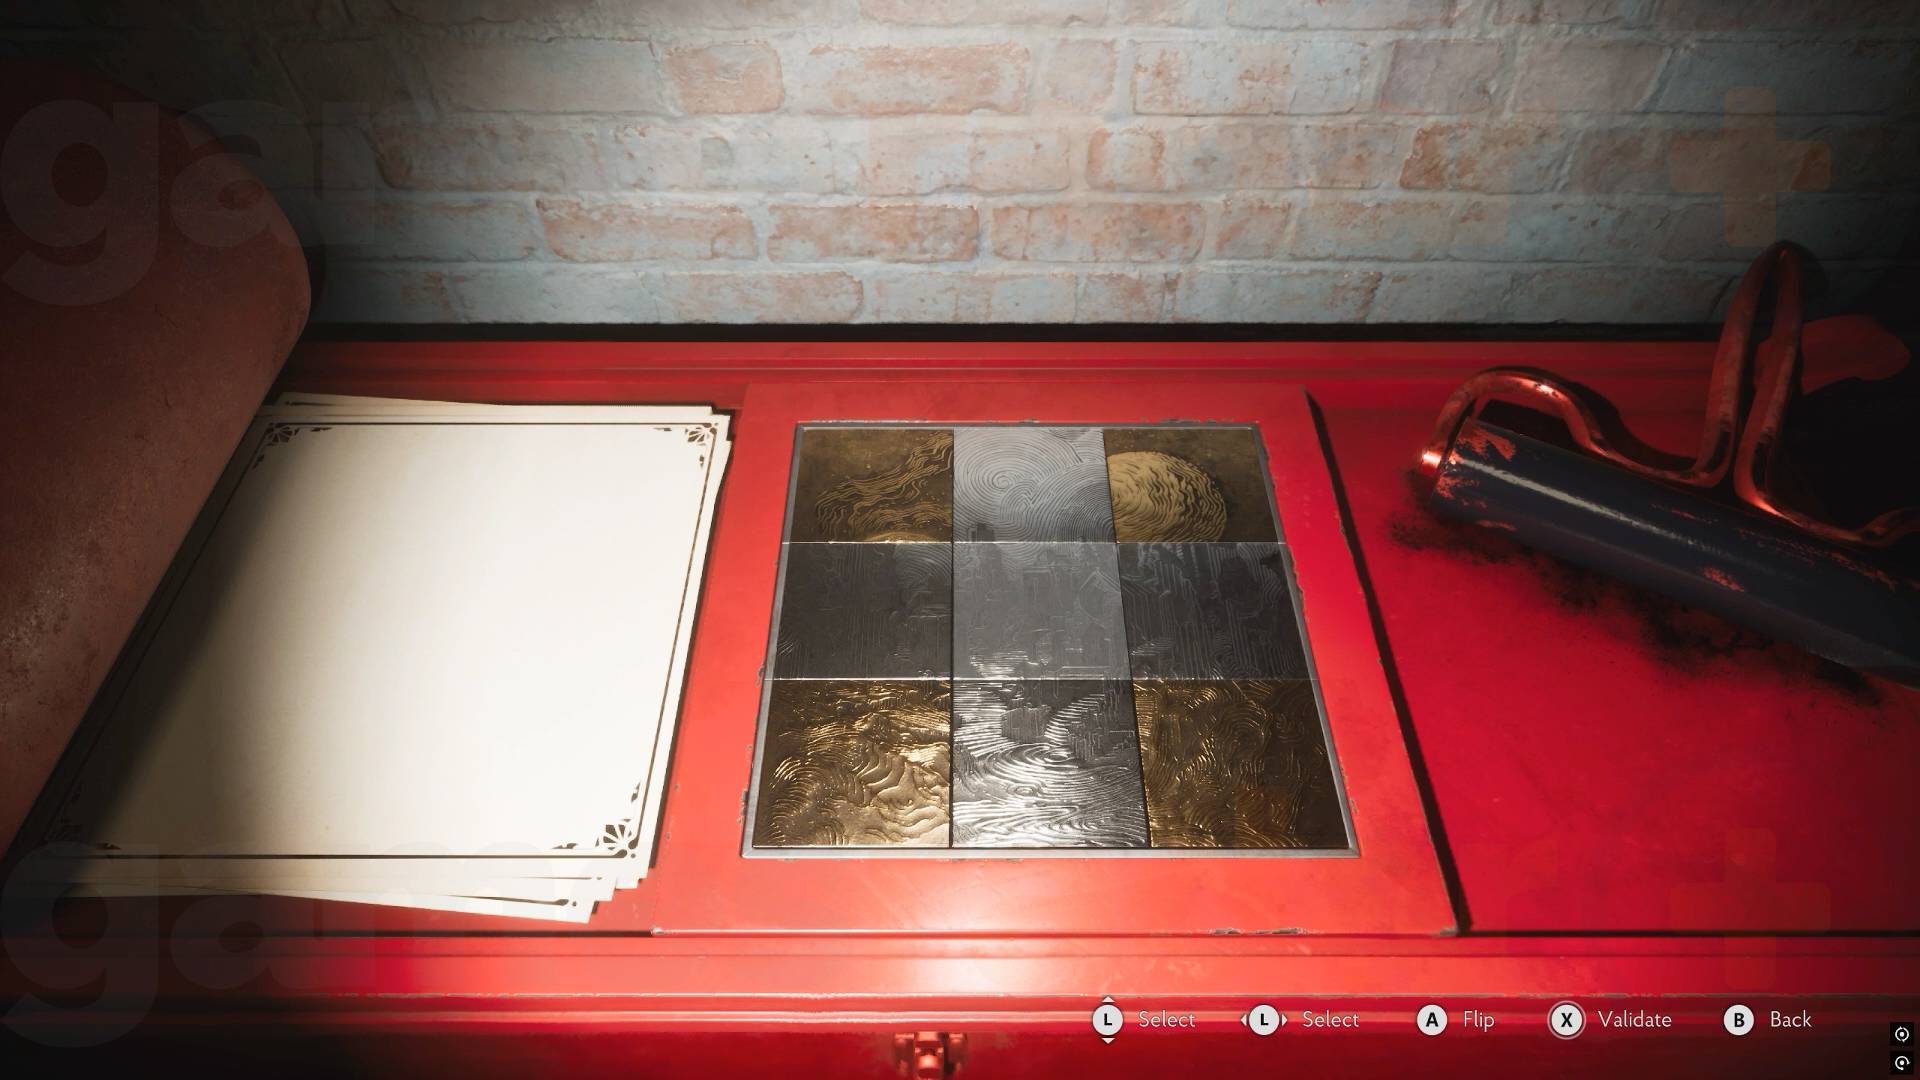
The best way to solve the printing press puzzle is to get the corners to the color you want. That's fairly easy to do and, once you've done that, all you have to do is flip the middle one to get them all the same.
What's the best printing press reward?
It doesn't feel like too much of a choice here - two Dream Essence upgrade points won't really change that much, but a shotgun with a backstab/sneak damage boost, while situational, will be useful through out the rest of the game. Whatever you choose, you'll be ambushed on the way out but you don't gain anything from fighting so dodge past and escape best you can.
Once you've done the Printing Press you're done here so head to the Devil's Reef Hotel to carry on.
PAGE BREAK
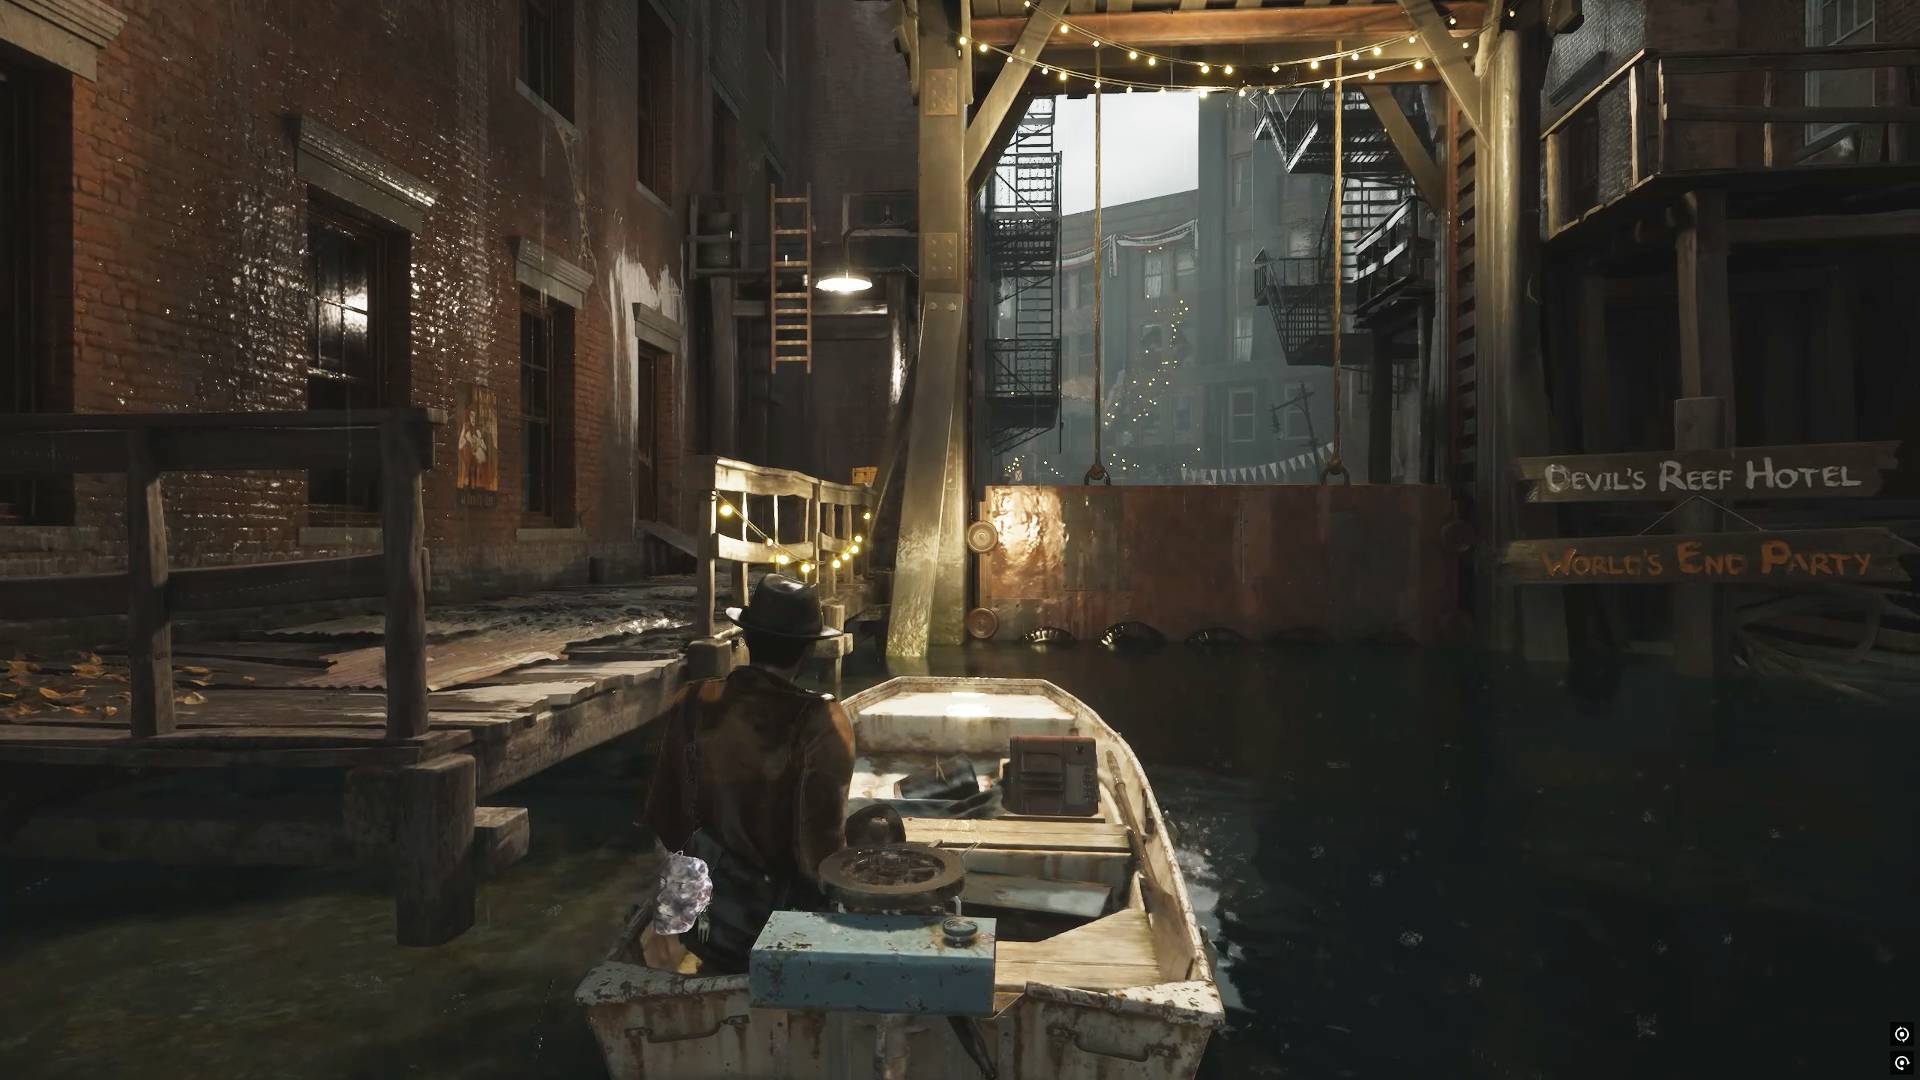
Now head towards the Devil's Reef Hotel. You'll hit another floodgate so dock and head in through the open window, grabbing the item in the yellow box you pass. Head through the white door inside and then through another door into the ruined interior of the building.
There's a "Lost Letters - Meet Me At Dawn" note on the bed to the right, and an item in the pram just as you enter the large open area with the piano. The piano will fall in the water as you approach it and you'll be attacked by two Slither zombies. Once they're gone then grab the item from the drawer near the white door and head through it and up the stairs.
At the top of the stairs you'll be attacked by a Slither Zombie and Glowing Head that you'll need to deal with. Grab the item in the cupboard on the other side of the big hole, the "Gerda Lost Her Head" note through the door on the dresser with the big mirror and the item from the drawer next to it.
Now head back the way you came and out of the open window, where you can open the floodgate and kick down the ladder to reach your boat and finally go to the Devil's Reef.
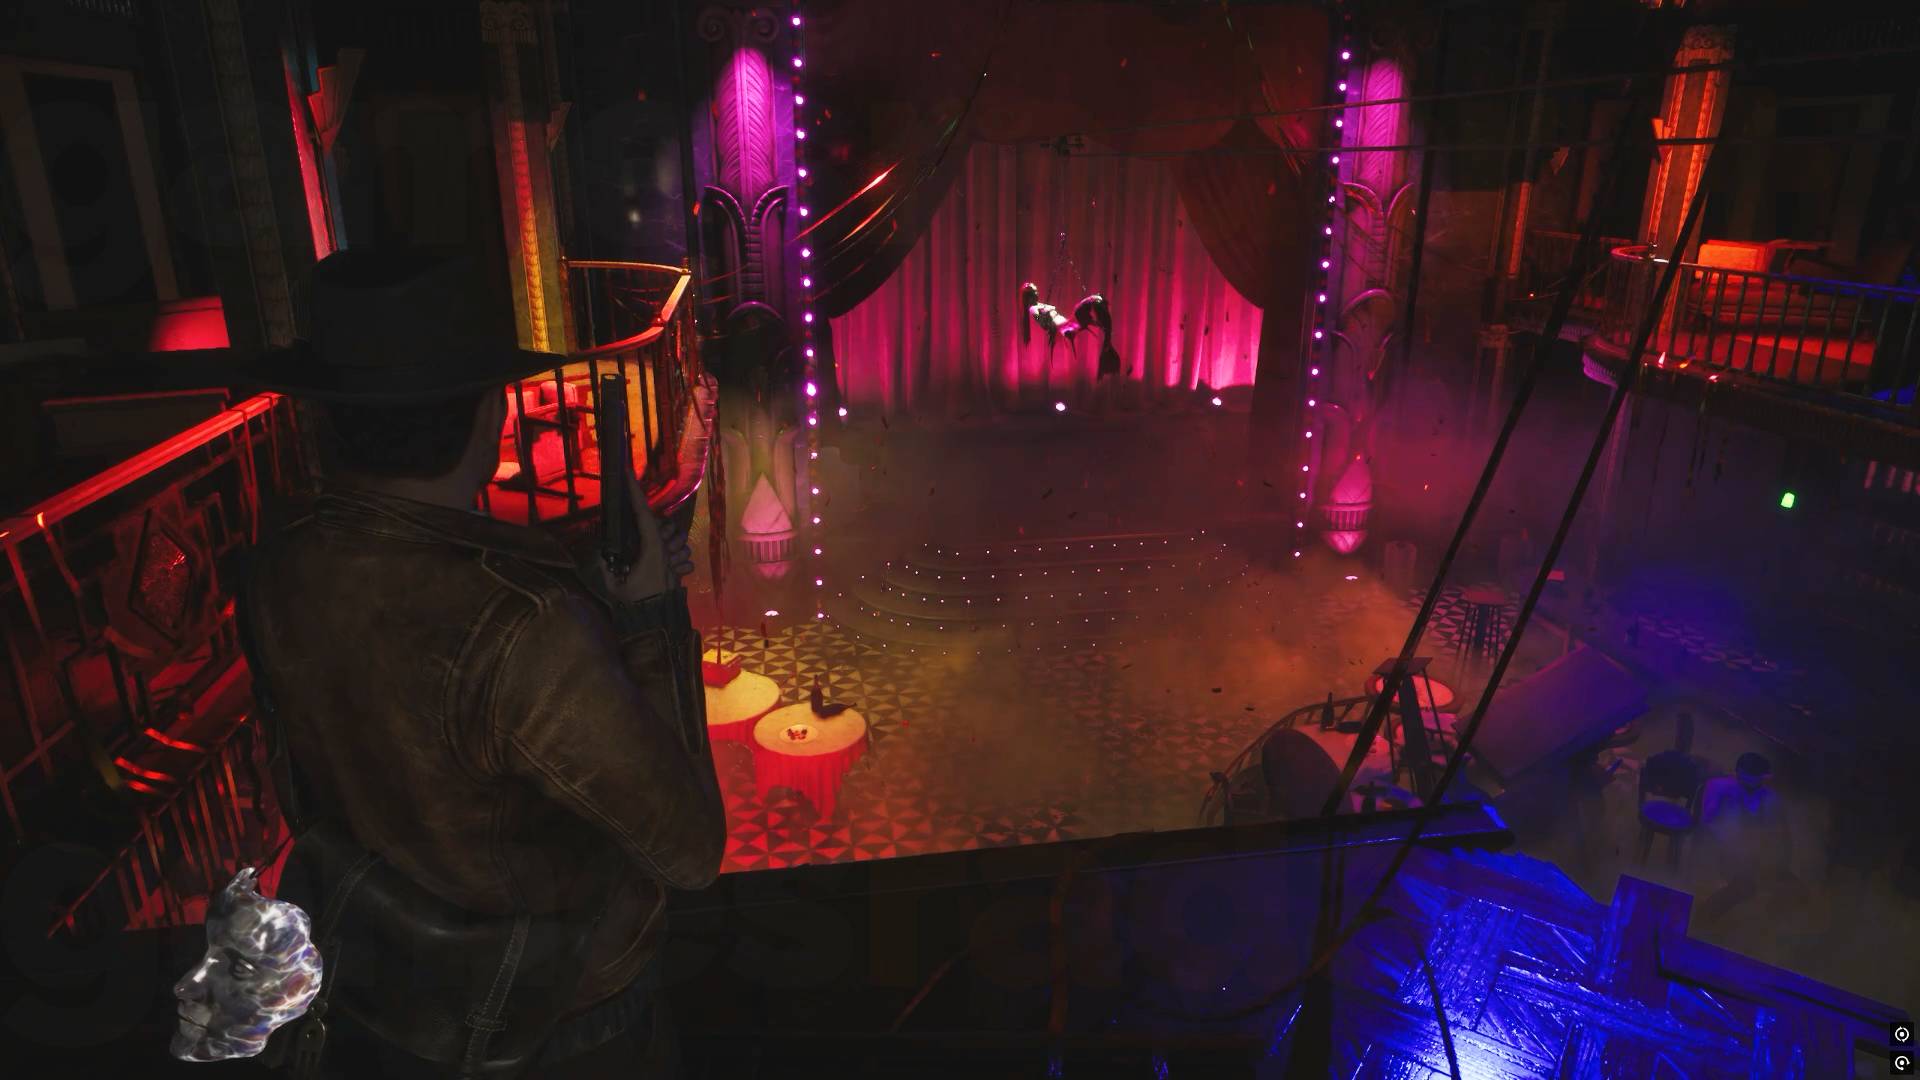
Head through the hotel and up the stairs to find Lorelei. Go around the balcony to trigger a cutscene. Once she's explained everything, head through the nearby doorway and down the stairs to find a Safe Room, a Radio you can listen to, an item in a yellow box by a luggage trolley in the middle of the room, and a map. There's also a "Hotel Ledger" note by the map explaining where to find a Staff Key to access some Tokens. You can also unbolt the double doors to make a shortcut back to the boat.
Go into the Safe Room and do whatever you need to do, then head out the other door. Grab the items from the cupboard and the desk. If you take the door on the left you'll find some stairs down to the Lorelei Lock that needs three keys to open. The door on the right is locked for now.
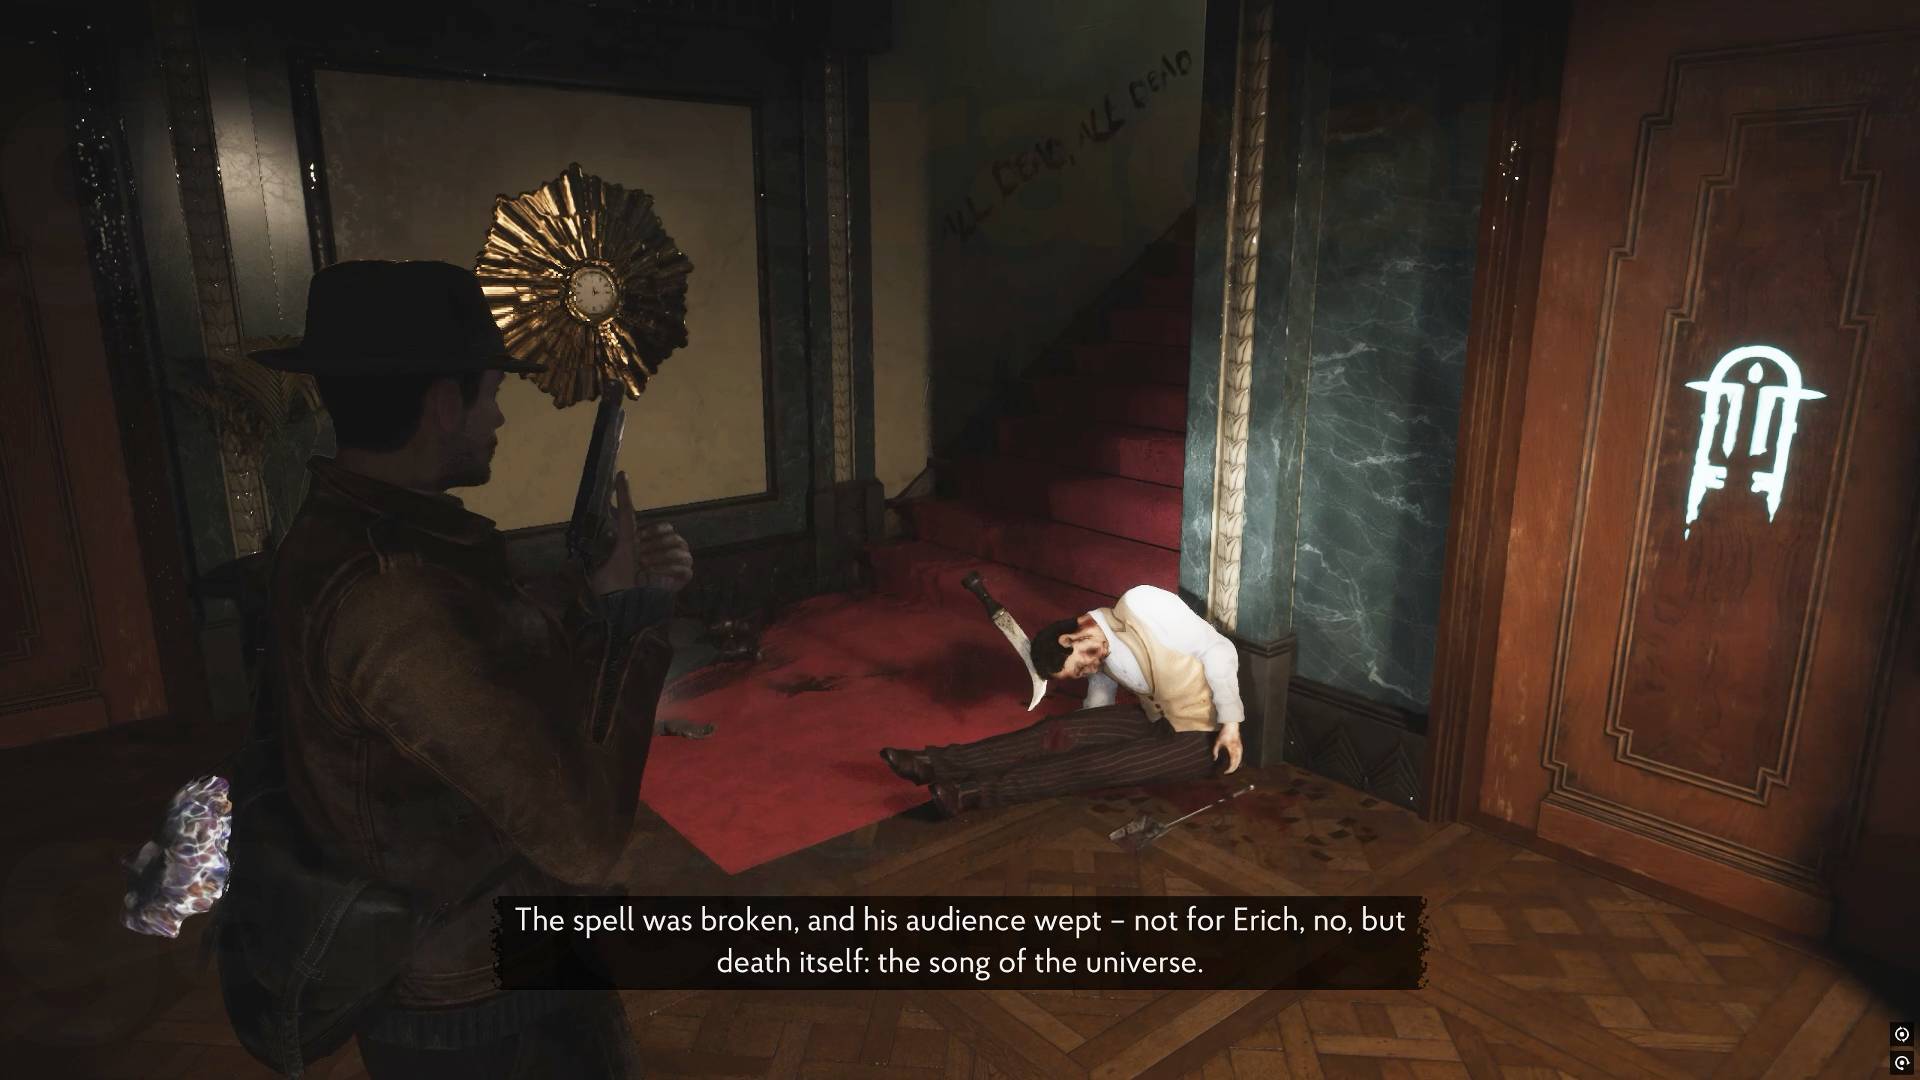
Once you're done, head back through the Safe Room and out, then up the red carpeted stairs to a blue corridor - ignore this first floor for now and keep going up the stairs again, where the door ahead will close as you approach.
Open it and head inside. Here you'll find a Staff Room that needs a key, and a chest of drawers you can push away to access room 301 where you'll find a safe, a "Run For Your Life" note, as well as some items in a cupboard and a drawer.
The Room 301 Safe code
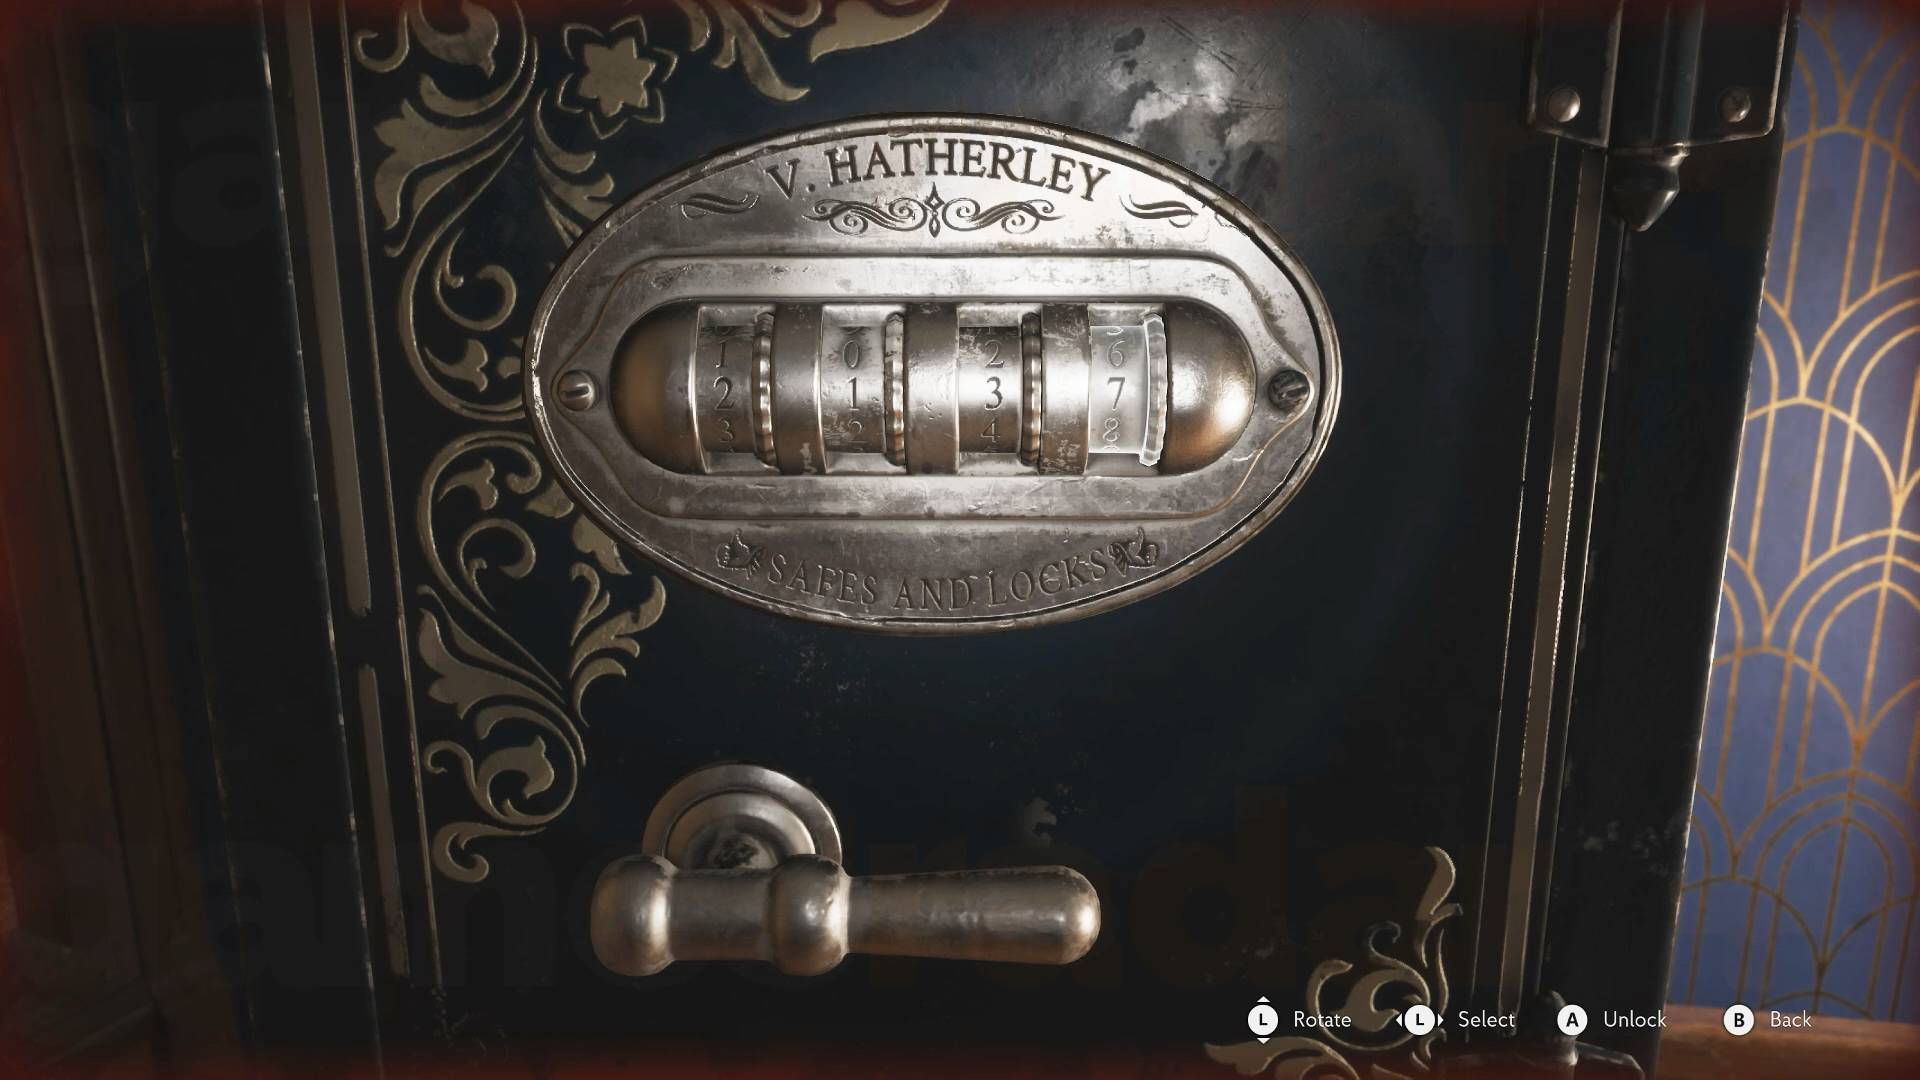
The Room 301 safe combination is 2137, which you will find later from some notes but that should open it now and get you a Voss's Target Grip that will make perfectly timed shots deal more damage, as well as some ammo. Once the grip is equipped you'll see an extra marking on the crosshairs that will show the timing to deal more damage.
The combination comes from a "Safe Code Letter" note and a "Baby One More Tide" note you'll find later. They give you the clues that explain the safe combination from some song lyrics:
- Spread my wings like a bat: 2 (wings)
- Curl my tail in hate and spite: 1 (tail)
- Their octopus hearts beat in fear: 3 (hearts)
- As the tide makes all sins clear: 7 (deadly sins)
Leave Room 301 and carry on to the end of the corridor, where you'll find a yellow box at the end of the room with a item. Head through the door next to this to find a hanging body with a key on it.
Trying to take it will trigger a cutscene where the body falls to a lower level and you'll then be attacked. If you try to run you'll be attacked in the corridor and, given that you'll need to spend time around this area, it's best to face up and kill all the enemies.
In the room where you're initially attacked, the door that was originally blocked by a chair is also opened and you'll find some items in two yellow boxes when it's safe. Once you're done head down to the floor below you ignored previously.
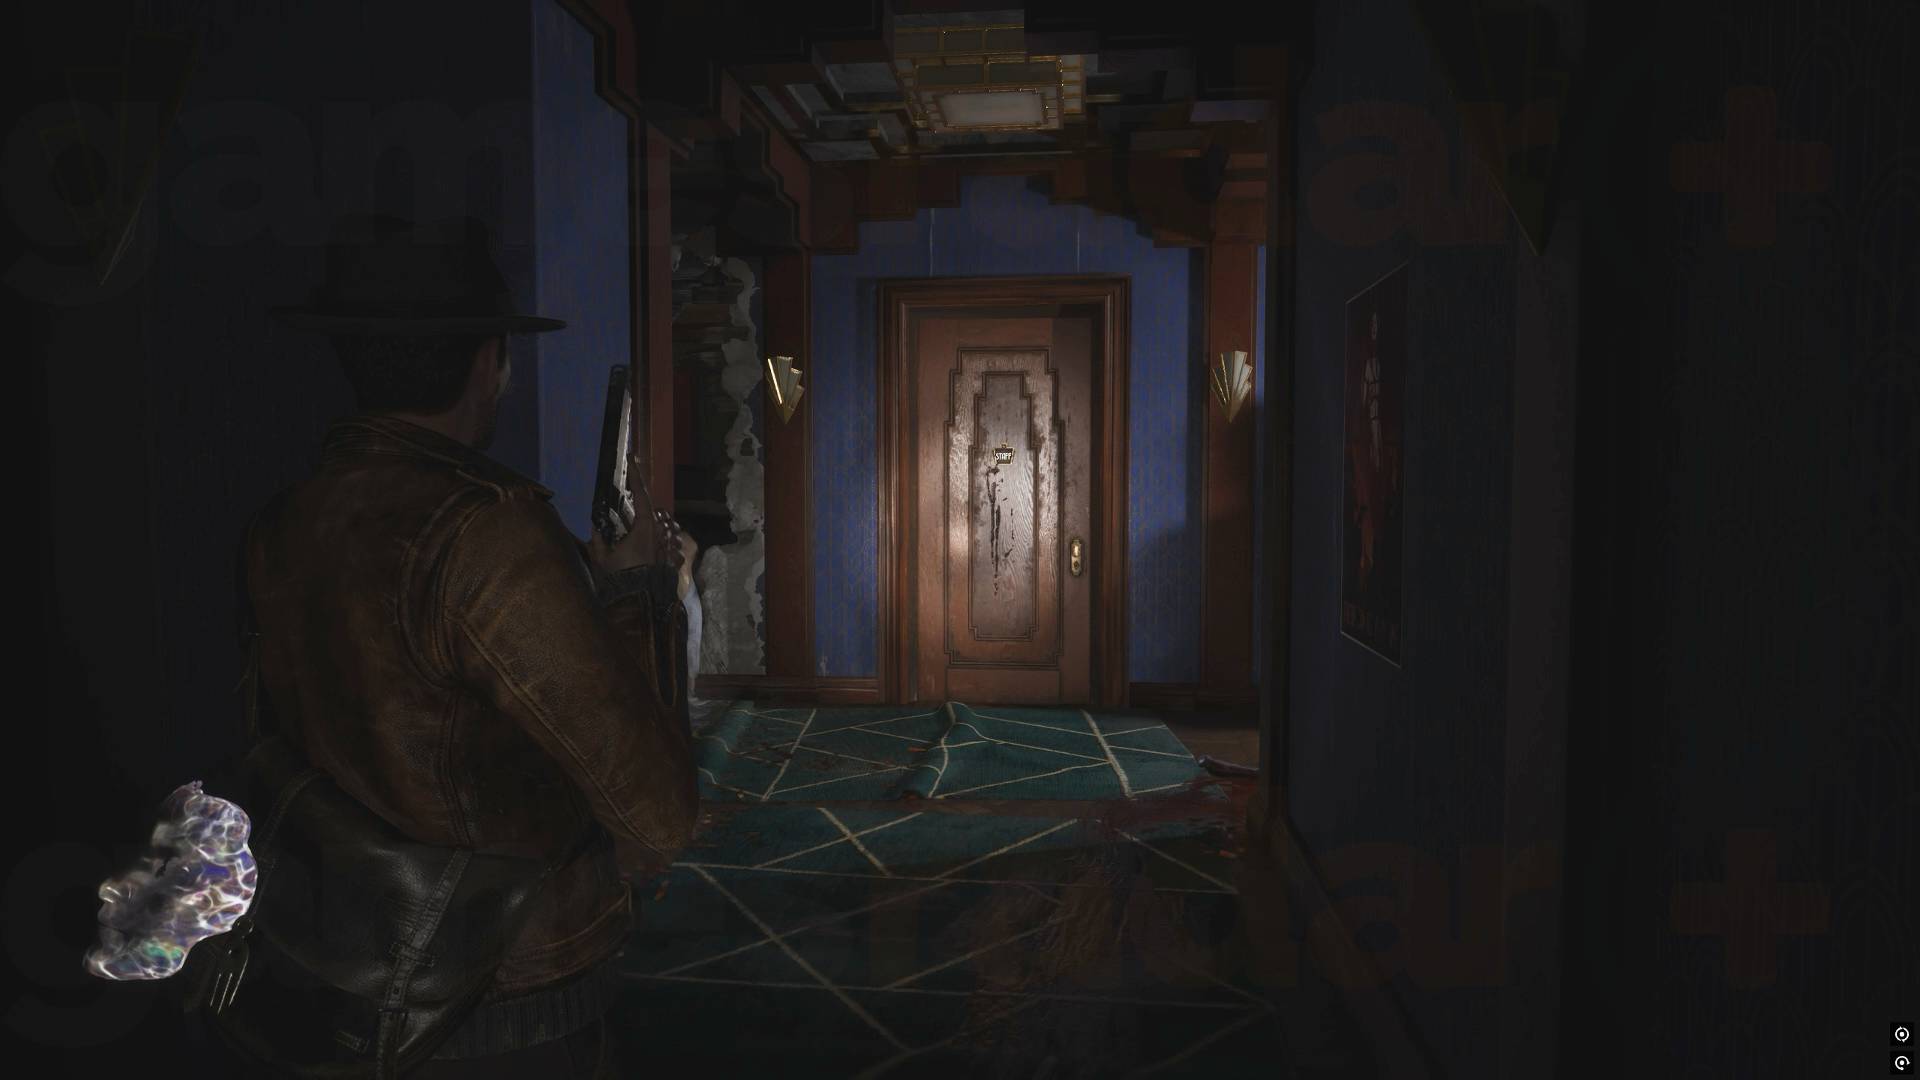
On the lower floor you'll find another locked Staff Room door. Left of that is Room 202 which is locked and Room 201 you can enter. Inside 201 you'll find the "Your Last Game" note on a body. Go through the other door into a room full of bodies. Directly on your right is the "Lost Letter - An Artefact" note. Directly behind you is a drawer with an item in it and a door to a toilet with a yellow box containing an item.
The big Silver Box you can't do anything with yet so leave by the other door you haven't used yet and follow the path around to find another room, with a "Lorelei's Request" note on a desk as you enter. There's also an item in a drawer to the left of the desk.
Opening the door in here will get you ambushed by a enemy so be prepared. Once they're dead, use the crack in the wall past the door you just opened to reach the next room where there's a giant hole in the floor.
Unlock the door in here to make a shortcut to the blue corridor before you jump down.
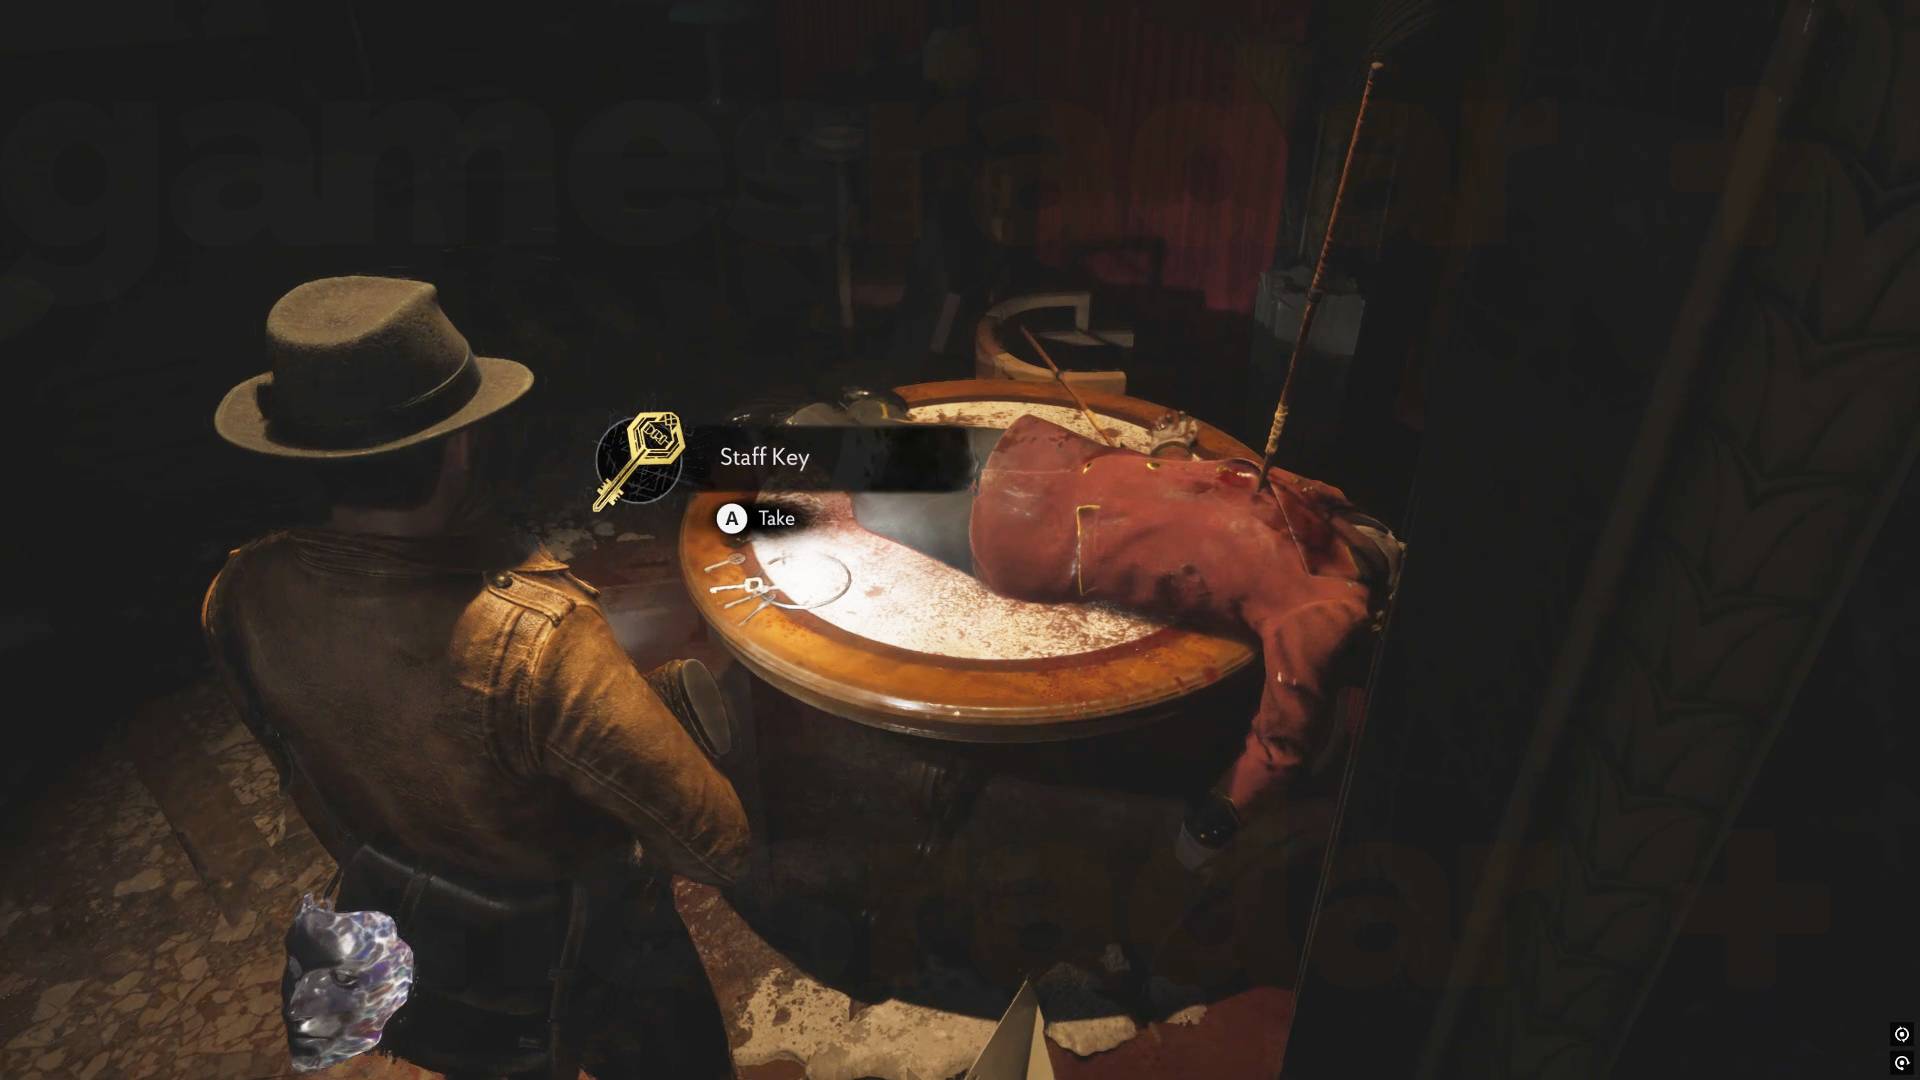
When you jump down you'll be in the area next to the Safe Room you couldn't access before where the body landed, letting you pick up the Staff Key. There's another Silver Box you can't use yet and an item in the far corner in a drawer.
Go around past the reception desk towards the open door with the light spilling from it. Inside you'll find the "Baby One More Tide" note with a code clue, and an item in a drawer. Now head through the closed door into the kitchen and unlock the other door to get back to the Safe Room.
Now make your way up to the Staff Room on the top floor to find an item in a yellow box and a "Safe Code Letter" note. Join that to the "Baby One More Tide" note in Investigations to earn an upgrade point. You'll also now have all the clues that explain the safe combination you opened earlier.
Now head dawn a floor to the other Staff Room where you'll find an enemy waiting. Deal with them and you'll find an item in a cupboard, three Lorelei Tokens and a "Lorelei Chests" note that explain you need to use the tokens to open the silver chests you've been finding to get the keys for the Lorelei Lock in the basement.
You can now connect this "Lorelei Chests" note to the Hotel Ledger and "Lorelei Lock" note to complete that investigation and get an upgrade point.
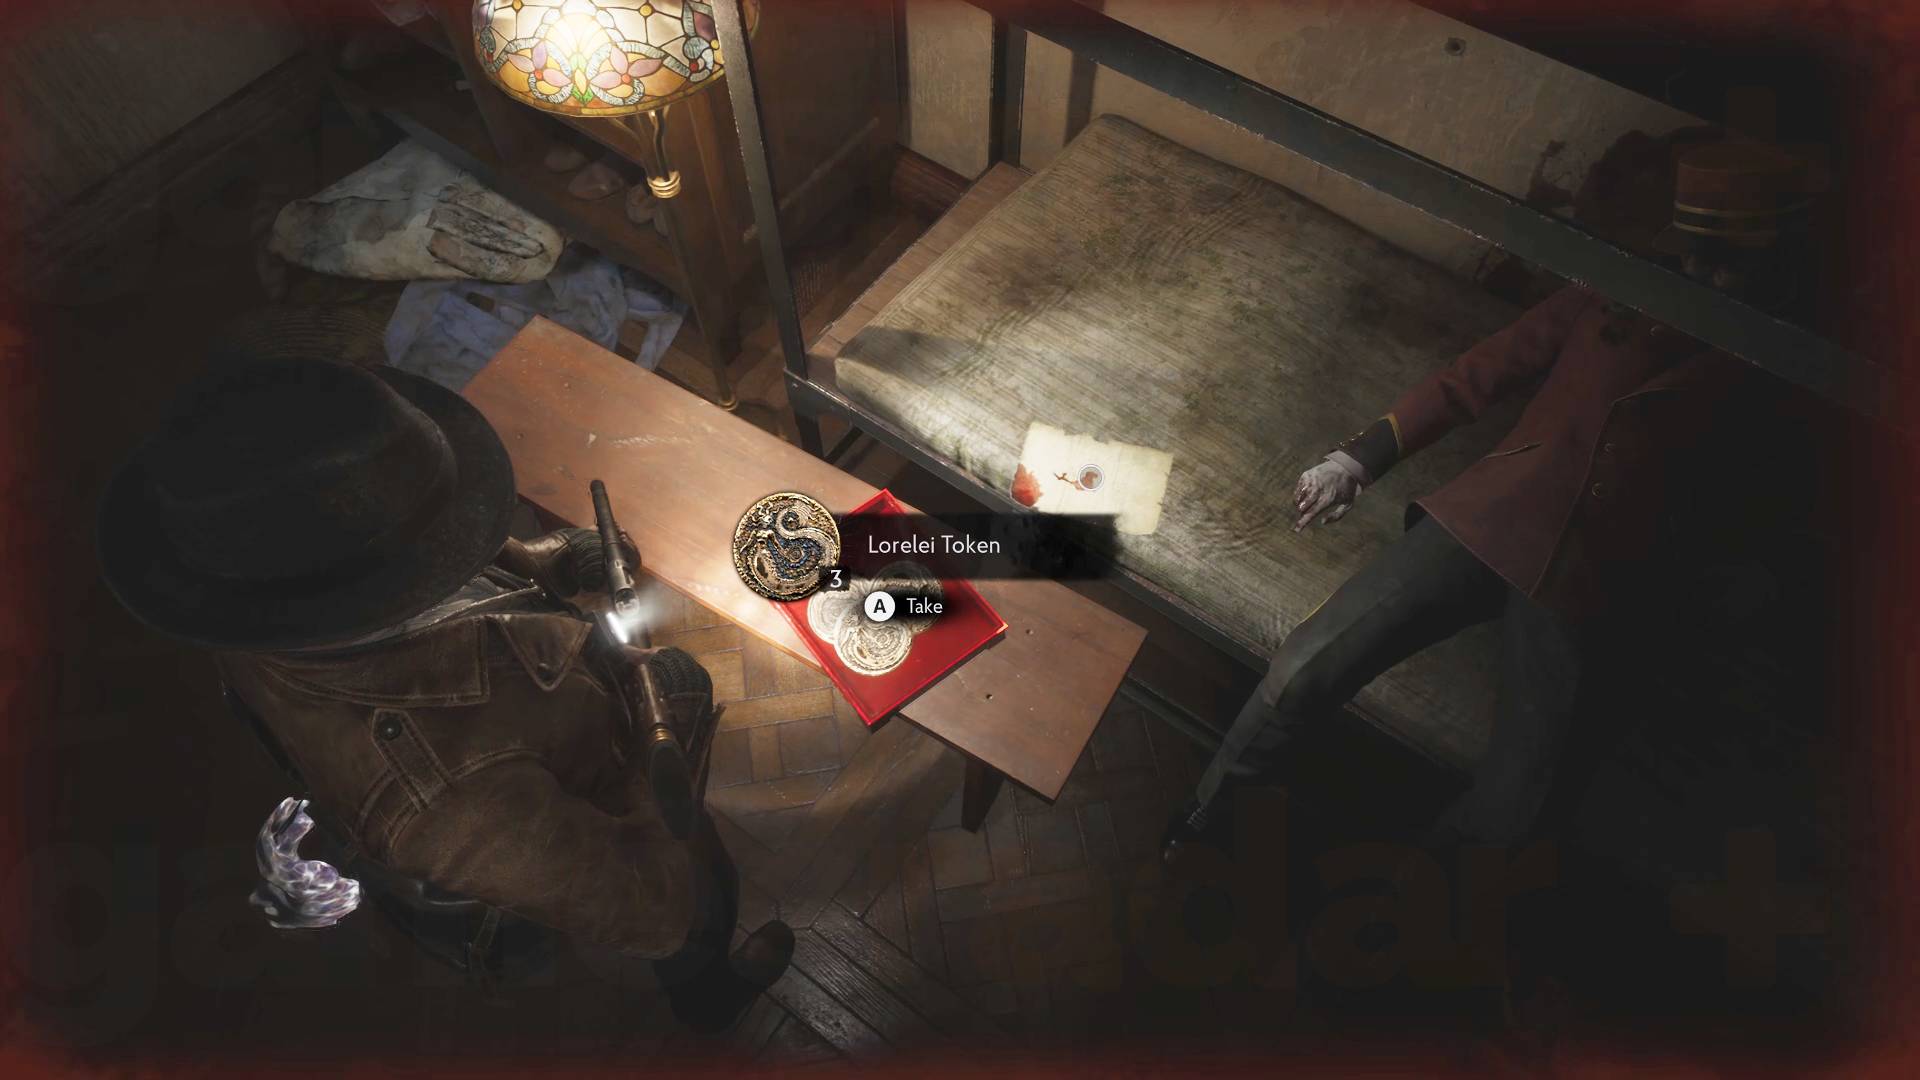
Now it's time to use the Lorelei Tokens on the Silver Boxes to get the Lorelei Keys. Because the Lorelei Lock is in the basement I'm going to work from the top down. There's going to be a lot of enemies reanimating while you do this so I'd recommend avoiding them as best you can, as you'll likely be short on supplies at this point and you'll probably need some bullets for a trap on one of the boxes.
The top floor Silver Box you can just open and grab the Lorelei Tokens. However the middle floor Silver Box will trigger a several traps where gramophone-like devices play sound that damages you, and you'll need to break them all to stop it. Some you can stomp on but a couple need to be shot.
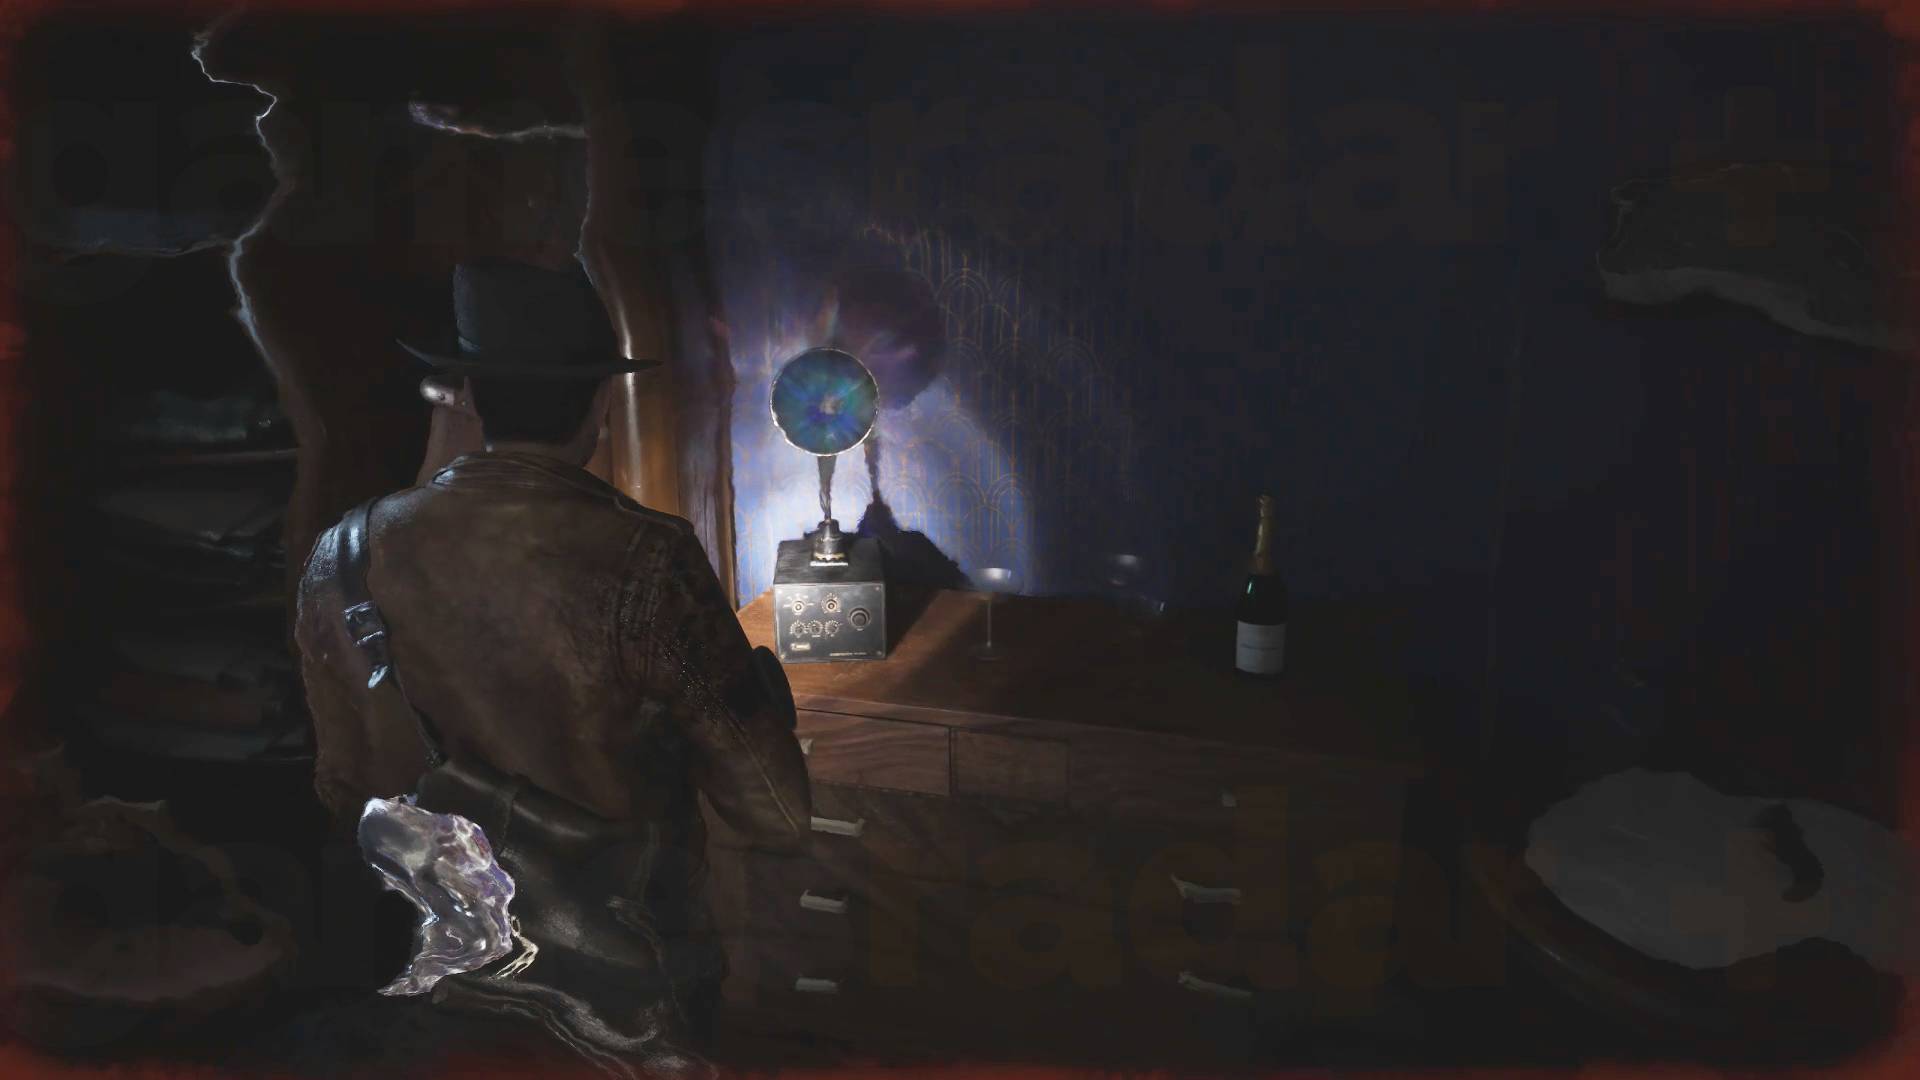
There are three traps in the room with you and one behind the closed door to the toilet. Once this box is done go to the hole in the floor, where you dropped down to reach the body before, to get to the final Silver Box. Grab the Lorelei Tokens here and run around to the Safe Room before you're attacked.
Now head to the basement and use the keys to open the Lorelei Lock. Through the door you'll find some growths on the wall that explode if you get too close, so don't, and be able to examine a door to see a Ventilation Machine.
Avoid the growths and move to the end of the corridor where you'll find a "Ventilation System Schematic" note and a white door you can head though. Follow the corridor, avoid the growths and you'll be attacked when you see some machines, so deal with them and you'll finds Carruthers The Crook note. Past that is a locker with an item in and door leading to the Ventilation Pump Room.
Inside the pump room you'll find a "Mustard Gas" note, a yellow item box, a locker with an item in and the Minuteman Submachine Gun. Grab all that first before you touch the pump.
Ventilation Pump puzzle solution
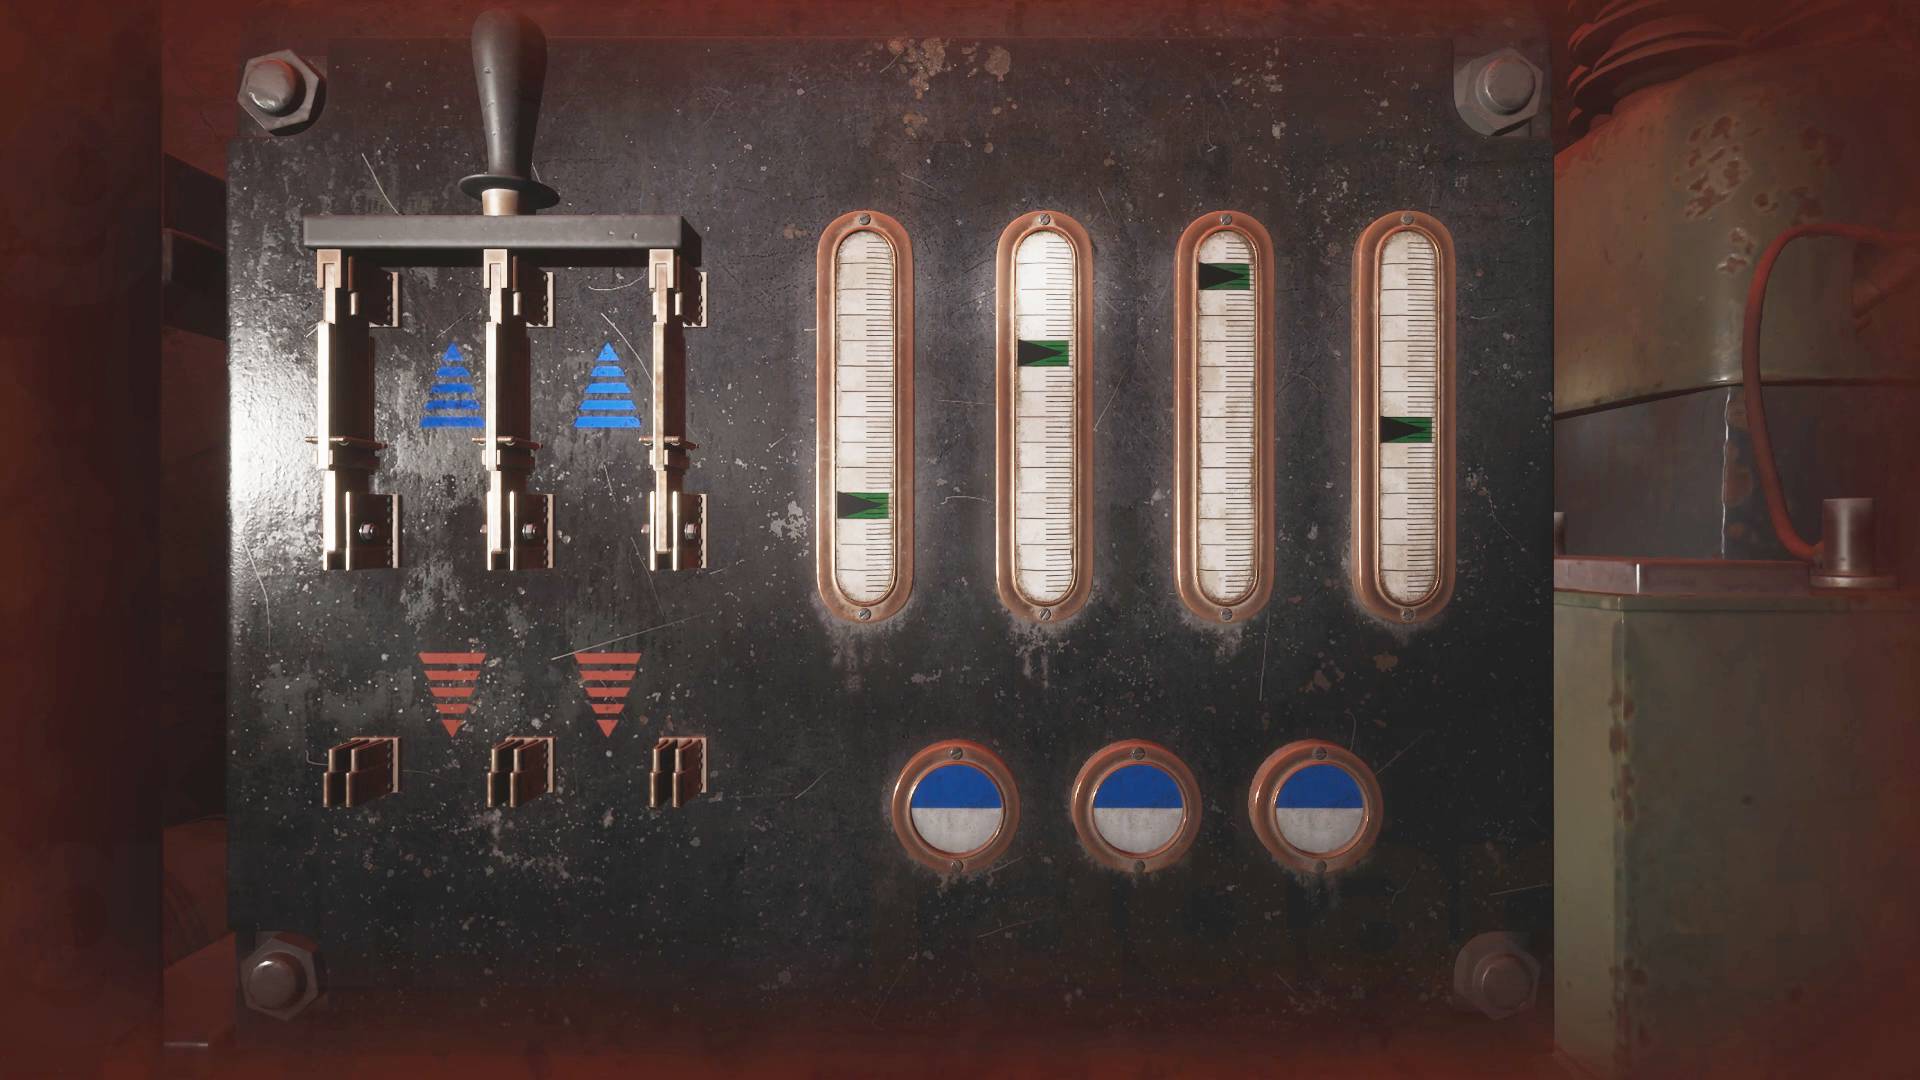
The Ventilation Pump Puzzle solution needs you to position four arrows to certain marks by pressing buttons, with the lever switching the buttons between moving things up or down.
The third button just moves the fourth arrow on its own, so just press that button while the lever is set to blue blue to get it in position. However, button one moves arrow one and two up and down, while button two moves arrows three and four up and down.
To get them all in position you'll need to use the lever to switch between up and down while using button two to move arrow two and three up, and using button one to pull arrow one and two down again. You're aiming to get arrow three in position while two is one notch below so that pressing button one in the up configuration will then move the final arrows into the correct position.
From the starting configuration Ventilation Pump Puzzle solution is this:
- With the lever set to blue press the third button to move the forth arrow up, onto its mark.
- With the lever still set to blue press the middle button so that second and third arrows move up to the top - placing the third arrow on its mark and the second above it.
- Set the lever to red and press the first button to move the second down arrow so it's one notch below its mark (the first arrow won't move as it's as far down as it goes).
- Set the lever to blue and press the first button to move the first and second arrows up position.
When the pump activates the gas will clear and you can now move ahead to reach an elevator but before you use it head back out the Lorelei Lock door to find a previously gas filled doorway now clear.
You'll find a door you can't open to Linen Storage, so keep going until you reach a wine cellar with a crack in the wall (you'll be attacked along the way). The crack will get you inside the Linen Storage where there are several yellow item boxes and other resources, making this a valuable detour. You will be attacked again on the way out but you can just dodge past and run back to the lift.
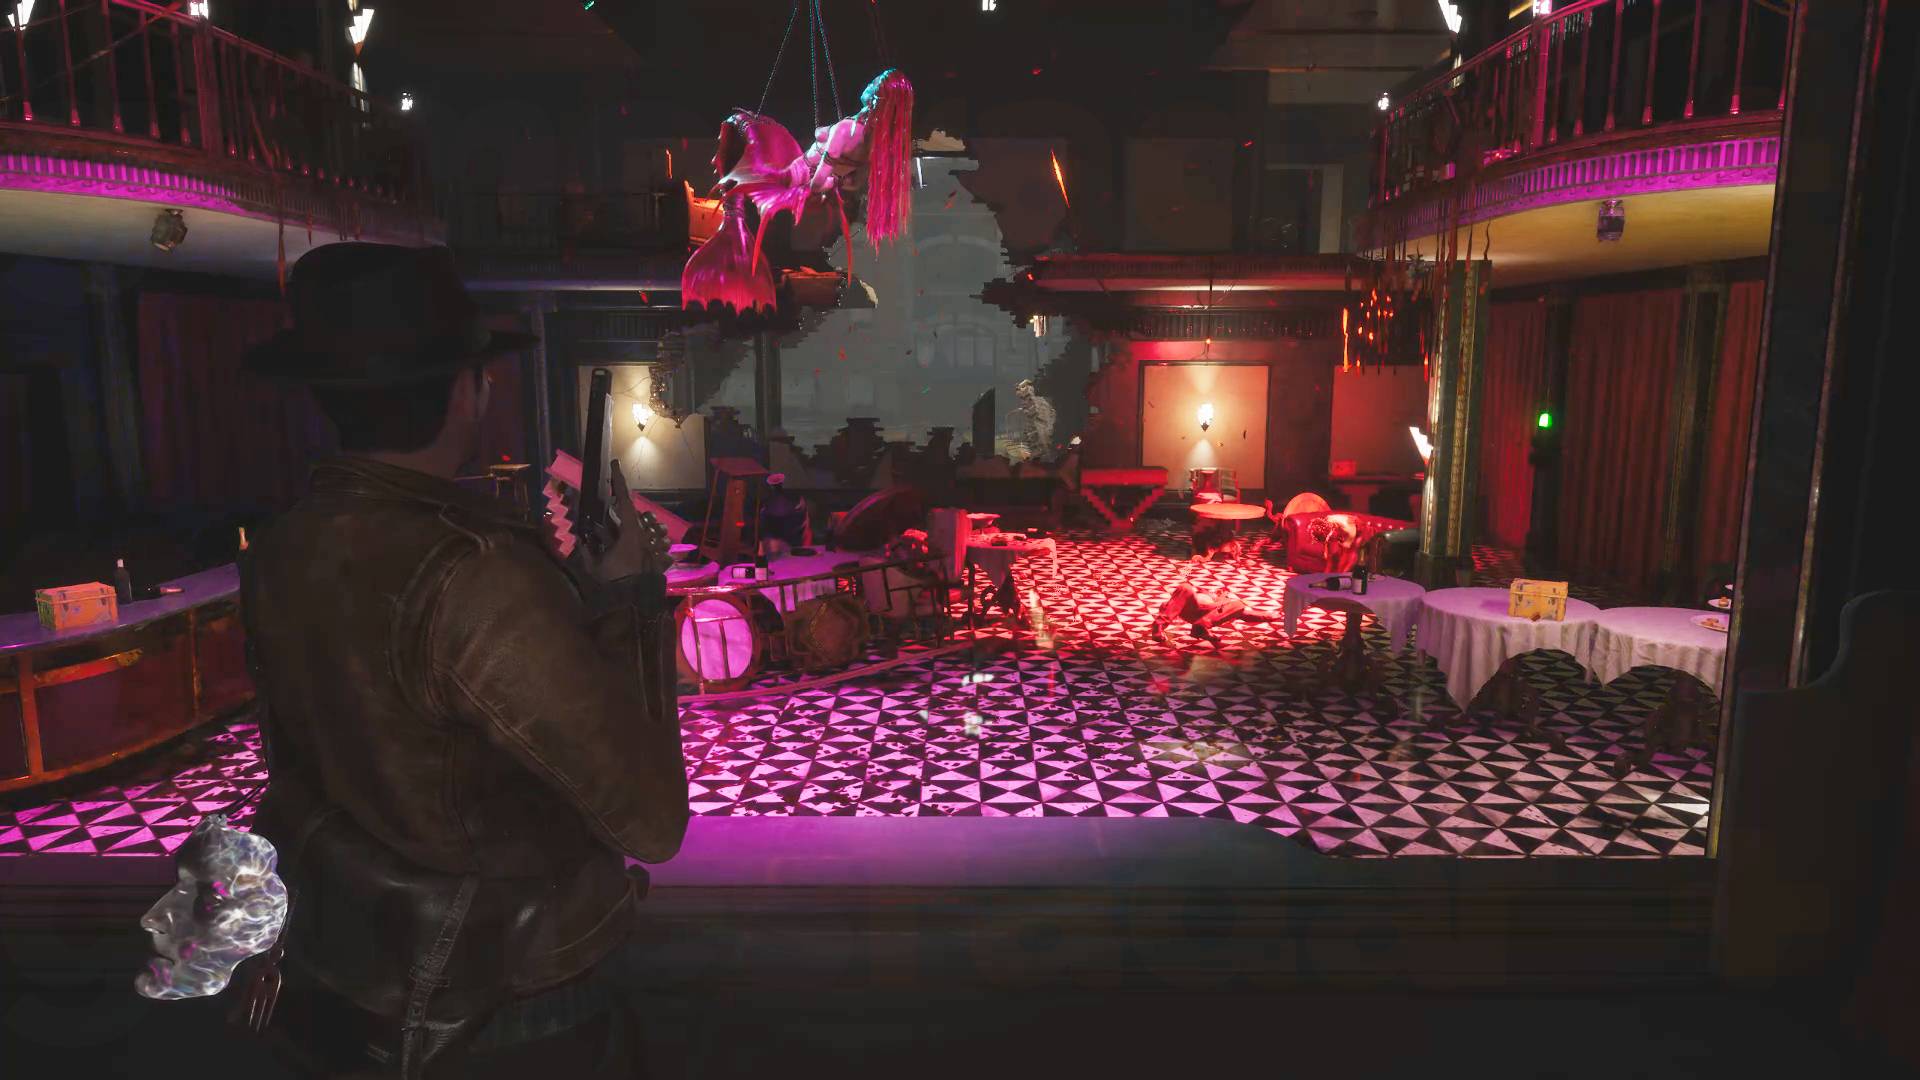
Now take the lift up and release Lorelei. She will now move incredibly slowly to the boat while a variety of enemies attack you. You'll need to find and pull sparking levers around the room to keep her moving. Fortunately, the yellow item boxes here keep refilling so you can top up as you run about.
You don't need to kill everyone yet, just kite them around until you see a sparking lever with a red light to pull. Keep grabbing item boxes as you pass them.
When Lorelei reaches the water a boss will appear who you will have to kill. Hit their pulsating weak points to knock them to the ground and then shoot/stomp the eggs on their back to kill them. When they're dead the boxes will stop respawning but you will get one last go on them, so sweep the room to grab what you can before you leave via the door that appears.
Once you have Lorelei in the boat (use the handle with a bow over it nearby to lower her in) you'll get a new sub-objective to Bring Lorelei to Corentin. Do that and some cutscenes will play to end this section.
This walkthrough is a work in progress and will continue with the Sinking City 2 Hospital walkthrough.