All NPC quests in Mortal Shell 2 and how to complete them

During your venture throughout the metal world of Mortal Shell 2, you can tackle many NPC quests, rewarding the Harbinger with Shells, trophies, and even a secret ending.
But even if some will follow the ambiguous multi-step approach found in most soulslikes, others can be solved in minutes. Here’s how to complete all NPC quests in Mortal Shell 2 and get all rewards.
Table of contents
Grisha Pup
You can complete the Grisha Pup quest in Mortal Shell 2 by heading west from the first Mushroom Village Beacon and continuing until you find a hunter camp by the Shrine of Trials. Talk to the lead hunter by the table to unlock his shop before doing the following:
- Purchase the Cage Key for 250G (Make sure to also buy the Grisha Remnant and the 3x Common Moonshine).
- Open the cell and interact with the Grisha Pup (It will give you the Sheephead Totem).
- Head back to the area after resting to find the hunters slaughtered and the pup standing by his parent. Don’t worry, they won’t be hostile to you.
- Talk to the pup to get one Glimpse and one Ventrium.

Gorf and Hilga
Going from a simple three-step quest to a long chain, you can complete Gorf and Hilga’s quest in Mortal Shell 2 by first visiting the former, a giant frog at Widow’s Overlook. He can be found by the area’s beacon, in a crevice facing the area’s Trial.
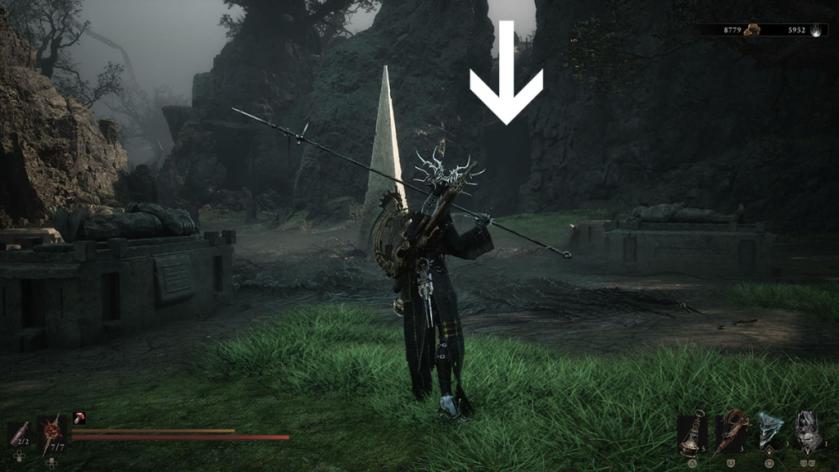
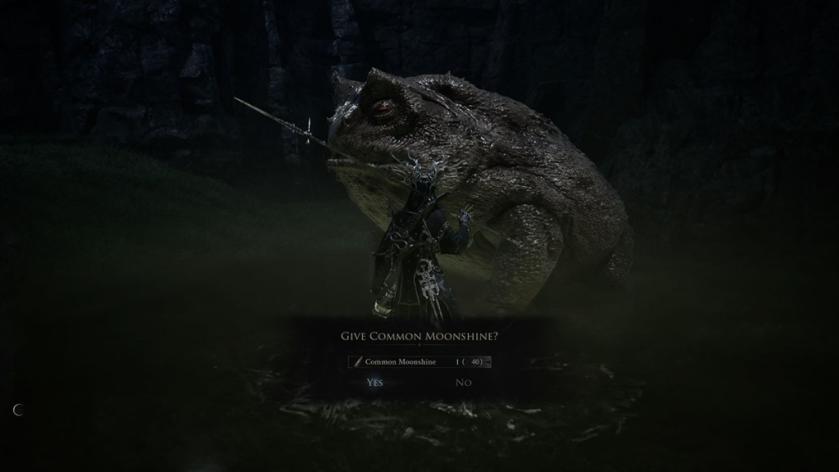
Upon meeting him, give him one Weltcap for a Marsh Pearl (the first of many you will get during the quest). Rest at the beacon and repeat the process three more times, giving Gorf another Weltcap and two bottles of Common Moonshine.
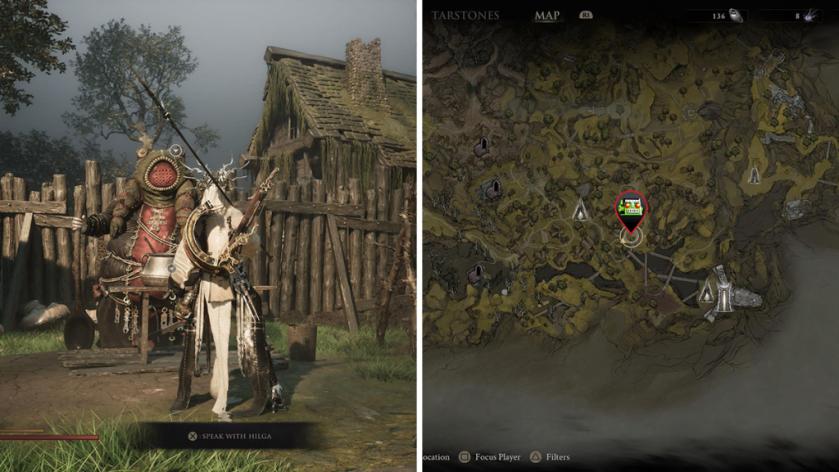
Now, head to Backridge Hamlet and go to the area marked below to find Hilga, Grom, and Harwald. The hamlet can be reached by using the gust of wind facing the Shrine of Trials, past the corruption. After talking to her, drink her brew to restore your HP.
With all NPCs part of the questline met, follow the steps below to complete it:
- Rest and talk to Grom at Hilga’s Camp.
- Rest and talk to Hilga three more times (You can also visit another time to soak in the cauldron).
- Visit Gorf again to see the aftermath of another attack.
- Interact with him to remove the Poisoned Dagger.
- Give the dagger to Hilga.
- Rest and return to Hilga to see her letter.
- Head back to Golf, now recovering with Hilga.
- Give him another bottle of Common Moonshine.
- Rest and return to the NCPs to complete the quest.
Don’t forget to talk to Hilga after the quest to learn more about what you have been drinking. Playing a song for the two also lets you see the frogs dance.
Gragu
A future Shell; you can complete Gragu’s quest by first exhausting his dialogue at the One Legged Wolf Tavern (you can also grab the Troubadour’s Lute sidearm while there). The inn can be found by heading west of the Mushroom Village Beacon.

He will then mention his interest in the Heart of Vatra. To get it, head further west toward the Temple of Vara and grab it from its altar at the very end. Doing so will cause many statues to come back to life, so make your way down while defeating them. Return to the tavern and give Gragu the heart to witness his first memory and complete the quest.
Baghead
Needed to unlock the game’s secret ending, you can complete Baghead’s quest in Mortal Shell 2 by first visiting his cult on Desolate Peak. The area can be reached via traversal portals in both the Citadel of Penance and the Prophet’s Rest areas.
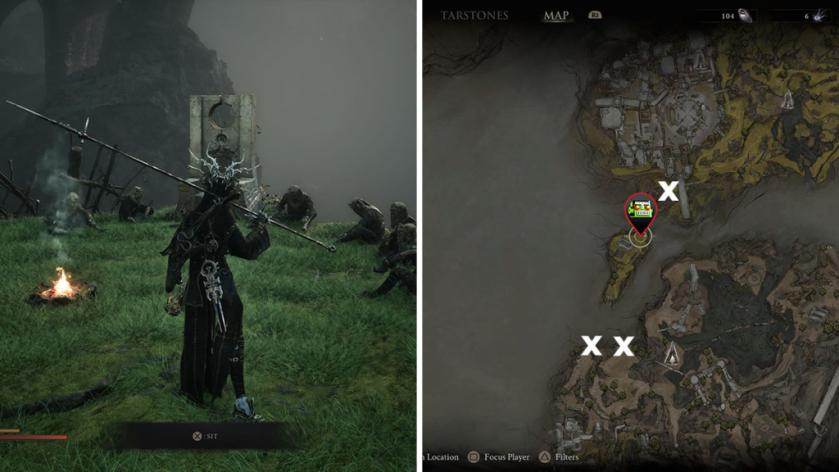
Talk to Badhead at his throne before following the steps below to complete his quest. You won’t lose your progress after the credits roll.
- Sit down among the cultists as instructed.
- Talk to Baghead again to receive his request.
- Grab the Special Moonshine Bottle found at the entrance of the peak’s Illusionist’s Cache dungeon.
- Give the item to Baghead.
- After his refusal, place the moonshine back where you found it and talk to him again.
- Confirm your choice to give him nothing, and don’t back down when questioned.
- Talk to Baghead again.
Vlas
You can complete Vas’ questline by first meeting him, wounded by his attacked cart at Road to Absolution. The easiest way to reach him is to drop from the bridge. After talking to him, examine the cage ahead of his location to get a Coin of Mammon.
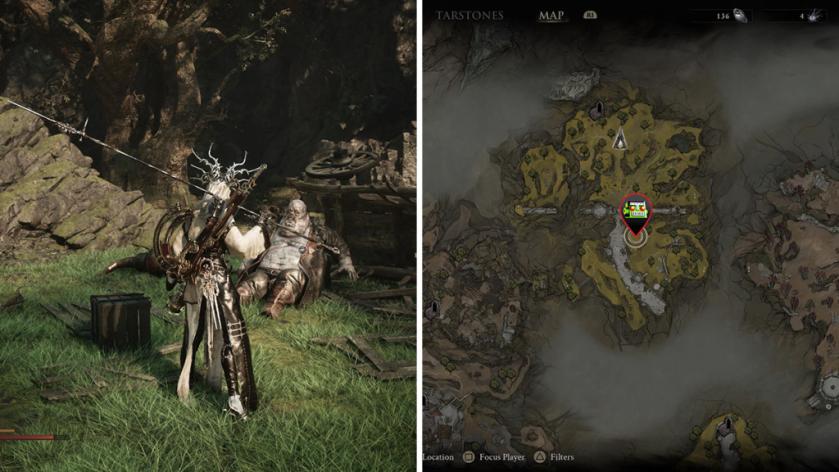
Now, rest and talk to Vas again to learn that Mutton has been kidnapped before heading to the area below on Lonesome Spire. There, you will find a bandit’s camp and Mutton in a cage. The area can be reached by riding a lift west of the Gate of Mammon Beacon. As you cannot harm the bandits, buy an extra Glimpse from them.
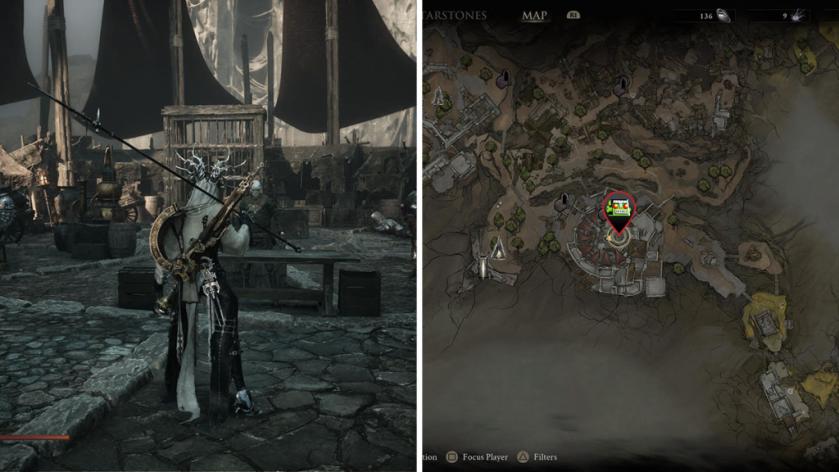
With Mutton found, rest and do the following to complete the Vlas quest:
- Head back to the bandits at Lonesome Spine (Talk to the merchant to purchase another extra Glimpse)
- Exhaust Vlas’ dialogue at the cage.
- Track back and get the Unremarkable Key from a hut by the camp’s entrance. You passed by it after leaving the lift.
- Exhaust Vlas’ dialogue to give him the Unremarkable Key.
- Head back to Vlas’ first location to find his letter.
- Return to the Marrow Keep to find Vlas and Mutton in the area leading to Merrick’s shop. Talk to the merchant to get another Coin of Mammon.
Sester Genessa
One of the first NPCs you can find in Mortal Shell 2, Genessa’s quest rewards you with some of the best rewards in the game, including both the Parry-focused Infinite Seal and her own Shell. To complete it, first talk to her at the Marrow Keep and complete her sparring trials to get the seal.
Before continuing, exhaust her initial dialogues and talk to her after the first tower for extra context. Approaching her while wearing the Tiel Shell also unlocks a touching moment.
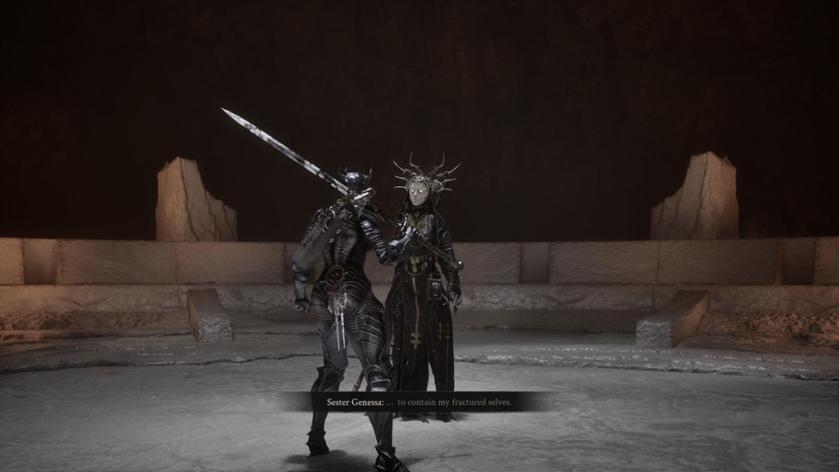
With the above taken care of, we must go to Revenant Graves. The area is found west of the Outskirts of Mammon and can be reached via the Traversal Gates highlighted below.
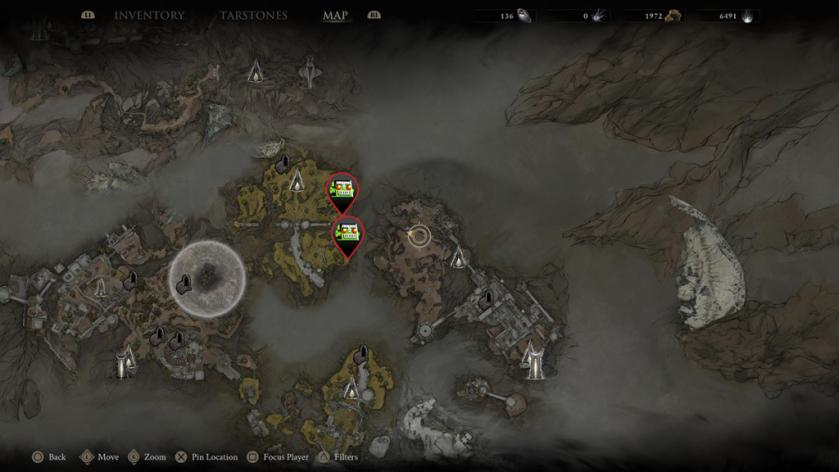
At Revenant Graves, head to the spot marked below to find Genessa’s fragments surrounding her Sester’s Censer. Interact with it to fight its protector, Sester Secundus, and claim it.
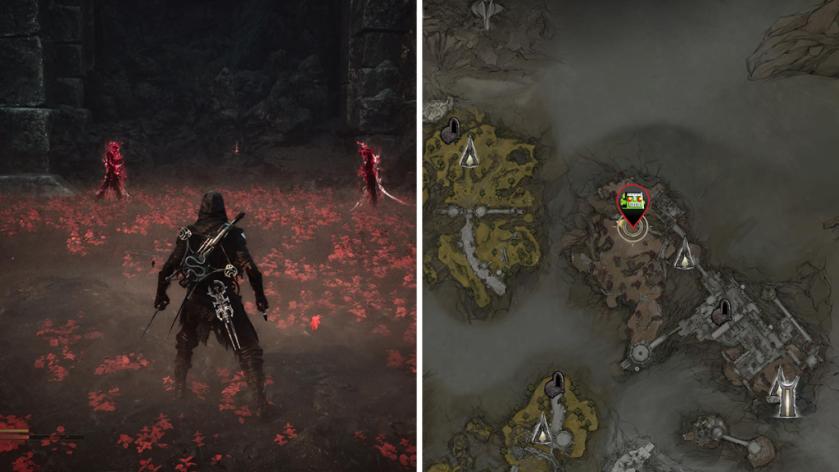
Now, leave the boss domain and head back to Genessa at the keep. Give her the censer to see her first memory, complete her quest, and unlock her Shell.
Egon
You can meet Egon and see his story by heading to Castigator’s Keep, where he can be found by following the main path from the area’s beacon. You might need to make some detours first.
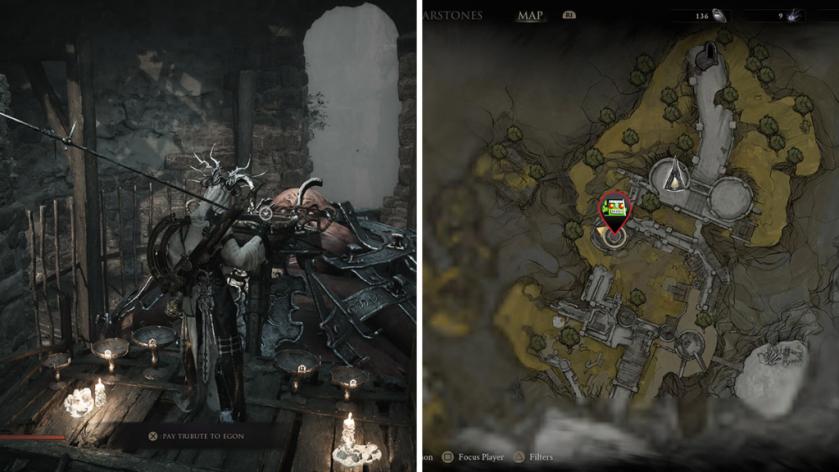
After reaching the lord, exhaust his dialogue and offer him 10K Gloom as tribute. He will thank you and pass away, leaving behind over 36K. Completing Egon’s quest also rewards you with the Feed Me trophy/achievement.
The post All NPC quests in Mortal Shell 2 and how to complete them appeared first on Destructoid.